Dust II - B Smokes Through the Roof
A guide to several useful smokes for taking the B Bombsite, recently made possible with the latest update to Dust II.
A guide to several useful smokes for taking the B Bombsite, recently made possible with the latest update to Dust II.
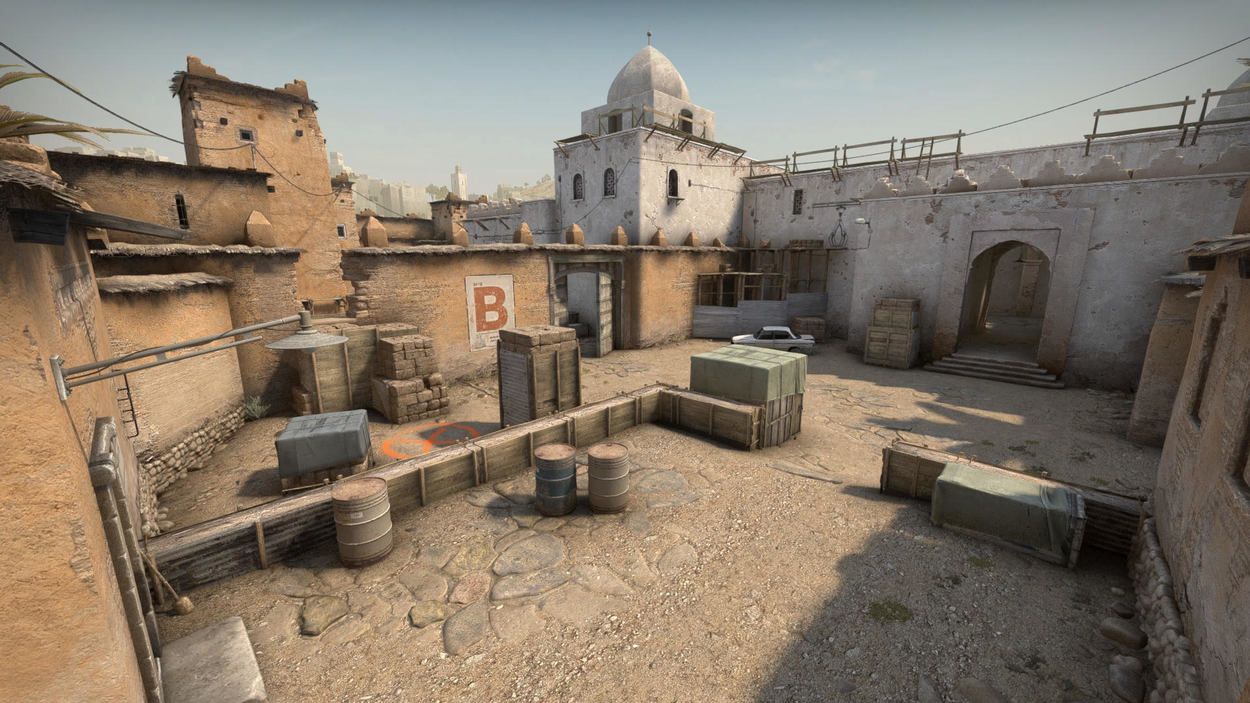
Over the years, the iconic Counter-Strike map Dust II has obviously underwent some changes. Overall though, the general layout of the map has remained consistent, standing strong as a classic example of a three-lane map that is instantly recognizable to fans and players alike. The most game-changing update to this map in recent history came on January 29, 2020. Not to be overshadowed by the multiple changes to Mirage and Train was the single adjustment to Dust II. The decision to open up the skybox from B Halls toward the site was massive. No longer do the “Rush B” calls in Matchmaking need to result in five blind Terrorists funneling out of the halls to meet their demise. The opened ceiling allows for the creative Terrorist to throw smokes and flashbangs onto the site like never before. Alternatively, the smarter Terrorist might wait for someone else to painstakingly discover the lineups for them. Below are a few that can be quite useful. Note that some of the callouts referenced hereinafter are mapped out at the end of this article.
Smoke One - Big Box
This first smoke is useful to block off a B Platform player who is looking over Big Box. In order to land this one, simply align yourself in this corner. Make sure to stand on the left side of the pillar.
Aim at this spot on the wall, in between the shadowed areas. A simple jump-throw will work.
The smoke will land as shown. Note that it won’t block any player watching from the very back of B-Platform, but a Molotov or smoke could be thrown on the fly quite easily if you find yourself unable to deal with an enemy who plays there. What this smoke accomplishes well is negating anyone playing the headshot angle. They will have their vision completely obstructed and will likely reposition, but beware of a sneaky Counter-Terrorist who might try to hide in the smoke.
Smoke Two - Mid Site
Next up is a smoke lineup that lands between Default and Double Stack. It will cut off vision from players almost anywhere in the actual bombsite. In order to toss this smoke, align yourself in this area.
Position yourself directly over the largest fern.
Locate this mark on the wall near the corner.
Perform a crouching jump-throw.
When coupled with the first smoke, there will be no vision for a Counter-Terrorist on the site. If an enemy player tries to find a sneaky gap between the smoke, they won’t be able to see anyone running in from Tunnels. However, their feet may be visible and you will be able to spray them down.
Smoke Three - Window
The third smoke is the most difficult one to throw, but perhaps the most useful. This will block off Window, making it much easier to take the bombsite. In order to throw it, line up in the same corner as you did in the first smoke.
While crouching, aim as shown below. You want to aim almost directly above the rightmost corner of the boxes, and on the line above the doorway.
Jump-throw from this position, and your smoke will land as shown. If you do not crouch when tossing this smoke, it will soar out of the map, serving as nothing more than an embarrassment.
Smoke Four - Doors
Finally, the fourth smoke is designed to block off view from B Doors. You’ll have to stand in the same spot once again.
While aiming at the small hole in the ceiling, crouch and throw. If you forget to crouch for this one it will still serve some purpose, but it will be out of position and likely result in an enemy creeping around the edge of the smoke to kill you.
If done correctly the smoke will bounce right into position, allowing much easier entry to the bombsite.
Hopefully these smokes will prove useful in your own competitive matches. Note that these smokes are designed to be used on 64-tick servers. While some will work the same way on 128-tick servers, others will fail horribly. The image below shows where each of these smokes will land on the map, numbered for convenience. In addition to the four smokes you've learned today, it is wise to utilize the new opening in the roof to throw devastating flashbangs. Using a combination of these smokes and flashbangs can greatly increase your success rate when attacking B site on Dust II.