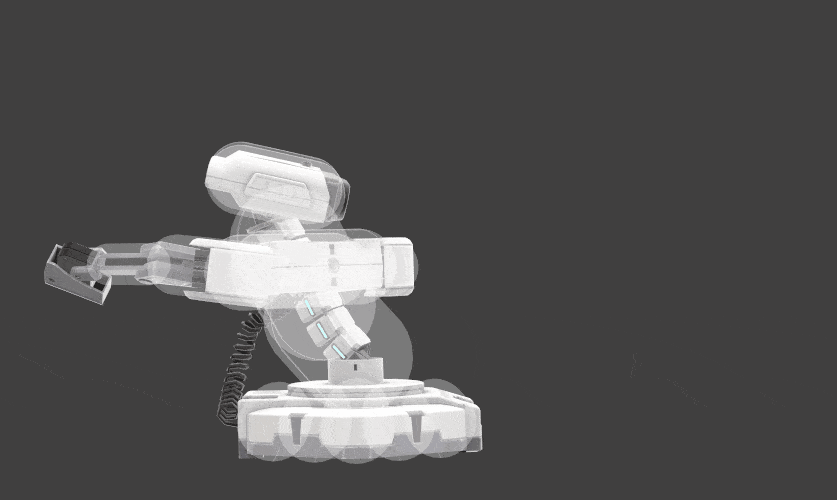
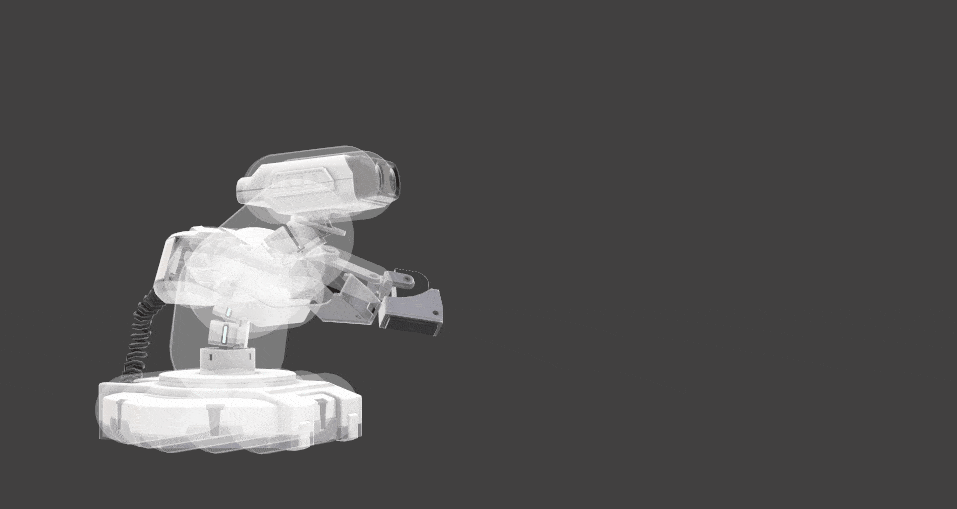
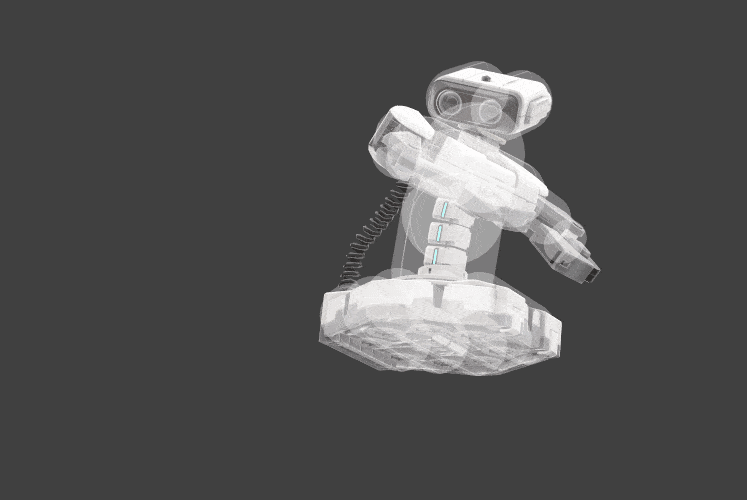
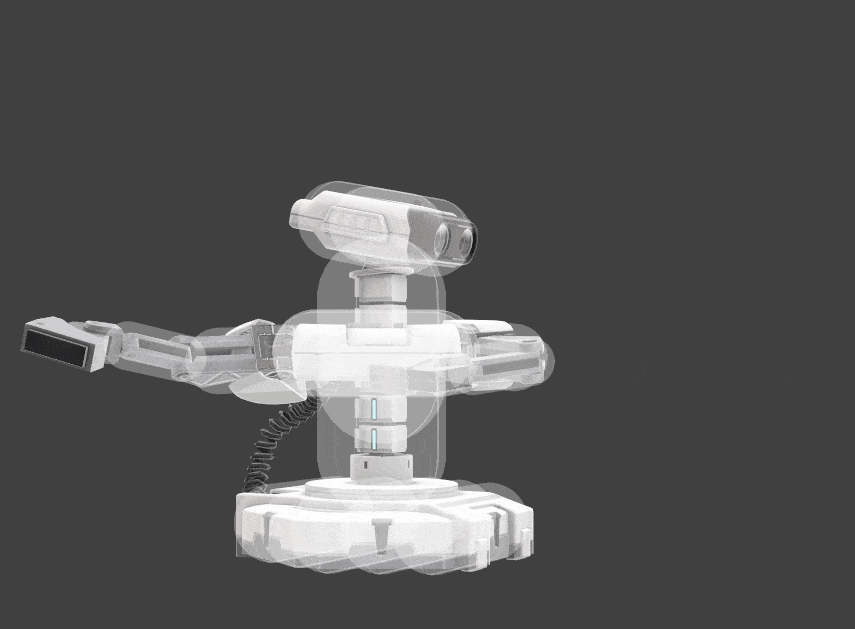
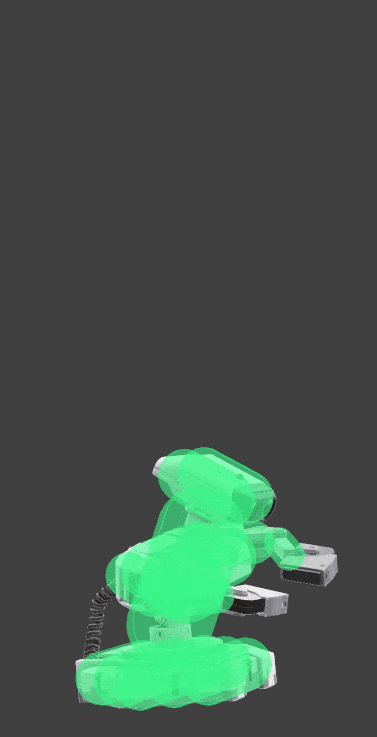
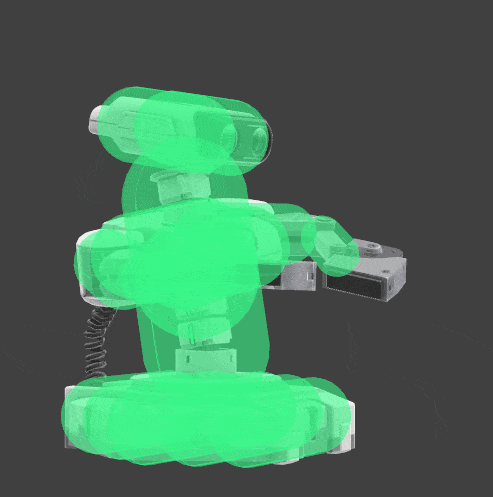
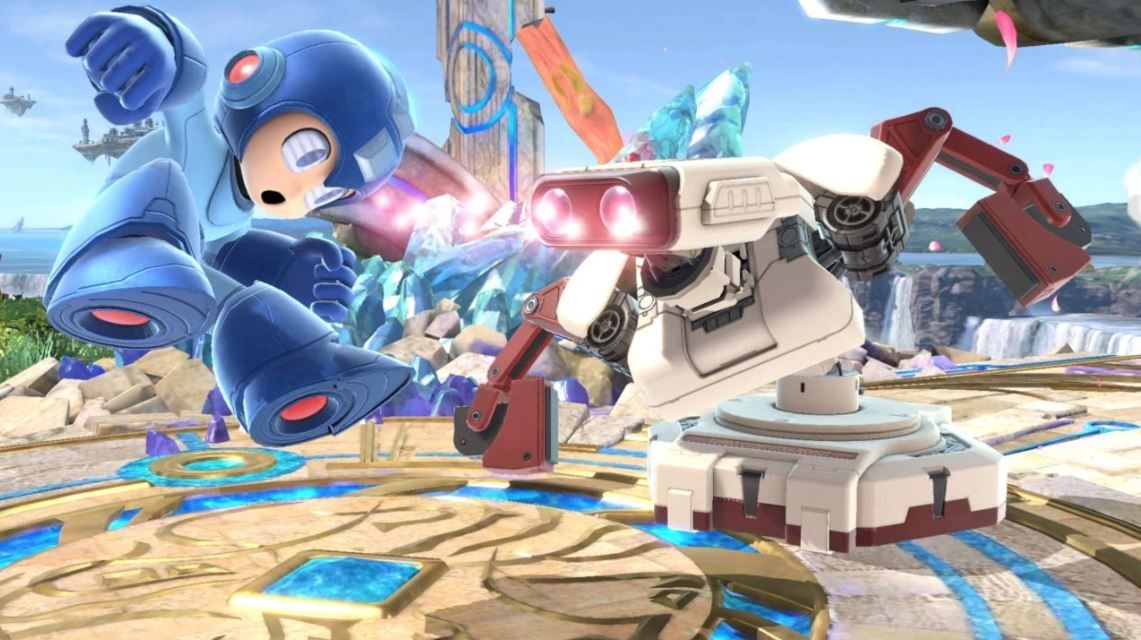
R.O.B.: A Super Smash Bros. Ultimate Fighter Guide
This is an in-depth guide about R.O.B., which will cover his entire moveset in addition to strengths and weaknesses.
This is an in-depth guide about R.O.B., which will cover his entire moveset in addition to strengths and weaknesses.
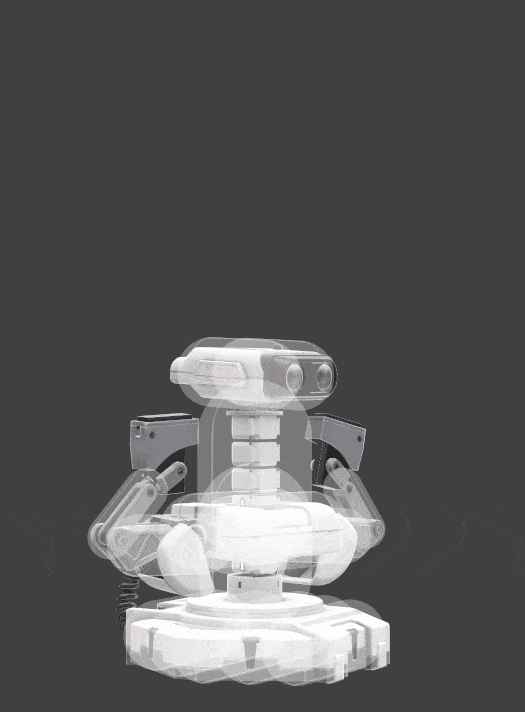
R.O.B. is a heavyweight that thrives at both long and close-range combat. Armed with two projectiles and a reflector R.O.B. has no problem keeping his opponent at bay. In addition, his fantastic frame data allows him to contend even if his opponent manages to get in. This makes his playstyle very versatile, leading to him being one of the best competitively viable fighters in the game. R.O.B.’s moveset is fairly linear at first but can become very technical if you put in the practice. This low skill floor and high skill ceiling make R.O.B. an excellent character to pick up since he can be enjoyed both casually and competitively.
Another reason to pick up R.O.B. is that he is a great character to learn the intricacies of Smash with. His high weight and good recovery make him very forgiving, helping newer players to become comfortable practicing their off-stage game. His linear moves also make building combos on the spot very clear and easy. That being said, reaching the high skill ceiling that R.O.B. possesses will require you to spend a lot of time in the training room practicing advanced tech. This guide will take you through everything you need to know when picking up R.O.B. in Super Smash Bros. Ultimate.

Jab: Two quick hooks in front of him coming out on frame 3. This is R.O.B.'s fastest attack along with down tilt. It is not an infinite, but the first hit is fast enough to be used to jab lock opponents. The second hit has decent knockback for a 3 frame attack and is primarily used for spacing. R.O.B.'s jab is best used to get a hitbox out in front of him as quickly as possible. This gives R.O.B. some breathing room to reposition and keep zoning.
Forward Tilt: This is one of R.O.B.'s slower attacks coming out on frame 7. R.O.B.'s forward tilt can be angled, allowing him to adapt his attack according to where his opponent is approaching from. If the opponent is approaching from the air, angling it upward will allow R.O.B. to adapt his forward tilt into an anti-air. If R.O.B. angles his forward tilt downward, he can 2 frame punish an opponent at the ledge. In order to use R.O.B.'s forward tilt optimally, aim to hit the opponent with the tip of his arm.
Up Tilt: This is another one of R.O.B.'s faster attacks coming out on frame 4. It is a fantastic combo tool that leads into many of R.O.B.'s other attacks such as, another up tilt, up aerial, and even up smash. R.O.B.'s up tilt also functions as a solid anti-air, but it's strictly vertical hitbox makes it difficult to land. All in all, this attack is not very useful on its own and is usually used to continue combos rather than starting them.
Down Tilt: This is one of R.O.B.'s fastest attacks coming out on frame 3. Its fast speed and recovery make this move very useful. It is so fast in fact that landing just one can usually lead to a string of two or three more. R.O.B.'s down tilt also has a chance to trip the opponent, adding even more utility to one of his best options. Because the commitment to throwing out R.O.B.'s down tilt is criminally low, it is a great tool for setting up combo strings.
Dash Attack: This is another one of R.O.B.'s slower moves, coming out on frame 7. The fact that a 7 frame startup is considered slow for R.O.B. is a testament to how fast some of his options truly are. As far as dash attacks go it is decent, dealing about 7% and coming out fairly quickly.
Forward Smash: For a smash attack of this caliber, this attack is fast coming out on frame 16. This attack can also be angled, like his forward tilt, allowing R.O.B. to adapt the attack according to the position of his opponent. This allows R.O.B. to use it as a good edgeguarding tool. An important thing to note about R.O.B.'s forward smash is that the damage and knockback are not uniform throughout the entire attack. It is strongest around his head and becomes progressively weaker as it moves further away. R.O.B. can KO opponents at around 90% with the strongest hitbox and 120% with the weakest.
Up Smash: this attack is very fast coming out on frame 10. The hitbox on top is deceptively large and powerful KOing most characters at around 100%. The ground hitbox is also deceptively large allowing it to cover the area next to R.O.B. as opposed to solely above him. It is a great out of shield option and is very useful for down throw 50/50 set ups.

Down Smash: This is R.O.B.'s fastest smash attack coming out on frame 7. That makes it just as fast as his forward tilt and dash attack. Of course, the downside to using down smash instead of those other options is the increased end lag. R.O.B. trades out the power of this smash attack for speed KOing most characters at around 130%. It is a very effective edgeguarding tool due to its range and speed, allowing R.O.B. to cover both Roll getup and standing get up. It is important to note that the attack launches the opponent behind R.O.B. As a result, you must position R.O.B. with his back to the ledge in order to properly use it as an edgeguarding tool.
Neutral Air: This is R.O.B.'s most useful tool in his kit. It is relatively slow coming out on frame 14, but its low ending lag combined with the amount of coverage and damage it provides makes it an excellent choice in neutral. It is a good defensive/ spacing option, covering a large area all around R.O.B. You can use it to approach because it can be short hop canceled. It can also begin or continue deadly combo strings, reliably comboing into forward air, up air, and side special. R.O.B.'s neutral air is also useful because it allows him to land safely due to the move being safe on shield. The utility this move provides allows R.O.B. to safely answer many dangerous situations, making it the most important part of his kit.
Forward Air: Similar to R.O.B.'s dash attack, but comes out on frame 6, making it his fastest aerial. Has minimal landing lag and is good for putting a hitbox out when edgeguarding. Its very low base knockback makes it a good combo tool, but very difficult to use for KOing as a result.
Back Air: A slow but powerful attack, coming out on frame 19. It is one of the strongest back airs in the game, and KOs most characters at around 100%. Its disjointed hitbox makes it good for spacing, but unlike neutral air, its long end lag makes it unsafe on shields. R.O.B.'s back air also has a secondary use while recovering. It halts his momentum and slightly pushes him forward without consuming any fuel making it a great tool for horizontal recovery.
Up Air: A fast multi-hit attack that comes out on frame 7. It is R.O.B.'s second-fastest aerial, but unlike forward air is good for both comboing and KOing. It is useful for juggling and is R.O.B.'s most reliable follow up from down throw. Its high knockback growth is what makes the attack useful for juggling at low to mid percents and transition into a KO option at around 115%. This attack is also useful for forcing air dodges and it is fairly common to land two or three more after the initial hit.
Down Air: Similar to R.O.B.'s back air, coming out on frame 20. This attack is slow, but disjointed and powerful. The sweet spot is a meteor smash making it a great edgeguarding tool. The disjoint makes it possible to hit opponents through the stage making for some unexpected KOs where the opponent doesn’t even recognize that they are in danger. In order for R.O.B.'s down air to land while edgeguarding, he needs to either two frame punish the opponent, re-grab the ledge, or stall out ledge invincibility. Down air’s tremendous 43 frames of end lag makes it easily punishable if it is not spaced properly, so going for this option can be risky. Like R.O.B.'s back air, it also stops his momentum and can be useful in limited cases for stalling in the air.

Neutral Special: A laser that can be angled in three different directions. This attack comes out on frame 25 and can be released at three different levels of power based on the time between usages. The weakest is uncharged where the laser instantly fizzles out in front of R.O.B. Unknown to most, the uncharged laser actually has a small hitbox directly in front of R.O.B.'s head with strangely high knockback growth. This makes it theoretically possible to KO with it. The mid-power is a small and fast, but thinner laser that can travel across the entirety of final destination. The max power beam deals the most damage and has a larger width, but is slightly slower. At all levels of power, R.O.B.'s neutral special deals significantly more damage at point-blank range. Despite this, it is not advisable to aim for the stronger point-blank hitbox and instead use it as a zoning tool. The speed at which the mid-power beam comes out and recharges makes it a great tool for zoning, while max power is better for damage and catching your opponent off guard.
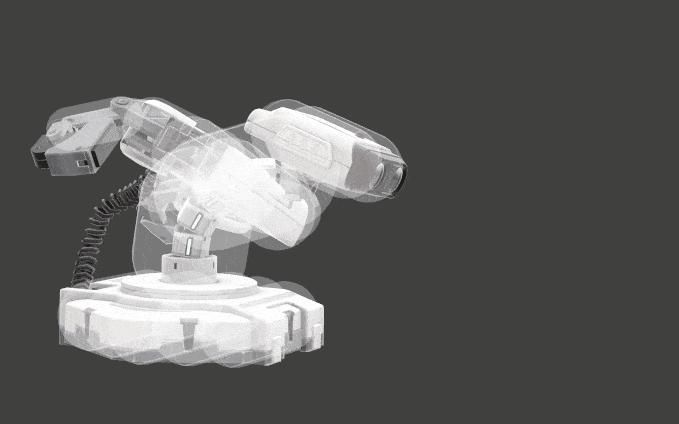
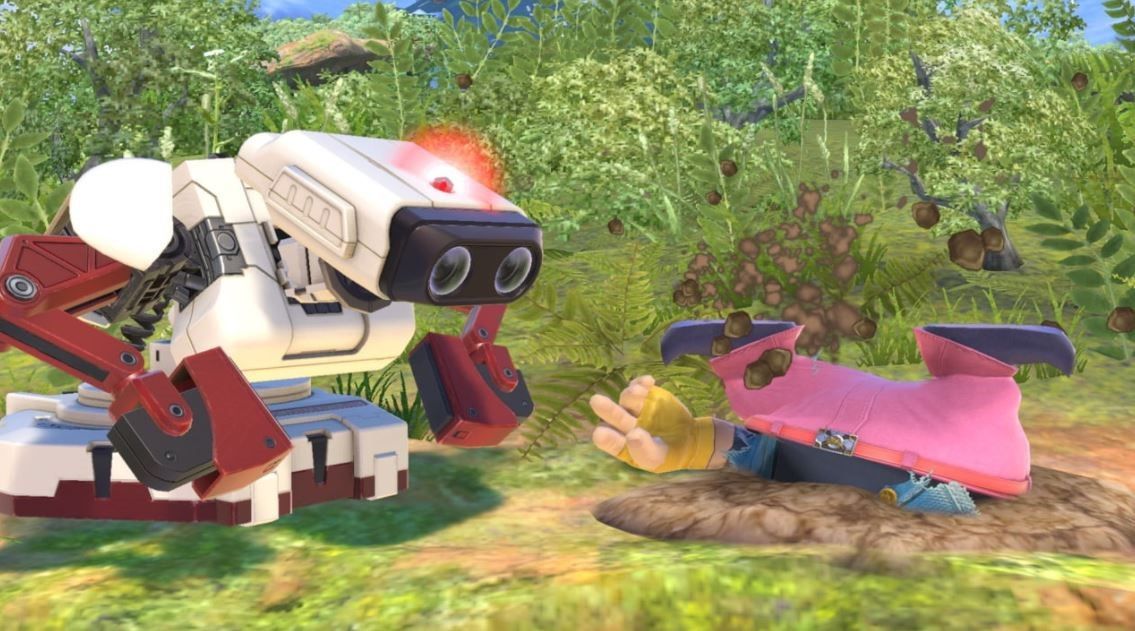
Side Special: R.O.B.'s arm rotor is another one of the best moves in his kit, coming out on frame 13. It deals 15% and also doubles as a reflector making it a great defensive option. However, this move definitely shines with its offensive capabilities. It’s borderline unfair base knockback makes it possible to kill almost every character at around 60% if landed off stage. It’s a great combo finisher, so R.O.B. has no trouble carrying his opponents offstage and finishing with a side special. It is also important to note that mashing the special button extends the duration, and damage, of the attack.

Up Special: This is one of the best recoveries in the game with its only downside being R.O.B.'s fuel. Unlike most up specials, R.O.B. is not put into free fall after using this move. As a result, R.O.B. can mix up his recovery by incorporating attacks. This includes his back air which helps him recover horizontally without consuming any fuel. The optimal way to use this move is to mash the special button while holding up as opposed to just holding down the special button. This allows R.O.B. to move just as far while conserving fuel. One downside of the fuel mechanic is that the tank is only refilled when R.O.B. is grounded. This means that if R.O.B. is hit while offstage, he will not regain any of the fuel he used while initially recovering.
Down Special: This is R.O.B.'s second projectile, the Gyro. It is unique in the sense that it can be picked up and thrown like an item by both players after R.O.B. initially launches it. Pressing down special once charges the Gyro and pressing it again fires the projectile. Only one Gyro can exist at a time making R.O.B. unable to create another while the first is still active. Unlike most projectiles, charging it doesn’t increase the damage or knockback, but rather the amount of time the Gyro will be active. If R.O.B. picks up the Gyro after launching it he can recharge it by pressing down special. This is another one of R.O.B.'s essential parts of his kits because of how versatile the move is. It can be used as a zoning tool like any other projectile, but is outclassed because it can be used against him.
As a result, it is better to use it as a trap for edgeguarding. It is important to note that the knockback direction of the Gyro is based on the direction R.O.B. is facing when he drops it. As a result, you should face away from the stage when using the Gyro for edgeguarding. This ensures that the resulting hit will knock the opponent off the stage as opposed to back onto it. However, if you would like to catch your opponent off guard, you can switch things up by angling it towards the stage. Then simply follow up the resulting hit with any number of R.O.B.'s other attacks like forward smash, or neutral air.
Forward Throw: The only thing notable about this throw is that it has a low amount of ending lag. This can lead to some low percent combos. This throw is mostly used for edgeguarding, and is usually performed out of a shield grab to toss the opponent back off the stage.
Back Throw: Like forward throw, it is primarily used for edgeguarding by throwing opponents off the stage.
Up Throw: This is R.O.B.'s kill throw, but it can also be used as a great combo tool. it reliably leads into many of R.O.B.'s attacks including forward tilt, up tilt, forward air, and up air. Because so many of R.O.B.'s moves can combo off of an up throw, he is able to follow up with something regardless of percent. In addition, if the percent gets too high, it doubles as a kill throw, KOing most characters at around 160% off of the ground. If R.O.B. uses up throw on the top platform of battlefield, for example, it can even KO as early as 140%.
Down Throw: This is R.O.B.'s best throw because it has the burial property. Burying your opponent forces them into a situation where they have to mash to get out. The higher your opponent's percent the more time it takes for them to get out. At very low percentages R.O.B. will be forced to simply follow up with an uptilt since anything else will most likely not be fast enough. On occasion, R.O.B. can get an up air follow up leading into a string of about one or two more. However, this requires your opponent to be a very slow masher. At mid percentages, the most reliable follow-up is a reactionary up air, but if you get a good read an up smash can also be used. This simple combo can kill most of the cast at around 120% from the ground and around 75% off the top platform of battlefield. At high percentages (above 150%) unless your opponent has god-like mashing speeds, R.O.B.'s down throw is almost guaranteed to combo into an up smash. On most characters, this down throw to up smash combo kills at around 110%. However, most opponents will not give you the opportunity to land it that early since they will just mash out.
R.O.B. is one of the very few characters in Smash without a single bad move in his kit. As a result, it is highly likely that he will be able to correctly respond to any given situation. Due to the unique and quirky nature of his kit, R.O.B.'s combo and mix-up games are also phenomenal. Combine this with his arsenal of zoning tools, and R.O.B. is able to reliably acquire and maintain stage control.
A lot of R.O.B.’s easier to execute combos come from his down throw. Unlike the other combos I am going to present, down throw combos are not true. They are 50/50s, meaning that they put your opponent into a situation where they only have two options. If you read their choice correctly then you are able to continue the combo, but if you are wrong, nothing happens. The 50/50 situation that results from a down throw is interesting though due to the nature of the burial mechanic. Because the burial mechanic makes your opponent unable to attack or defend themselves, most people do not even recognize it as a 50/50. It’s such a disadvantageous position, that most only consider breaking free as quickly as possible. I account for this when playing R.O.B., and usually see it as an 80/20 that the opponent will break out immediately rather than a 50/50. It takes someone who is very experienced in the R.O.B. matchup to possess the discipline required to willingly keep themselves in such a vulnerable state. As a result, this combo works a majority of the time.
The combo is down throw → up tilt → up air. This combo KO’s most of the cast at about 100% and only requires you to read the opponent's burial escape to land the up tilt. As we previously discussed, they will most likely break free immediately, but if they don’t all you have to do is delay slightly and the combo will continue anyway. If this is too difficult though, there is a simpler variation that kills slightly later.
This combo is simply down throw → up air. This combo is performed independently from the burial escape because the up air is reactionary. However, the reactionary nature of this combo results in a different 50/50. When the opponent escapes they have the opportunity to air dodge. As a result, you have to read it in order to connect the up air. If they don’t air dodge then the up air will connect as planned, but if they do then you will miss. If you are anticipating the air dodge, jump to bait the air dodge but don't attack. Attacking locks you into the animation and makes you unable to punish. Instead fast fall and punish the air dodge with an aerial or smash attack depending on the opponent's DI.
R.O.B. is one of the very few characters in the game that actually possesses a touch of death combo. The term touch of death refers to a true combo that can directly lead to a KO. In other words, if the first hit of the combo lands and the combo is executed properly the opponent is guaranteed to lose their stock. While this sounds incredible it is important to note the drawbacks of such a combo. Additional factors like stage position and character % make true combos like this very difficult to execute. The varying weights and sizes of characters in Smash also make these combos very unreliable. These combos are also extremely technical and very difficult to execute. As a result, landing the first hit doesn’t always lead to a KO because human error is a factor.
The combo is
Full Hop → Z Drop → Landing Nair → Z Drop → Short Hop Nair → Full Hop → Throw Gyro → Side Special
Button combo for GameCube controller: Full Hop → Z → A → Z → X+A → Full Hop → A → Side B
For this specific combo, the conditions that need to be met are as follows. Your opponent must be positioned about halfway between the ledge and the middle of the stage. Furthermore, your opponent's damage percentage cannot be any higher than 10%. Finally, you need to have a Gyro in your hands. If your opponent is not close enough to the ledge, the combo will not carry them far enough off stage to KO. If your opponent is above 10% the knockback will be too great and they will be launched away before the finisher can be used.
In order to become comfortable performing this combo, the first step is to practice z dropping. Z dropping is the action of pressing the grab button while holding an item in order to drop it. It is important to master this tech because the combo relies on constantly dropping and re-grabbing the Gyro while weaving in neutral airs. Moreover, you can’t perform an aerial while holding an item. Attempting to do so will just result in R.O.B. throwing the Gyro. You also need the Gyro towards the end of the combo in order to land R.O.B.’s side special.
This brings me to the crux of the combo, R.O.B.’s side special. It’s high base knockback makes landing the attack off stage an almost guaranteed KO at any percent. As a result, everything that comes before it is simply to carry the opponent as far offstage as possible. Even if you mess up the combo and don't make it all the way to the finisher, it is still good for racking up damage and carrying your opponent off stage. This gives you stage control and leads to an edgeguarding situation.
R.O.B.’s great off stage game and disjointed hitboxes make his edge guarding very strong. One of the best tools in his arsenal for edgeguarding is the Gyro. In addition to being a good projectile, the Gyro can be used as a trap at the ledge. Placing it at the ledge covers normal and attacking get-up options for R.O.B., allowing him to focus on Roll or Jump get-ups. R.O.B. is then able to easily cover these remaining two get up options with a fast falling neutral air. The more options R.O.B. is able to cover at the ledge, the fewer options the opponent has to get back on stage. One way they can avoid the massive amount of coverage provided by the Gyro is to wait it out. However, if they wait to time out the gyro they will also most likely lose ledge invincibility. This means that R.O.B. can punish with a devastating down air meteor smash or downward angled forward smash.
R.O.B.’s Gyro knocks players back based on the direction R.O.B. is facing when he drops it. In order to edgeguard properly, make sure to face away from the stage. This way if they normal or attack get-up they will be knocked back off stage and forced to navigate the edgeguard all over again. You can mix up your opponent by facing toward the stage when dropping it and preparing to combo off the resulting hit. Most players expect the Gyro to knock them off stage and will be surprised when it knocks them right into your up smash.
R.O.B. is able to respond to low recovery options especially well due to his disjointed down air. If an opponent is recovering low and above 40%, R.O.B. can perform the following combo to KO them.
Z Drop at ledge → Dair
This combo is extremely easy to perform and produces exceptional results. If the opponent doesn’t have some sort of hitbox above them while they are recovering, then they will be hit by the Gyro. You can predict the trajectory the opponent will be launched at and catch them with a down air. This combo is another reason why practicing z dropping is useful. Being comfortable with z dropping makes the Gyro much more useful than it already is.

One of R.O.B.'s only weaknesses is his inability to deal with pressure. This is because he doesn’t have many out of shield options. When shielding he is limited to using neutral air, forward air, or up smash. Neutral air has start-up delay making it far from ideal, forward air doesn’t do much for relieving pressure, and up smash is extremely risky. If the opponent spaces properly and you whiff the up smash, you can be easily punished.
I deal with R.O.B.’s pressure problems by focusing on maintaining stage control. My opponent will be unable to apply pressure if I am in control of the stage and that is something that R.O.B. excels at. This weakness does make matchups like Palutena especially bad for him though since she can also maintain stage control and apply pressure from a distance.