


An Attackers Guide to Ascent for VALORANT
A guide on attacking on Valorant's new map Ascent.
A guide on attacking on Valorant's new map Ascent.
Now that VALORANT is out, many players are perfecting their skills for ranked mode which releases in the coming weeks. The new map Ascent has seen lots of action as players are learning and developing tactics for it. This guide will explain some of those strategies and how to execute on the map. Before getting into specific tactics for Ascent, it is important to identify how to properly attack and gain advantages in VALORANT. Skill Capped on YouTube has some great in-depth guides that take a pro perspective on attacking which are shown below.
When you are on the attacking side in VALORANT, it is important that you gain map control to locate where the enemy is so you can establish which site to execute on.
Each round in VALORANT can last for 1 minute and 40 seconds but it depends on the win conditions. Sometimes players opt to do a rush strategy where they run into a bomb site as fast as possible. However, rushing can be unsuccessful if you are running into a stacked site or agents that can stall you out, like Brimstone and Sage. Playing a round slow will let you to take control of areas and bait out the opponent’s abilities allowing you to take site more effectively. Therefore, it is important to maximize the amount of time you have in a round and use it to your advantage when attacking.
Clearing out the bomb site will make it possible for the Spike be planted without worry of being killed. This is crucial as your opponents could be hiding in cover and catch you by surprise. Once the site is cleared out, you can begin to set up post plant positions. While these are being set up, you can identify areas where the enemy could come from and isolate/smoke them off. This is also why it is important to hold onto your abilities for as long as possible, as they can be used in these situations to cut off your opponents’ path and delay them from defusing the Spike.
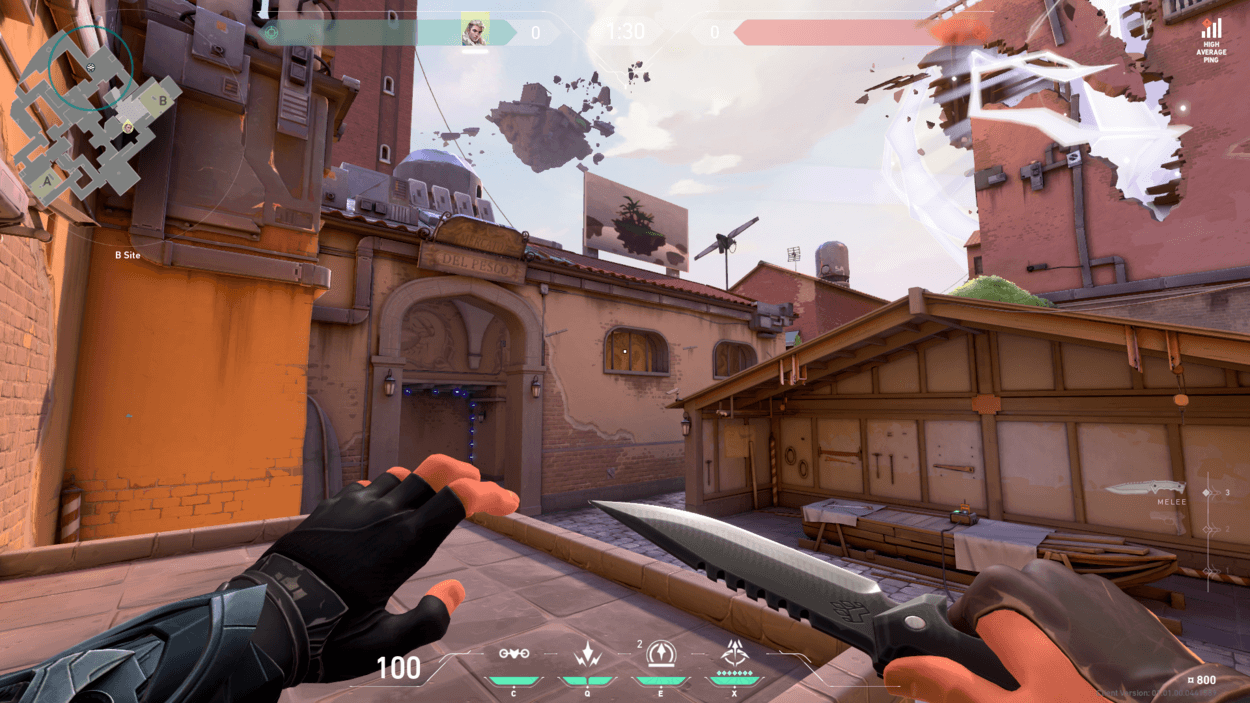
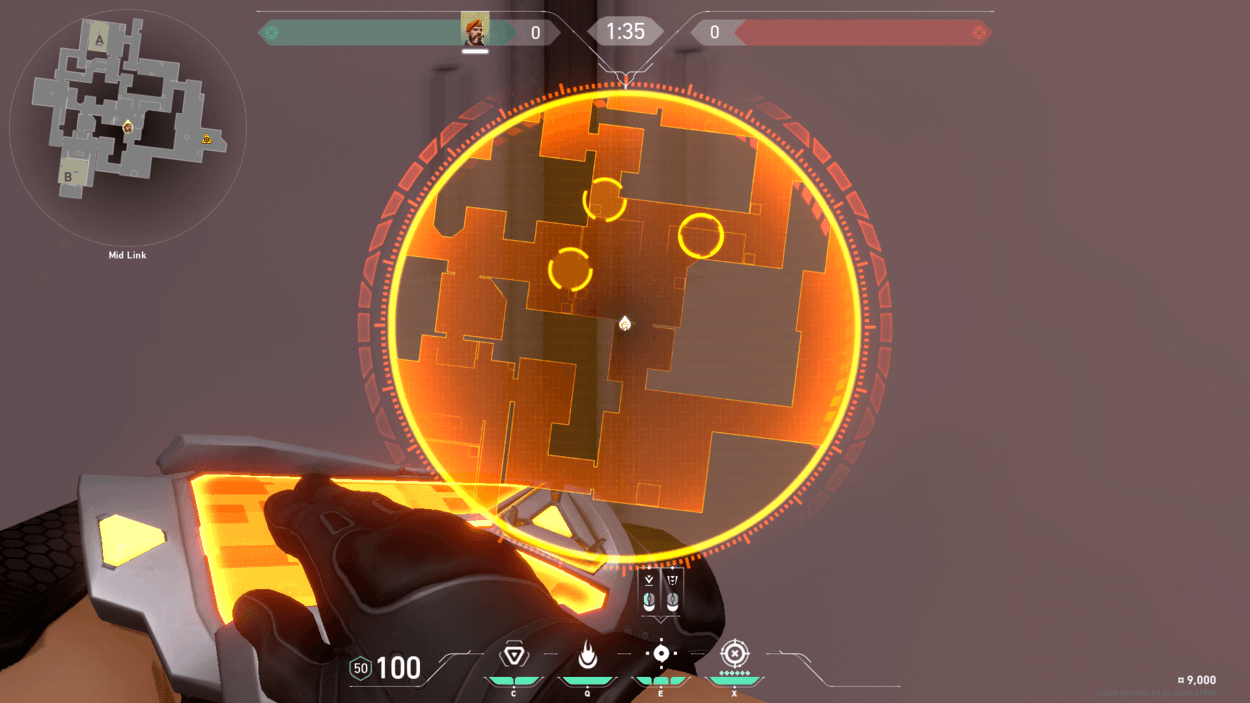
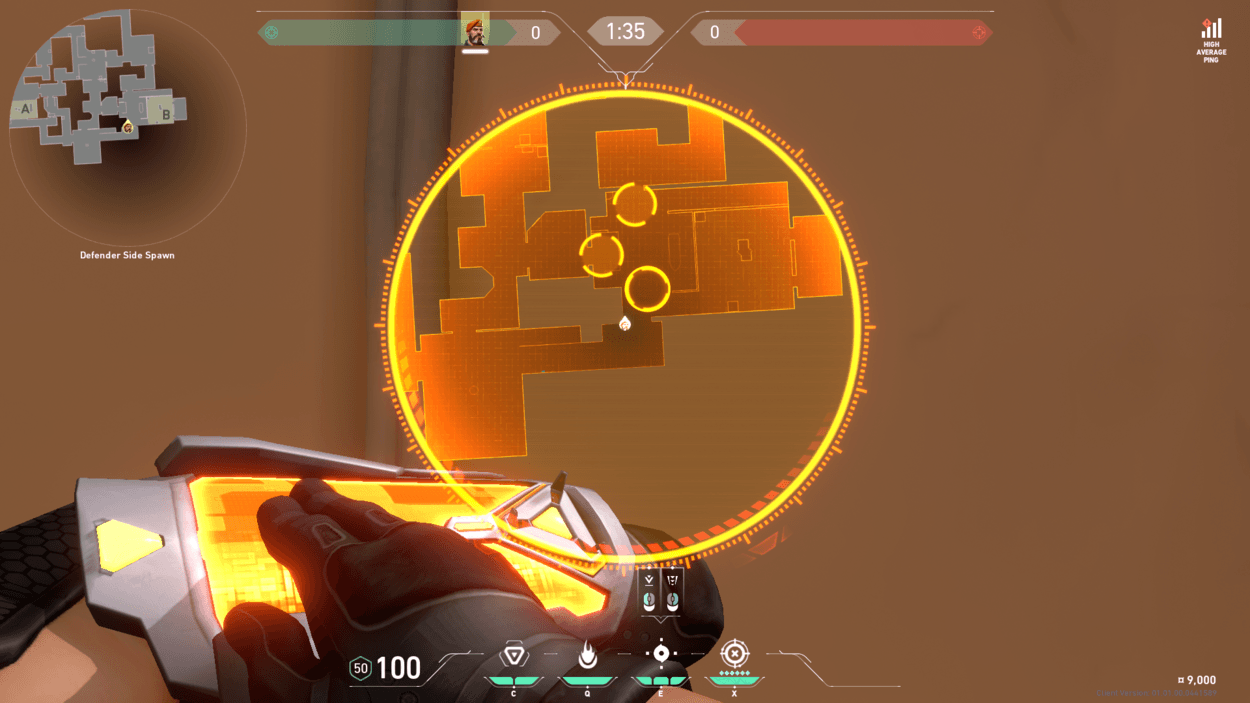
Now that we have established some important points to remember when attacking, lets look at Ascent strategies. Some agents that work well on this map are: Brimstone, Sage, and Sova/Cypher. Brimstone works well because of his Sky Smoke ability, which allows for easy control of Mid and each bomb site. Sage is good on her own, but her Ice Wall and Slow Orb abilities become vital here when slowing down defenders and cutting them off from retaking site. Sova and Cypher are excellent agents on this map because of how open it is which allows them to carefully place Cameras and Recon Bolts to find the enemy. For example, on B Site Sova can shoot his Recon Bolt and Shock Bolt through the grates in B Main that will grant you vision in there and outside of Main.
This shot involves 1 bounce and powering it till the second white bar. Using less power and no bounce will put the bolt into B Main.
Mid control is an important part of Ascent that needs to be accounted for. However, there are things that need to be done to allow for this to happen, which is where agents who have smoke abilities come in handy. Smoking off Catwalk and the center arch will give you full access into Mid. You can then push to A through Catwalk or out into the Defender’s Spawn and into B Site through Market. In Skill Capped’s guide on Ascent, he points out how important Mid control is and includes a clip of Hiko, a professional VALORANT player discussing default (basic spots to play and fall back too when other strategies aren’t working) positions for this map.
Since Mid control is vital when attacking on this map, he recommends that there be 1 player around A and B Site while the other 3 are focusing on Mid control. Having 2 by B-Link then one at the top of Mid with an Operator to look down for any openings will give your team the best chance at taking control of this area.
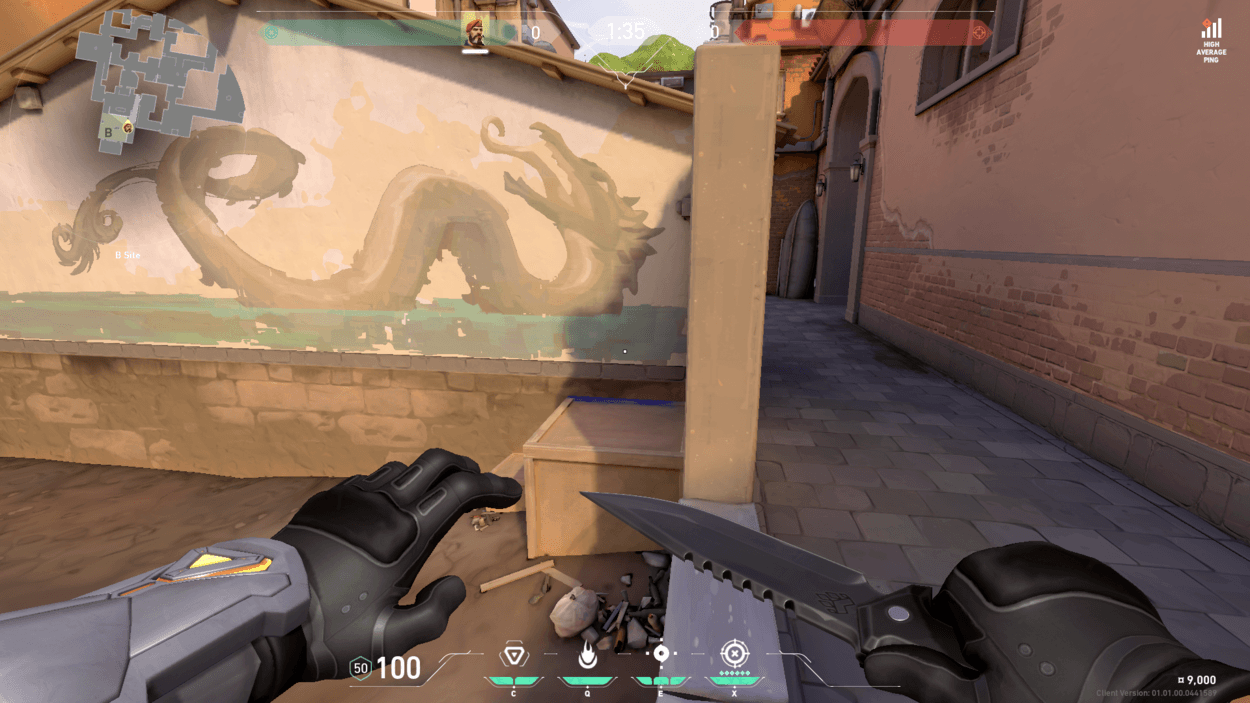
There are a few ways to execute onto B Site, but it depends on which direction you are coming from. If you are going through B Main the best way to get onto site can be to drop your Brim smokes in the back coming from CT, the far corner, and onto the ledge where the Mid Market door is. Defenders sometimes hide in the tent where the switch is to close the Market door, so it is a good idea to Molotov that off in case enemies are there. Now with the vision closed off you can safely run through the short lane and onto the site, while clearing out the bomb site. While you plant the Market door can be closed and areas can be re-smoked and walled off.

Instead of using 3 smokes here you can also combine the two back smokes to save on utility. This shows full coverage using 3 of Brimstone's Sky Smokes.
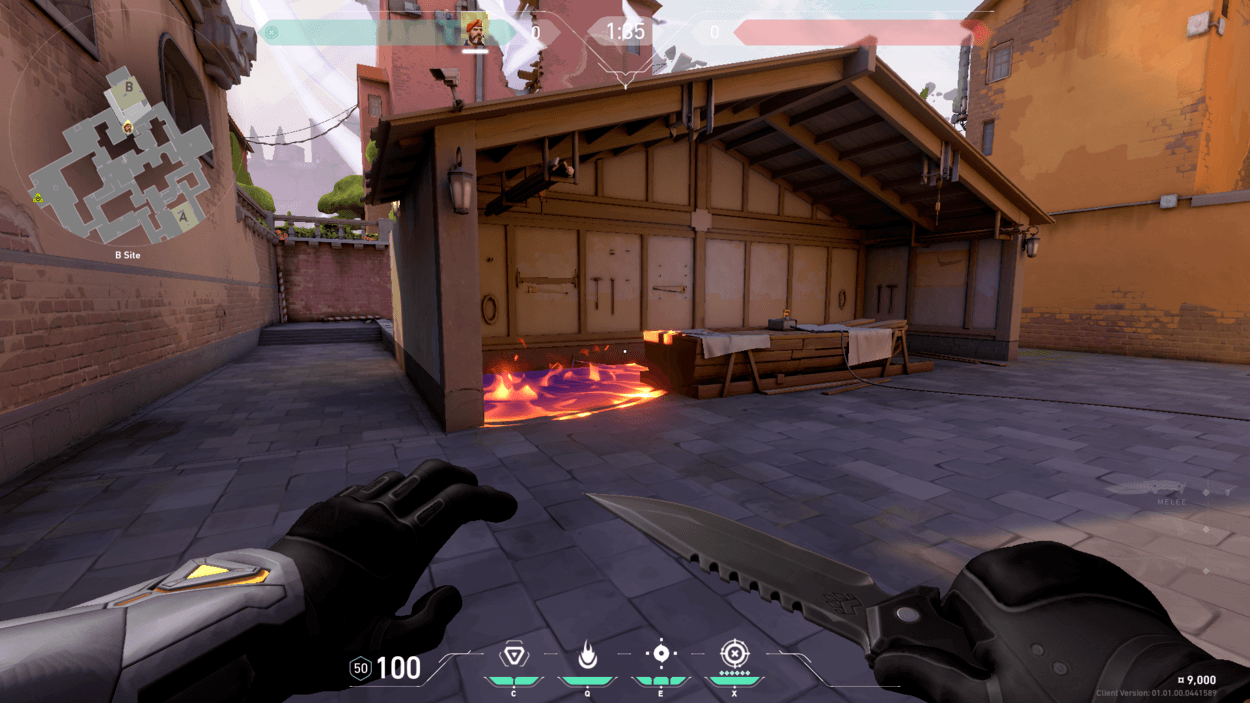
One thing to note is if you molly the tent, it will clip through and deal damage to enemies who are posted up on the box behind the tent, making for a good clearance of that position.
Pictured here is the molotov on the box. If enemies are right up to the wall, they will get damage dealt to them.
If you are doing a Mid to B split, you need to smoke off the B Main area to cut vision off there while your team pushes through from Market or from the defender’s Spawn. There is also a little cubby where enemies sometimes hide in to the left of the Market ledge, so it is a good idea to check it. Once you are on site you need to clear out B Back, behind the boxes around the bomb site, and the far path to the site that was smoked off by B Main. Once that is complete the Spike can be safely planted, and post plant positions can be taken.
One thing to note here is the B Main smoke does not cover the entire angle. Using 3 will fully cover it, but again, this is utility dependent.
There are a variety of post plant positions that can be taken to defend the Spike. Common ones are hiding in B Back holding the B Main path angle, or behind the boxes on the site. This is where utility and smokes come into play if you have saved them because you can wall off certain angles to funnel the enemy into the few spots that are being watched. Smoking or using a Sage Wall to take one of the paths away is vital to ensure the bomb site is safely defended. To help with defending, a Cypher Camera can be used at the top of site or a Recon Bolt can be fired into B Main or Spawn.
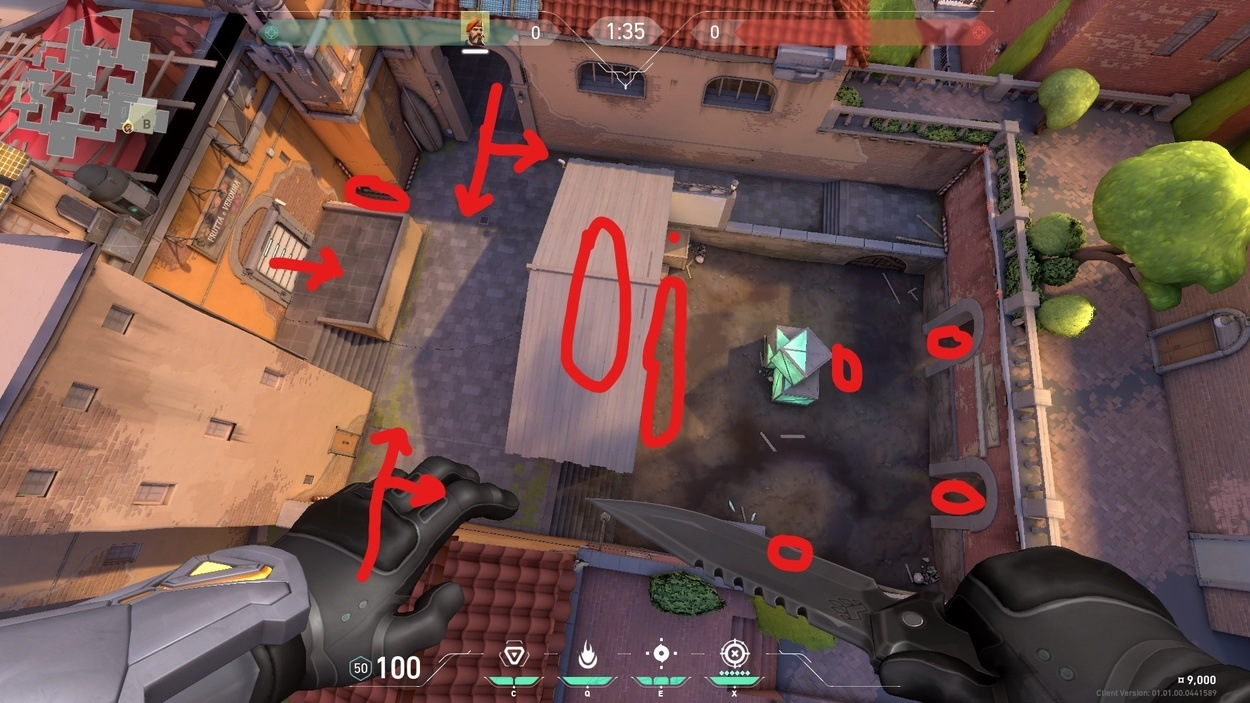
The arrows represent entry points into B Site, while the circles show areas where attackers or defenders can be. Other notable spots they can hide is the CT entry point behind the wall and the stairs going into the bomb site.
A Site Execution:
To get into A you can go through Catwalk, A Main, or through Mid. If you are coming up from A Main a few spots need to be smoked off before heading into the site. Heaven is a huge spot for vision, so you need to smoke that completely off to prevent the enemy from killing you as you walk in. Then to the left is a door that can be opened or closed. This also needs to be smoked or shut immediately to prevent the rotation from Catwalk or Garden. Other angles to check are under Heaven, the boxes to the right of entering and the cubby spot behind the large barrier to the left. Once these are checked or smoked off the Spike can then be planted, and post plant positions can be taken.

In the event of an A split, Mid control needs to be taken, so Catwalk and the entrance to Market need to be checked. Catwalk is generally safe as peaking that angle is very dangerous but once and a while defenders peak that angle so still be weary of a surprise attack from there when pushing through. As I said above make sure someone is still holding around B, so the people defending there do not completely commit to the rotate to A. Once Mid control is gained you can push through their Spawn or through Catwalk, then through the door or up through Heaven. After getting to the appropriate spot you then need to smoke and wall off the angles where the opponents could be. Utilizing Sova’s Recon Bolt or Cypher’s ultimate is good here, so you find out exactly where the opponent is.
Once the Spike is planted, there are some important spots to clear. Making sure Catwalk and Spawn are being checked for rotation then walling off the A Main entrance will decrease the number of spots you need to verify. By shutting the door in Catwalk, the only real entry is through Heaven because if they go through the other parts that are walled off you will hear the sound of the wall or door breaking making for an easy kill.

Here are entry points into A Site and spots you can hide on it.
Takeaways from this is that Mid control is necessary when wanting to execute onto bomb sites in Ascent. It is a big part of the map and allows for strategic plays to be made onto the defenders that will ensure a round win. Aside from Mid control, taking map control and investigating where enemies might be playing from will allow you to isolate them off and play the numbers game (3v1 on a site, 2v1, etc.). Rushing onto a site is not always the play when you do not have information of the opponent’s whereabouts. Playing it slow and baiting out utility will create an advantage for you allowing you to execute onto site.
I am hoping this helps when executing on Ascent and gives you an edge against your opponents when attacking in VALORANT. Good luck in your matches!


