


Tips and Tricks for Each of VALORANT’s Five Maps
Make sure to know these tips and tricks when loading up into a game of VALORANT.
Make sure to know these tips and tricks when loading up into a game of VALORANT.
Mid Control is incredibly important on Split. When pushing it, you’ll want to look to grab a pick early, and depending on which side of Mid you get that pick, that’s usually where you’ll want to push. If the defending team is holding Mid from B-Heaven, and you’re able to take out that defender during your push, you’ll most likely want to head up the stairs towards B-Heaven (and eventually towards B-site), considering you’ll have a numbers advantage thanks to your pick. This same rule applies to the A-site side of Split, but, be warned, it will take your team a longer time to get to A-Site from Mid than it will take you to get to B-site.
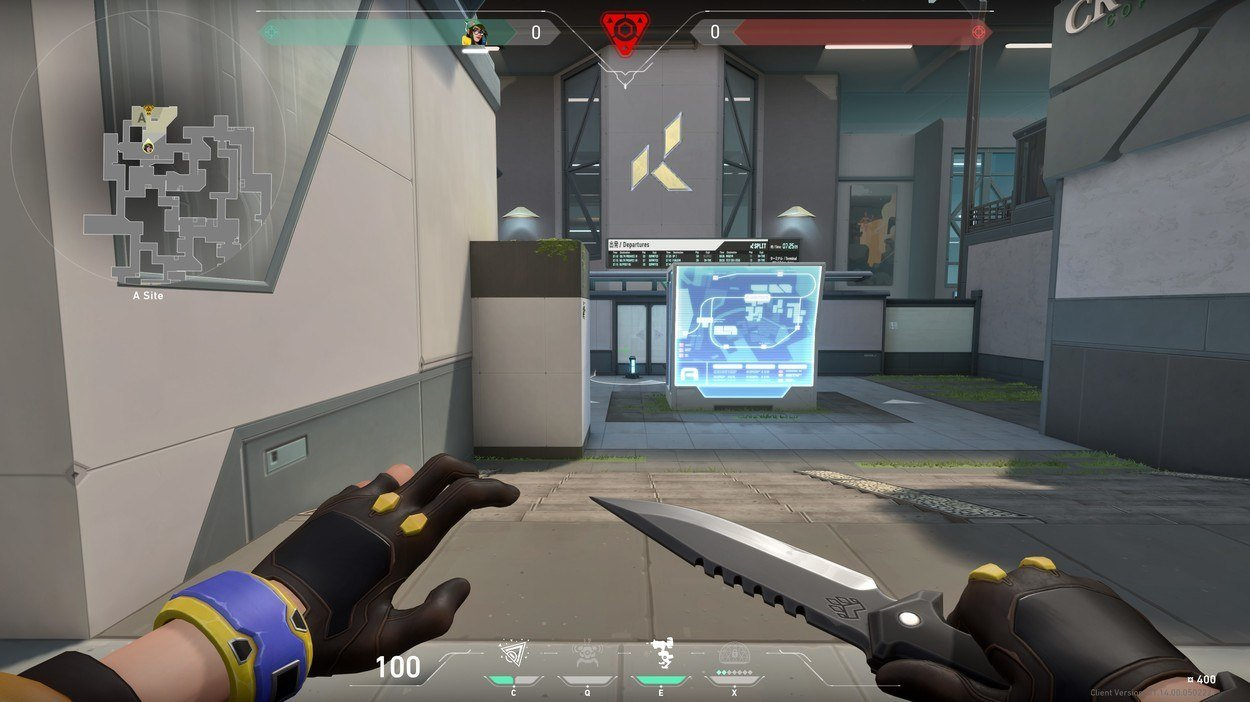
A-site is extremely manipulatable in regard to the way planting works. Many players will attempt to run straight behind the billboard in the center of the site and plant there in order to be safe from any defenders looking down from A-Heaven. This isn’t the best plan of action considering players can shoot straight through the billboard. Instead, wait to get the spike down until after the defending in A-Heaven is taken care of. Then, once your team has control of heaven, plant the spike in a position where it can be seen from Window.
Defending on Split is still an easy task, even after extensive changes to the map. Ideally, you’ll want to place a Sentinel on B-site in order to lock down the entrance to the site from Garage. The use of an ability like Killjoy’s turret or Cypher’s Spycam could give your team immediate knowledge of the enemy team’s push onto B-site while you alternatively hold another angle. There’s only two ways for the enemy team to make it onto B-site, so having a Sentinel watch Garage with their utility, while placing a physical player in B-Heaven watching Mid is the most ideal way to hold down the site.
The most defining part of Icebox’s layout is that Mid and B-site take up approximately two thirds of the space on the map. A-site and its surrounding area make up a small area of Icebox, so overloading it with resources on defense isn’t ideal considering the pushing team could establish strong map control in retaliation.
Try to keep your team spread out on defense. Two players watching A-site, another two watching B-site, and one final player covering Mid is a solid setup that you can very easily build off of on defense.
Icebox is immensely vertical. Whether you’re playing around A-site or B-site there will inevitably be occasions where you’ll have to potentially look up at your opponents. The best way to counteract the map’s verticality is to always have your crosshair at eye level no matter what. While it might be tempting to keep your crosshair angled slightly up when pushing onto a site, you’ll very easily be taken down by another player that’s playing an even angle.
You can easily throw defenders off when on offense, especially when pushing A-site. If you have one set of players take the low route and another set of players head up into the rafters, you can easily throw the defenders off their game. Trying to look up and down and shoot steadily is one of the hardest things to do in VALORANT, so making the enemy team do exactly that is always going to be a solid strategy.
Icebox’s zip lines may be a defining, attractive feature of the map, but they most definitely have the potential to go awry if used incorrectly. While it should go without saying that the zip lines should be largely avoided in gunfights (unless absolutely necessary), the biggest tip surrounding them is that players can actually “shift-walk” while on a zip line. If you hold shift while ziplining, you won’t trigger the usual noise that comes along with the zip line, and instead, you’ll remain silent. Obviously, you’ll still be floating several feet above the ground, extremely visible to the enemy team should they encounter you. But, if no one’s in the area, you might be able to literally get the drop on an unsuspecting enemy player.
Making use of Bind’s teleporters is one of the most important strategies that the map has to offer. If you’re covering A-site on defense, for example, and you hear the enemy team pushing up Mid into Hookah, you can very easily throw a projectile like one of Sova’s Shock Darts or a Hot Hands from Phoenix through the teleporter in order to delay the enemy team’s push.
On the converse side of that strategy, make sure you’re not teleporting straight into the enemy team. The noise that the teleporters on Bind make are incredibly loud, and once you step through one of them, everyone in the game will know for certain that you teleported. To combat this, try to use the teleporter when you know for a fact that an enemy player won’t be on the other side of it waiting to take you out. The more knowledge you have of the enemy team’s positions, the more valuable the teleporters become.
Because of the varying obstacles on B-site, it’s best to plant the spike completely out in the open here so that you have the best sightline on it for a retake situation. A typical mistake that many players make in regard to Bind’s B-site is hiding the spike inside of the cargo crate, when in fact, your goal should be to do the exact opposite. When you leave the spike out in the open, any defender trying to retake or defuse will be left vulnerable and completely out in the open.
Try to send one player to lurk to the site that you’re not pushing as a group. For example, if your team opts to push A-site, it might be worth sending another player Mid towards B-site in hopes of getting a pick. If the defending team stacks A-site, your team can always rotate towards mid and choose whether to go to B-site or C-site. Spreading your team out to make the most of Haven’s three options will always be ideal on this map.
When defending on Haven, it’s best to put your intel-focused agents on B-site so that they can get information about the middle section of the map. If you place a Killjoy turret or Cypher cam somewhere near Mid, it could be able to tell your team to which site the attackers are headed right off the bat. The earlier you’re able to tell where the enemy team is going to push, the faster you, as defenders, can rotate.
Haven’s most defining feature is that each site has at least three ways to enter. You’ll want to have at least three on a site once you know the enemy team has committed there. If you have four or five players alive and defending, you can very easily set up crossfires around at least one of the entrances to the site you’ve taken. Holding Garage when near B-site or C-site is usually a good play, and keeping Heaven locked down while defending A-site is also ideal.
B-site on Ascent is one of the easiest sites to hold in all of VALORANT. Normally, it’s ideal to put an intel-focused character like Sova, Cypher, or Killjoy near the site and have them throw their utility into Garage. An ability like a quick Recon Dart or Spycam goes a long way in telling your team when the attacking team is pushing through B-Main. From there, if you’re holding the site when the attacking team pushes forward, you’ll be able to make use of your several options. You could either hold the B-site from the back portion of the site, from within the Boathouse, or even right next to the door that leads onto B-site by taking advantage of a close angle.

A-site on Ascent is extremely easy to manipulate considering almost every obstacle can be shot through. The wall separating the site from A-Main is penetrable, while the entirety of the Heaven area, including the floor and window surrounding Heaven, can be shot through, as well. When dealing with the actual site itself, many of the green boxes on the site are able to be shot through, and players can also score a tricky wallbang off the corner of the generator, too.


