


A Guide to Mastering Killjoy with Pro Player Dephh - VALORANT Agent Guide
Killjoy is one of VALORANT's most versatile characters. Here's exactly how to master her.
Killjoy is one of VALORANT's most versatile characters. Here's exactly how to master her.
As one of the more versatile and damage-oriented sentinels on the VALORANT roster, Killjoy is all about locking down sites and chokes while maintaining a high threat level. If gathering intel while still having relatively high kill potential is part of your repertoire, Killjoy is the agent for you.
To go over the ins and outs of one of VALORANT’s most efficient characters, we sat down with Rory 'Dephh' Jackson, Dignitas’ resident Killjoy main, to further explore what makes the agent strong in the current meta as well as how to master her.
Dephh: “Killjoy is all about predicting the site at the right time. I love it when I correctly guess the site and I can just sit back with Killjoy.”
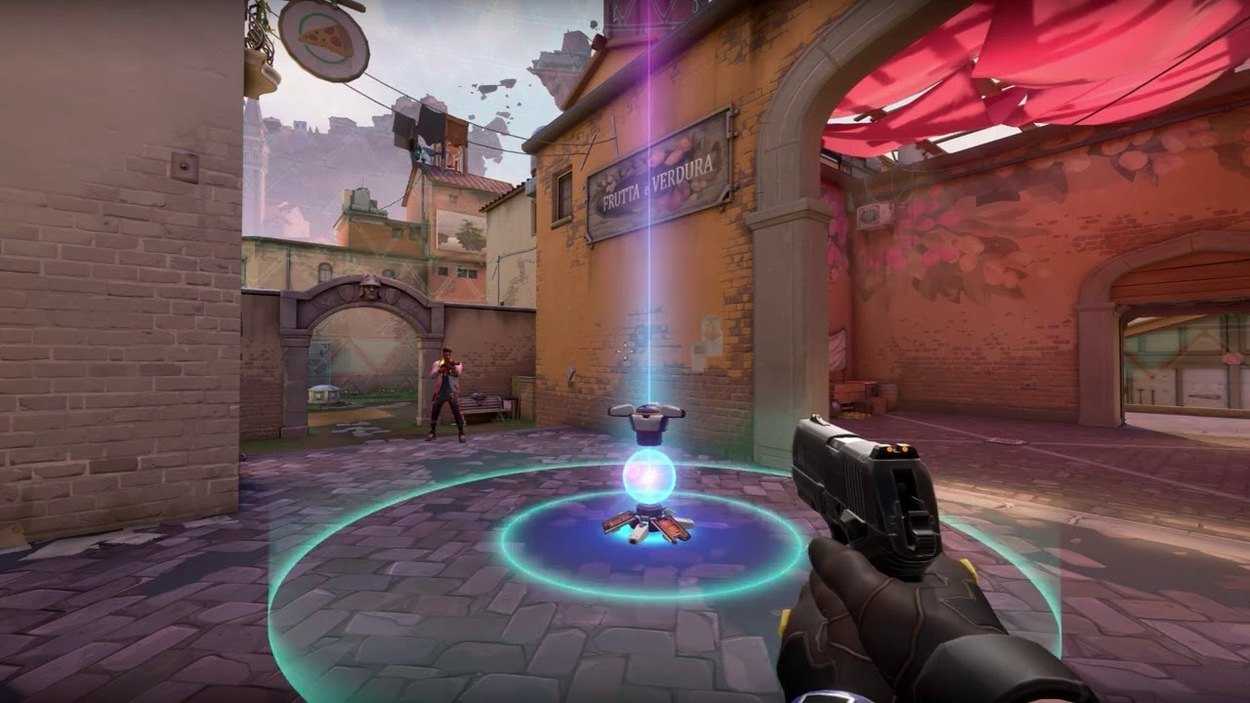
Perhaps the most notable part of Killjoy’s playstyle boils down to her ability to lock down sites before rounds even kick off. By placing her turret and other utility abilities around a site, she can easily prevent attacking players from ever reaching a site.
Or, at the very least, she can make things difficult for a team as they try to push in, giving her own allies enough time to respond. According to Dephh, there’s a few setups that really define Killjoy’s ability to control certain maps. The first being B-site on Haven.
Dephh: “One of the best sites I like holding is B on Haven. That site is such a tight space that Killjoy is so great in. As soon as you shove in, you’re getting hit by her turret while getting mollied. B is retaken a lot in pro play, too.”
On this site, preventing attacking players from getting past the main choke is going to be a major factor when it comes to splitting up the map. With Killjoy locking down B-site, attacking players will be essentially forced to rotate towards either A-site or C-site. This process practically shrinks Haven and limits the options on the table for the team that’s on offense. Another map that’s easy to limit the attacking team’s options on is Icebox.
Dephh: “Killjoy is really nice on Icebox. On that map, she can hold pretty much an entire side of the map just with her turret. She can Alarmbot mid, hold down the tube with Turret, and then play B-site herself.”
Killjoy’s Icebox setup is fairly straightforward and easy, as well as effective. By scattering her utility across the middle of the map while holding an angle that allows the enemy team to enter B-Site, Killjoy can effectively lock down half of the map. Approximately three-fourths of Icebox’s space is taken up by B-site and Mid, so with Killjoy setting up her utility to cover a good portion of that area, the rest of her team will only have to worry about A-Site.
Dephh: “Killjoy is really nice on Ascent A-site If you put your Alarmbot and mollies on the left side of Generator, and then you have your turret shooting down as well. Anyone running up the left side of the site is not going to survive. That site is one of the most retaken sites in the game”
But, while the idea of locking down Killjoy’s most optimal sites and perfecting the setups where she shines the hardest is intriguing, it’s still best for Killjoy players to mix up the sites that they’re covering on defense from round to round. If you tend to stick in the same spot throughout the course of a half, players on the enemy team are simply going to avoid your setup and look for alternate ways to push onto the site you’re defending. In many cases, the enemy team will simply look for flanking routes or push an entirely different site altogether.
Dephh: “I encourage everyone to tell their teammates to switch up the sites. That will encourage everyone on the team to move around and rotate. That’s really how VALORANT should be played."
If you can surprise the enemy team by predicting where they’re going to push and accurately setting up your utility in order to cut them off, you’ll have an easier time when it comes to getting ahead on defense. The more you switch up where you’re playing on defense, the more unavoidable your turret and utility abilities become.
Dephh: “Killjoy is the most avoided character in the game. Everyone avoids her site completely, so moving around and mixing up where you set up is key to Killjoy.”
But while it’s obvious to look at Killjoy as a defensive-oriented character with tons of potential to stave off enemy players, the agent still has a ton of uses on offense. Being able to drop down your turret and have it watch flank throughout the majority of a push is a huge boon to any offensive round. Additionally, the ability to lay down your utility once the spike is planted practically turns Killjoy into a defensive-minded agent once again.
The amount of practical uses for Killjoy’s kit on offense far outweigh the limitations of her by-the-book defensive setups, and therefore, the agent just might have a stronger round-by-round outlook during the offensive half than the defensive one.
Dephh: “I actually think Killjoy is better on attack than defense. If Killjoy’s turret is shot down, she has 40 seconds for it to come back up again. You can position your turret so that it establishes map control and watches your flank. Whether you’re dropping it in A-main on Ascent or Lobby on Haven, you’re pretty much guaranteeing that, if you get pushed from behind, you’re going to know about it.”
Using Turret to watch a specific angle is a key part of what makes Killjoy strong on offense. If you can get it down pre-plant, it’s best used to cover your tracks and make sure that no one is sneaking up behind your team from a flanking route. If you save it for a post-plant situation, the turret should ideally be watching an angle while acting as an extra set of eyes.
Dephh: “The great thing about Killjoy on attack is that as soon as the spike is down, you’re essentially a defender again. You can put down your turret, throw your mollies down on the spike, and use your utility as an extra defender. The Killjoy turret has a ton of HP and it takes people a long time to kill it, so that extra time could just win you the round.”
Placing the turret in a spot where it’s going to get taken down immediately by the enemy team — whether you’re on offense or defense — is never ideal when playing Killjoy. Sure, you’ll be able to get information quickly, but once the turret is taken down, there’s going to be a cool 40 seconds of downtime where you’re gaining nothing at all from the ability. If you’re able to keep in a spot where it harasses players at a sustained rate while continuously gaining info, you’ll be getting maximum value from the ability.
Dephh: “Something you want to avoid is using your turret in a way where it’s taking first contact and then the enemy team hits the site and your turret is down. I like placing the turret in places that makes players actually commit to the site.”
Another great use for the turret, especially if you have it available at your disposal during the later stages of a round, is utilizing it as backup for a clutch situation. If you’re up against multiple enemies, having the turret watch your back as you push into a 1vX situation is an extremely beneficial tactic when it comes to gaining knowledge regarding the enemy team’s position.
Additionally, having the turret serve as added firepower in a straight up duel is going to pay dividends for Killjoy players. Not only does the turret deal decent damage to players that aren’t fast enough to take it down, but it slows them as well. If Killjoy is able to seek out the enemy player that her turret is locked on to, she’ll have an easy time when it comes to finishing the job.
Dephh: “Killjoy is one of the best clutchers in the game because of her turret. If you’re ever in a 1v1, the slow that the turret applies is extremely useful. Make sure you’re always using your turret in a way where it’s either always getting you information or winning you a 1v1. The enemy team should always feel like they’re forced to shoot your turret.”
Beyond her core abilities — all of which revolve around basic utility — Killjoy’s ultimate, Lockdown, provides her team with a massive swing each time it’s set down on the map. If an enemy player is caught in the massive zone that it creates after the 15 second duration is up, they’ll be detained and unable to shoot for 8 seconds. This creates a wide opening for Killjoy’s team to push the victimized enemy and capitalize on a momentum swing.
However, it’s best to use Killjoy’s ultimate carefully, as she can easily be countered by enemy abilities that quickly stymie Lockdown. Brimstone and Sova can both use their ultimate abilities to circumvent walls and destroy Killjoy’s Lockdown.
Dephh: “When using Lockdown, it’s really important to be aware of the agents on the enemy team and what abilities they have available to them. Brimstone, for example, is a direct counter to Killjoy’s ultimate. Sova players will also tend to keep their ultimate just so they can use it to shoot the Lockdown. If you’re against an enemy Sova or Brimstone, you have to make sure that you don’t waste your ult.”
But while it’s obvious that Killjoy brings a lot to the table to any team composition, mainly damage throughout and kill potential, she’s still limited by the boundaries of her kit. In the current meta, agents such as Cypher and Sova have more mobility than Killjoy, who’s mainly locked down to the area where she places her utility.
Unlike abilities such as Sova’s Recon Dart or Cypher’s Spycam, Killjoy and her turret will be sanctioned to a specific area of the map unless she has to move for a rotation. In many cases, you’ll be sacrificing mobility for kill potential on Killjoy, but if you’re looking to deal high damage while still locking down sites, she’s the agent for you.
Dephh: “Killjoy has a lot more kill potential than characters like Cypher or Sova, just because her abilities do so much more damage. Her mollies hurt a lot and the turret provides damage as well. What she doesn’t bring, though, is immediate information. Turret and Alarmbot can only do so much. Turret, for example, only shoots at one person at a time. Compared to something like a Cypher camera, there’s definitely limitations.”
Make sure to follow Dephh on social media!
Twitter


