


Best Rainbow Six Siege Settings
Sticking to defaults could be a game-breaking mistake. Go for these settings and play R6 Siege like a pro.
Sticking to defaults could be a game-breaking mistake. Go for these settings and play R6 Siege like a pro.
No matter how clever the tactic is or how fluid the input, almost everything in Rainbow Six Siege revolves around making wise decisions. However, most of these impactful decisions have already been pushed long before you get into the game—in the settings menu.
Pro players never stick to defaults regardless of the game they dive into. Whether they play Rainbow Six Siege on a console or a PC, choosing the best settings is one of the biggest secrets behind their extraordinary performance. For you to achieve this level of expertise, here are all the game-changing settings you need to dominate Rainbow Six Siege with.
Considering the following general options will help you optimize Rainbow Six Siege like a pro.
The communication wheel is enabled, and the chat channel is focused on the team, so you never miss crucial information from your crew, even if the mic is unavailable. Additionally, all performance metrics are set to minimal, so you don't get too much data on your screen.
Similarly, Stun VFX is set to display a white glare as it helps you recover focus faster than the dark. Plus, the tinnitus sound effects are also muted to keep the gameplay as distraction-free as possible.
In the HUD section, there’s not much to change except for a couple of options.
The purpose of an advanced compass is to remain a step ahead. For instance, if an object is below, then it will appear on the navigator’s white line. Similarly, if it's above, then you can expect it to be at the top of the white line. This way, you’ll have extra information about a particular marker placed by your teammates.
One crucial change here is disabling Ally Outlines. As these can overlap between your teammates and enemies, one can accidentally cause friendly fire. In addition to this, general reminders are also disabled since we need fewer prompts on the screen to minimize distractions.
The display tweaks will set the optimal foundation for the graphics settings. Ensure you make the most out of it by opting for the following.
With these settings, expect the best in-game performance. A maximum refresh rate, complemented by the same frame rate limit, will help maintain a smoother, more consistent experience. You can also decrease the HUD and menu display area to the center of your screen if it's too big or keep it to 100 by default.
The 83 FOV, on the other hand, will provide a wide-angle view. As a result, you can see more on the screen compared to those who stick to defaults. Keep in mind, a higher FOV requires more GPU power since you want more things to render in the same frame.
After ticking all the right boxes in the display menu, the next stage is the graphic settings. Here, the role of personal preference is high since each player has a different set of hardware. However, certain changes should remain constant throughout every system.
Even with a high-end setup, pros always go for these tweaks for enhanced visibility and extra performance. Ultra LOD quality is best if your system allows it, as you can expect clear vision when zoomed in from a higher distance.
The medium shadow quality enables dynamic shadows, which provide an edge as you can detect an incoming enemy with their glooms. Similarly, low reflection intensity strips the load off your GPU, and disabling lens effects reduces distractions.
With display and general settings sorted, let’s alter the way you interact with Rainbow Six Siege. Since keybindings are a personal preference, our focus is on the input behavior.
Here, the drone speed boost, aiming, and sprinting are all set to “hold”. This way, you can instantly let go of the button and stop the particular action instead of toggling, which is beneficial for leaning, crouching, and proning.
For better command over gadget and drone deployment, each of these is set to advanced. Similarly, with raw input enabled, the game bypasses the operating system’s accelerations and delivers a lag-free experience.
Speaking of that, the minimum horizontal and vertical mouse sensitivity further enhances the experience with more margin of error. Together, all of these settings deliver a competitive approach through fluid interaction.
Last but not least, accessibility settings can make all the difference when playing Rainbow Six Siege. Consider the following to achieve a pro-level accessibility preset.
Getting rid of screen shake is one of the best decisions because you don't want the unnecessary shaking to impact focus during sticky situations. Additionally, the motion blur is turned off for better visibility, especially while taking damage.
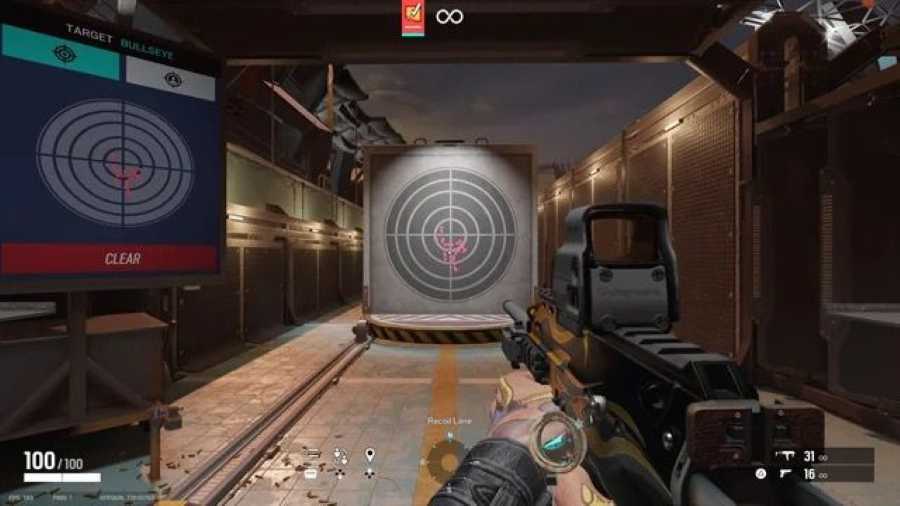
You can choose any optic color, but red with 80 opacity is considered the best among experts. It helps to aim better without masking over the subject. Anything other than these settings is completely personal, and you can tweak them to your liking.
As you can see, settings are there for a reason. While one can still play better with defaults, their opponents will always be a step ahead using the pro settings. Rainbow Six Siege already offers an unforgiving learning curve. Here, only the finest skills and in-game settings can help you achieve a dominant status in the community.


