Higher and Higher: How to Play Jett on Ascent
With this guide, learn how to utilize Jett on one of her best maps, Ascent.
With this guide, learn how to utilize Jett on one of her best maps, Ascent.
Since its introduction as VALORANT's first new map since the game's release, Ascent has quickly become a fan favorite. Jett is one of the best agents to utilize the map's layout, thanks to her being the best AWPer in the game, and the map having a great layout for an AWPer with mobility. Ascent's 3-lane layout makes it especially easy for Jett to hold down sites on Defense, while still being able to use her mobility to make her way onto the sites. Even when she's unable to afford an AWP, Jett is able to utilize closer ranged weapons such as shotguns on this map due to the tight chokes to get onto sites as well as her Cloudburst being able to smoke off entire entry-points.
In this guide, I go over some of the best ways for Jett to approach this map, both on attack and defense.
One of the strongest places for Jett to hold while defending is A-Link, where you're able to clear both B-Link and Top-Mid. If you're able to clear both these sites, you basically secure your team Mid control, making the enemy team's gameplan much easier to read, as without going through Mid, there are only two possible places for them to go.
It's typically nice to communicate with whatever teammate is holding Mid, in order to synergize your abilities together to take more control of B-Link. Some good examples are Sova who can reveal B-Link to make peeking it easier or a Controller who can smoke Top-Mid which lets you move more aggressively up Mid.
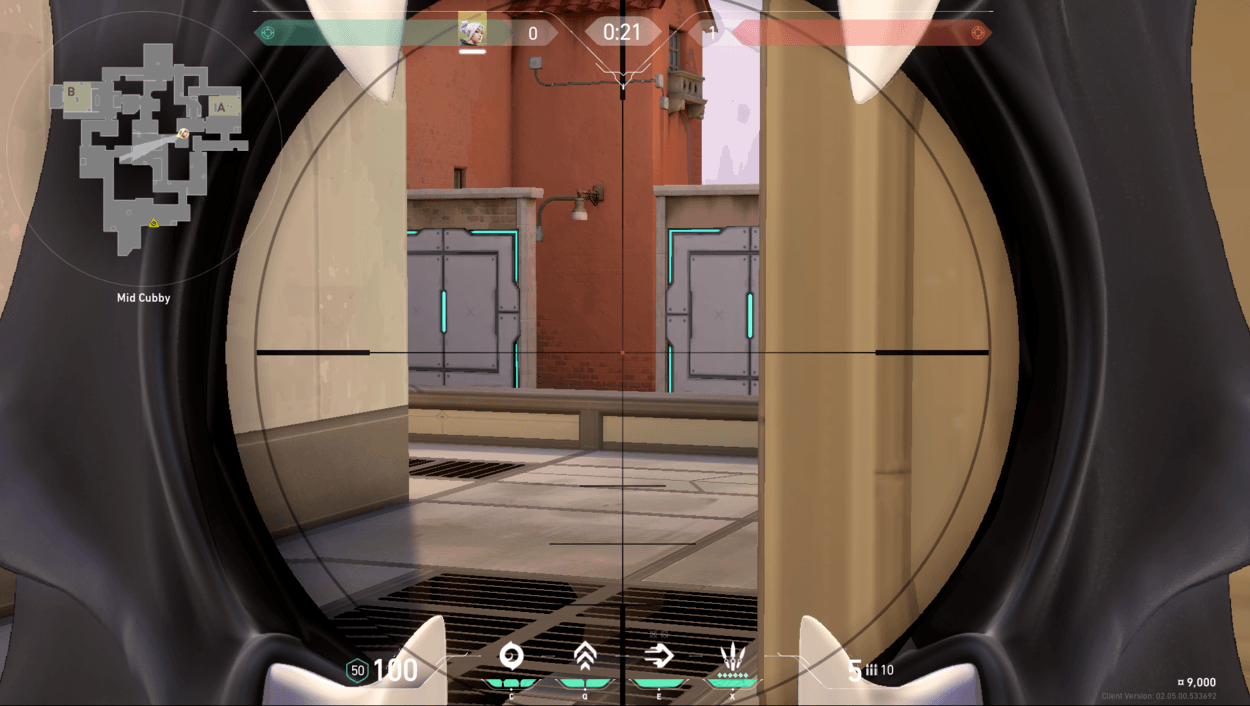
It's always good to mix up which position you're holding, so it's not uncommon for you to decide to hold A-Main after a couple of rounds holding A-Link. With her Cloudburst, Jett is able to set up a pretty easy one-way smoke by aiming at the top-left entrance of Main. This smoke allows you to peek at their feet if they decide to peek A-Main at the beginning of the round like many people decide to. While this smoke is up, there's a good chance the enemy team decides to just wait it out to peek. This gives you a 5-second window to hide somewhere like Wine, where you can catch the opponents off guard if they decide to push later on.
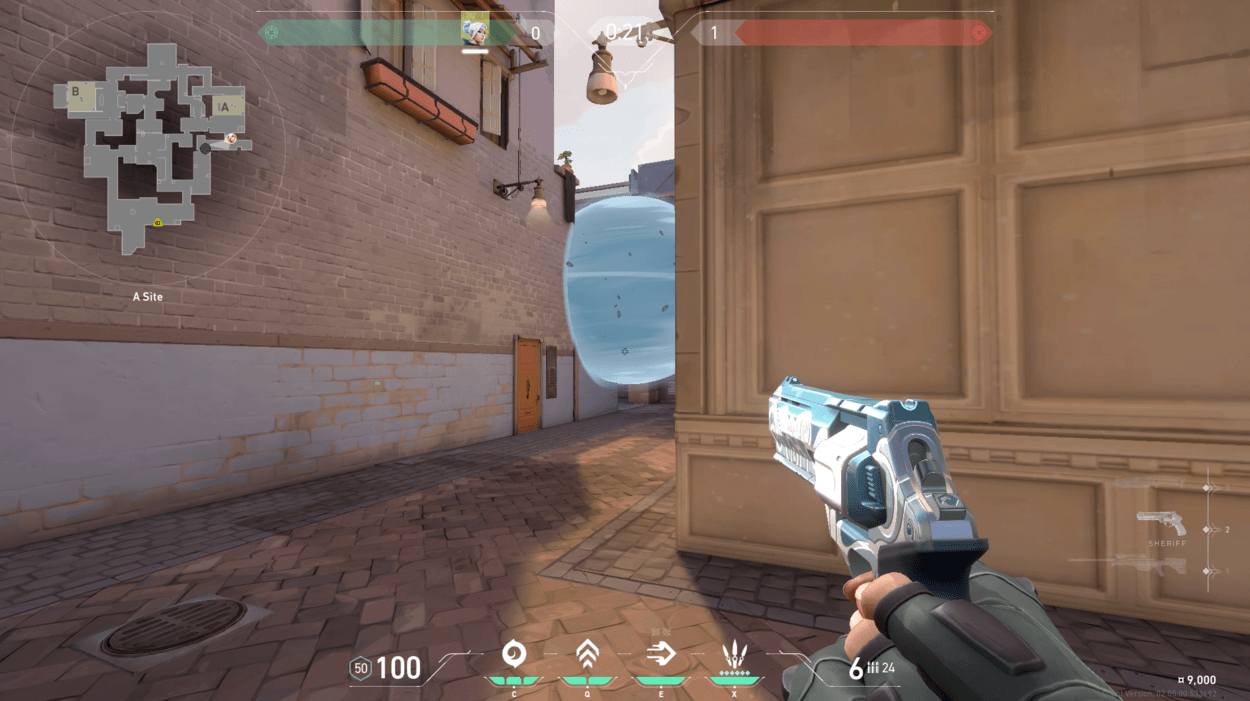
This is one of Jett's easier one-way smokes since you just have to aim for the top-left corner of the entrance.
If you're unsuccessful in peeking A-Main at the start of the round, it's good to back up to either behind the green boxes on-site or to a more sneaky position like on top of the tall boxes in the left corner of the site. Places like this or on top of the Generator are good if the opponents aren't expecting them, so it's best to only hold them once or twice a game. Most of the time, the best place to retreat to is the green boxes on-site, since you can still fight for the entrance while being able to wait for your team or hide under Heaven.
Most of the time, it's better for Jett to hold either the A-Site or Mid, since the long angles are best for her while she's Op-ing. While Op-ing, she's able to cover a large amount of space, yet B is a more closed site with shorter angles. The best situation to play B would be on a save round, where you only have a shotgun/SMG and are looking for cheesy kills. The left cubby in B-Main is a decent place to try and hold because even though it gets cleared a lot, your dash ensures that you can escape if you think the enemy is going to fully clear the area.
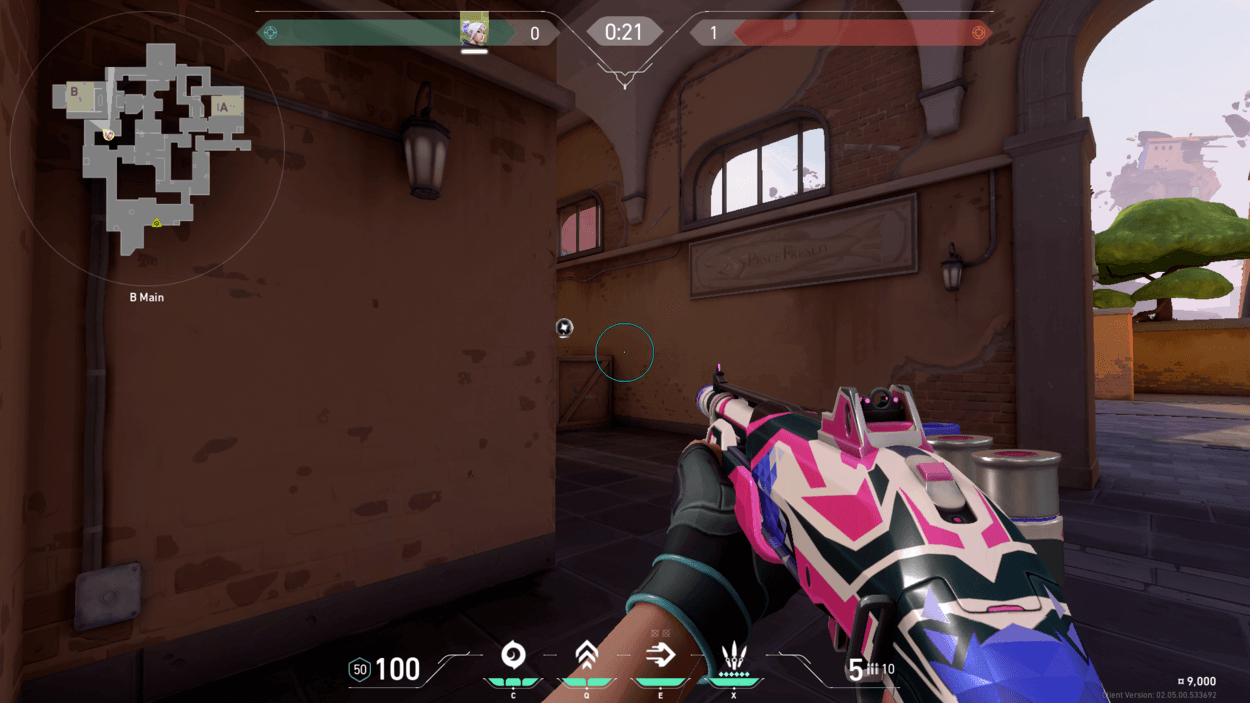
Once you have to leave the cubby due to them pushing onto site, you can try and hide in Logs or in Boathouse in order to look for another pick on an unsuspecting opponent.
The best way to cover B is to defend Mid, as you're able to establish presence Mid while still being able to rotate to either site if the enemy fully commits. If they're pushing onto B, you can go onto Market and fight for control there.
If you're trying to get onto the site post-plant, Market is a good place to get control of first. Once you've broken the door onto site and your team is ready to rush in, you can use your smokes to block off either Main/Runway so your team can take control through Stairs, or vice versa.
Using her Float ability, Jett is able to easily jump from the bicycle at the entrance of A-Main to the stacked boxes to the right of the doorway. This is a good place to peek from every few rounds because it's hard for the enemy to hold both the normal entrance and the top spot. Be sure to crouch when jumping from box to box, as the enemy is able to hear the jumps if there's no other noise. Once you're in this position on top of the boxes, you can use Updraft paired with Bladestorm in order to peek Heaven from above the wall (better opponents might expect this, so use it sparingly!)
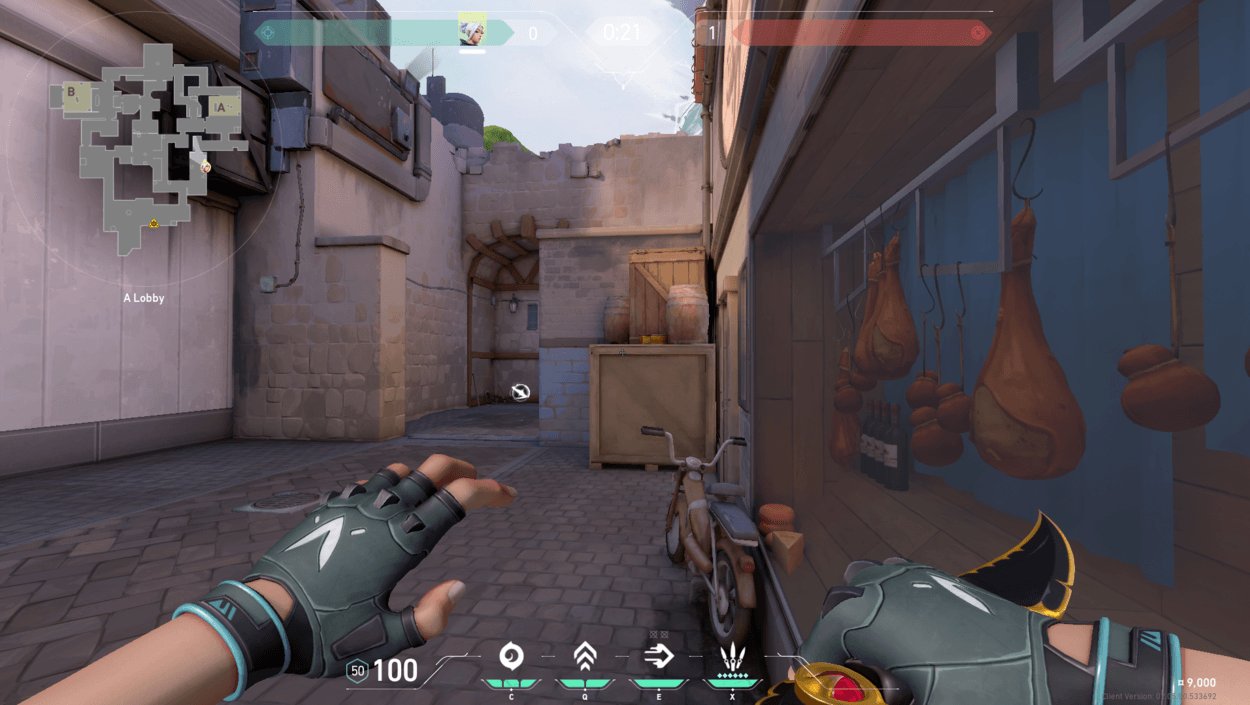
Any Agent can technically do this jump by crouching-jumping, but Jett is by far the easiest to do it consistently.
On A-site, Jett is a great entry-fragger, as she can provide her own cover and dash on-site, where you can slowly clear the site as your team funnels in. Since you can change the direction of your smokes while they're in the air, it's good to place 2 smokes on the site before rushing in, typically one covering the door and one on-site to dash in.
Once you're able to get the spike down, there are a few solid options for where to play post-plant. You can play either on top of the boxes in the corner or on the Generator if you're looking to control the site. If you're looking for a more aggressive play after getting the spike planted early, you can also jump up heaven and start trying to hold CT in anticipation of the enemy team rotating to the plant.
On Ascent, the enemy team typically puts their Sentinel Agents on the B-Site since they're able to hold the site effectively. This is what makes Jett a great entry fragger to enter the site. She's able to smoke Market and CT before dashing on-site, past any Killjoy utility, and destroying any Cypher trip-wires. There are usually no more than 2 people on site, and the Market smoke makes it so that whoever is holding Mid for the enemy team can't help for a few seconds.
Since Jett also has 3 quickly usable smokes she can place them out to create a wall for the rest of her team to funnel onto the site, while still giving enough time for someone to close the door. The smokes also create closer-quarters, which can even the battlefield if you find yourselves with an SMG or shotgun against enemy Rifles.
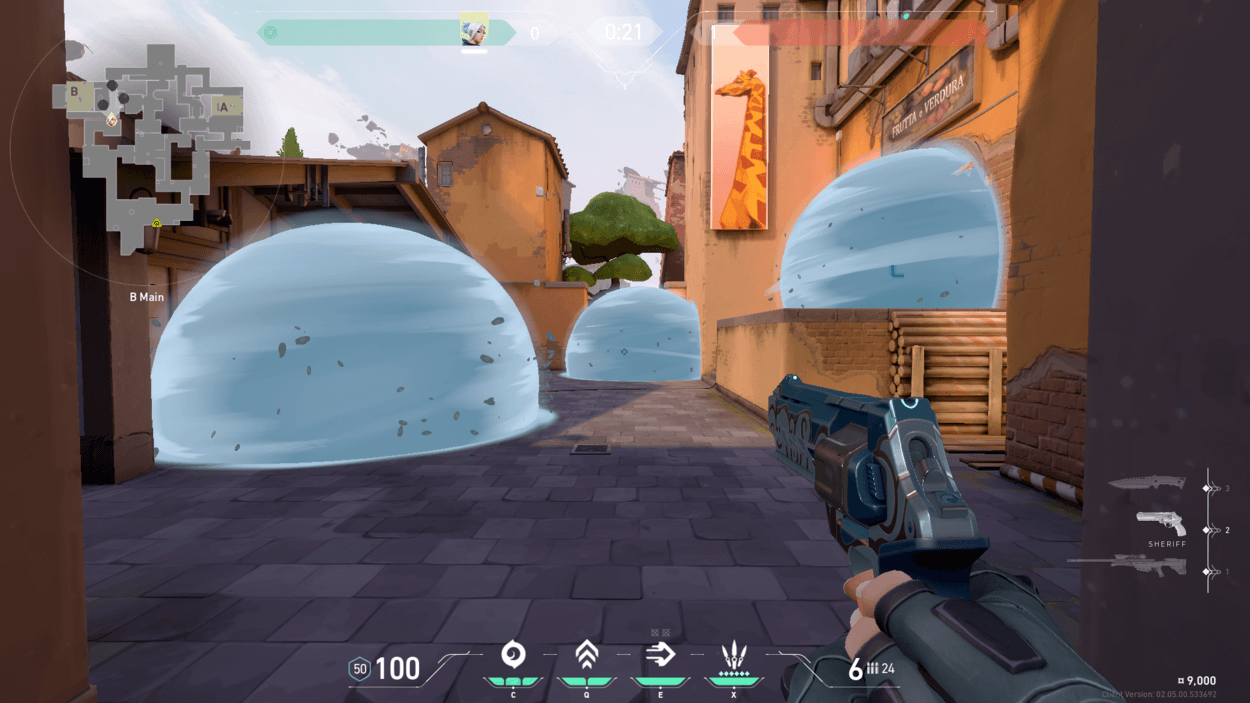
Some examples of smokes that make it easier to dash onto the site.
If you're quickly rushing site as a team and want to catch the enemy off-guard, you can use your Ultimate before jumping above Boathouse using Updraft and Tailwind to get behind whoever's holding on-site. Pairing this aggressive ultimate with a teammate's abilities such as a Sova Dart or a Breach Flash leads to an even easier time clearing out the site.
Ascent is one of Jett's strongest maps, and in this guide, I went over some of her best tips and tricks for both attacking and defending. Be sure to play to her strengths and try different positions and strategies to see what works for you. Good luck out there!