


Locking Down Bind B Site with the Information Broker - A Cypher Set Up Guide
A quick guide on some sneaky Cypher setups for B site on Bind.
A quick guide on some sneaky Cypher setups for B site on Bind.
Cypher is a great agent pick on Bind. With his utilities, a well-versed Cypher can dictate the pace of the attacking team’s push and catch those who aren’t as aware off-guard. This can be heavily evidenced by how well he can excel on B site.
One of Cypher’s ace in his sleeve are his tripwires. While they can be easily detected by cautious players, they are more effective when placed in locations that are not as predictable. Placing a wire by the entrance of Hookah or the first arch into Garden can be good for getting early information, but they are quite predictable. Instead, look into how you can utilize them to not only get info but maximize their potential by turning them into easy frags.
If trips are your butter, then cages are your bread. Cypher's cages are what help you finish off the poor soul that walked into one of your trips without having the enemy team have a sightline of you. This way, the enemy cannot trade and allowing your team to preserve a man advantage. Picking off one or two unsuspecting individuals will surely halt, if not slow, the attackers' push.
We cannot call Cypher an information broker if he doesn't have any information to provide. And what better way to obtain information than to use inconspicuous camera placements in order to tell if there's a significant Long B push or a full Hookah rush. Cypher's camera can dictate help advise your team whether or not an early rotation is in order, or to have care while holding A.
Now that we've gone over the purpose of Cypher's kit, let's go over the setups.
The purpose of this trip and cage combo is to catch people coming out of Garden while maintaining control of Elbow. The wire is a bit tricky to place at times, but it certainly pays off mashing the F key until you get it.
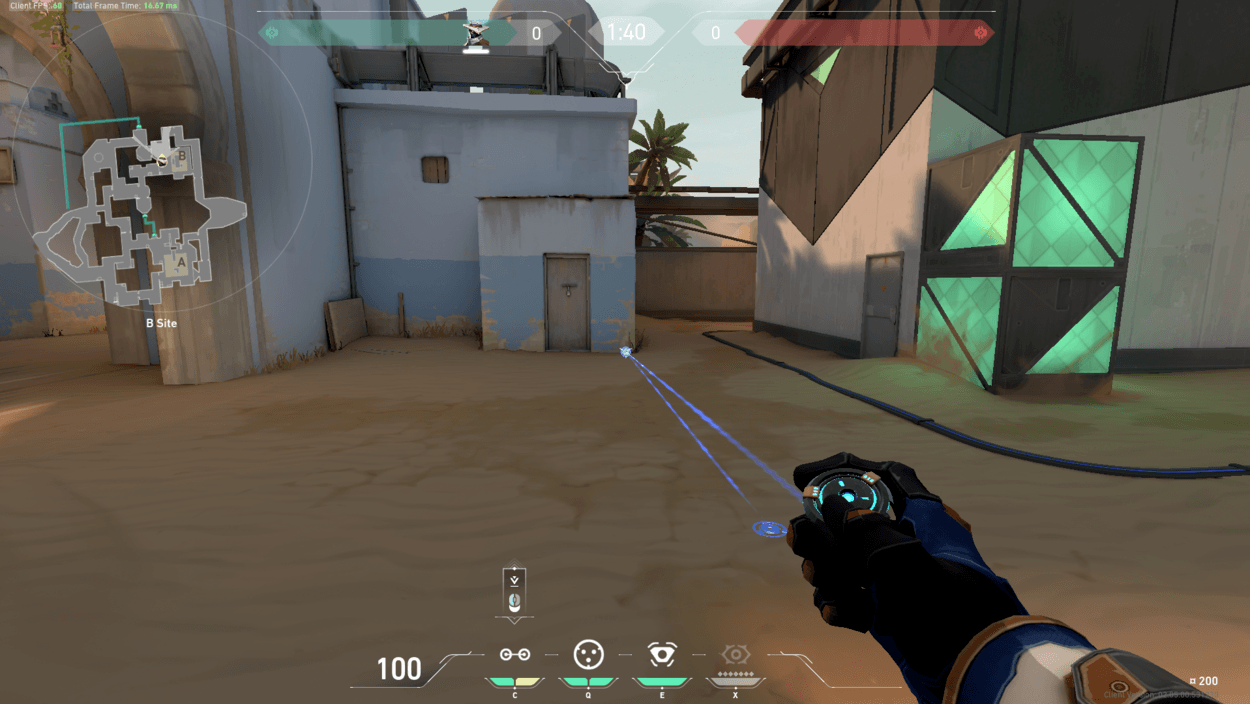
While the general area is easy to find, getting the elevation can be tricky since you have to get it almost at the point where the wall and ground connect.
Add the cage in the middle of Elbow entrance and it should look like this:
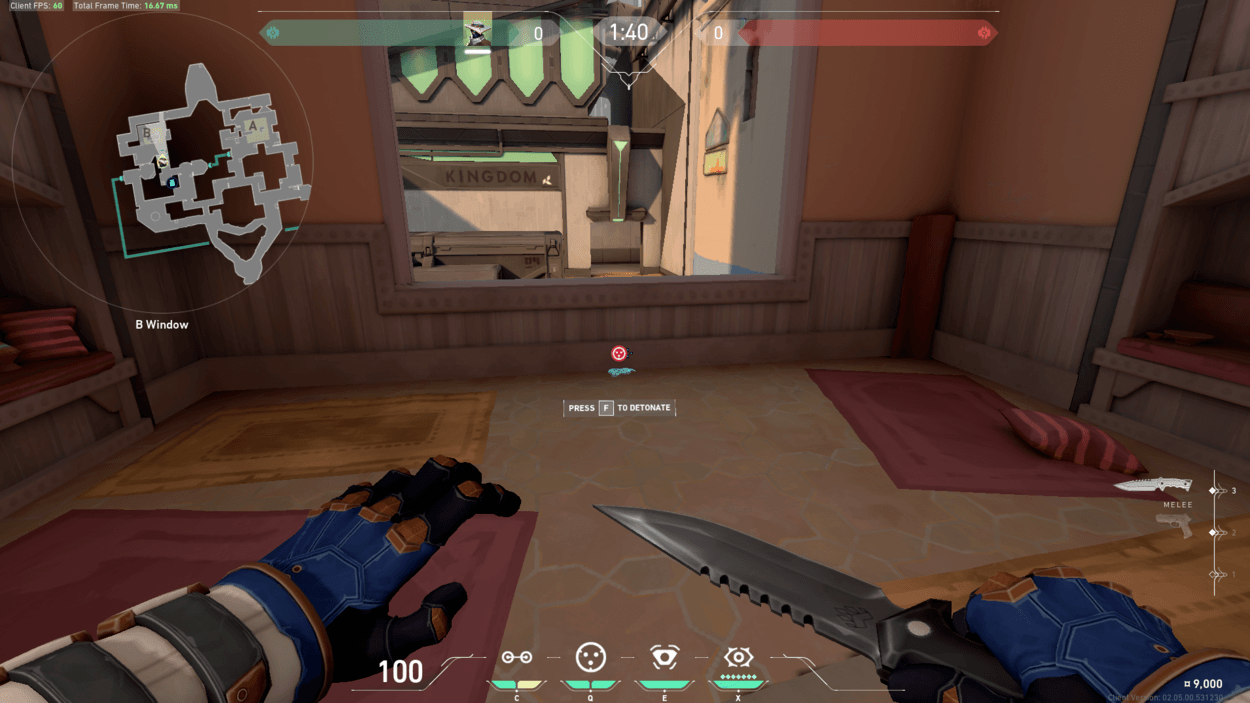
While not every attacker will jump straight towards the left of Hookah Window, those that do will meet a very unfortunate surprise at the bottom. While this wire works well when holding Cubby, it also is great when used in tandem with the previous wire as you can surprise Hookah and Long attackers.
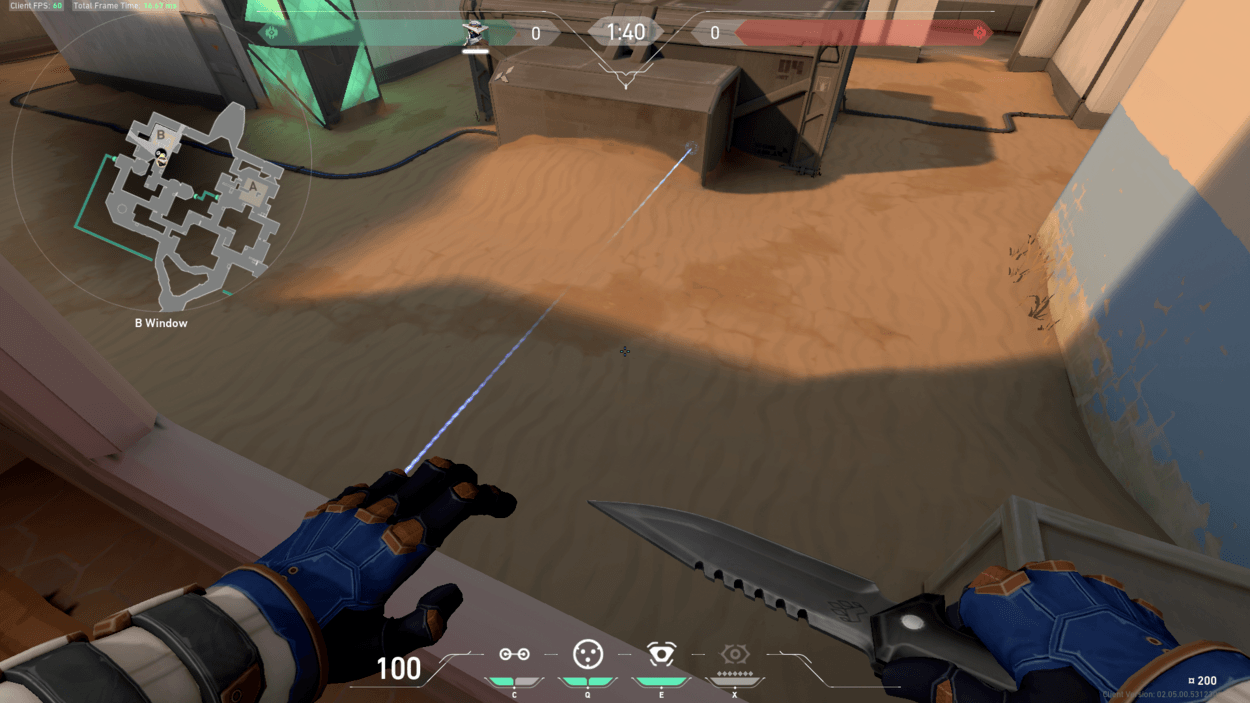
Be mindful that this wire can be heard from Hookah and while placing it lower may minimize that, you run the risk of having them jump over it.
In execution it should look like this:
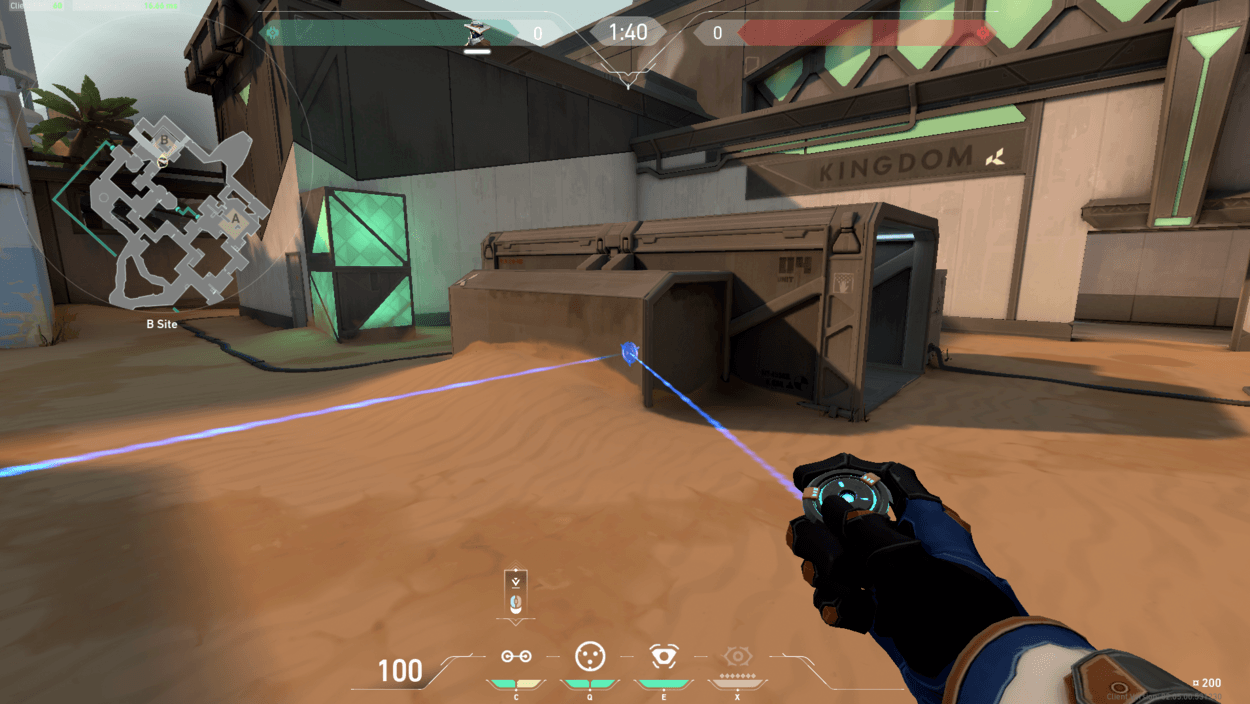
This camera is good for getting early information if no one is playing Hookah. Paired with the cage at the window, it can be used to get one or two quick wallbangs. However, I personally don't tag unless they're committing in order to provide constant information to my teammates.
From this corner, you can see both sides of Hookah window. The opposite corner has view of the entrance to Hookah from the attackers' side at the cost of having sightline of the left side of Hookah window.
Again, using the principle of limiting the attackers' sightlines, this cage is simply meant to keep them from being unable to tell where they're being shot from and to slow their push from Hookah.
Here's how it should look:
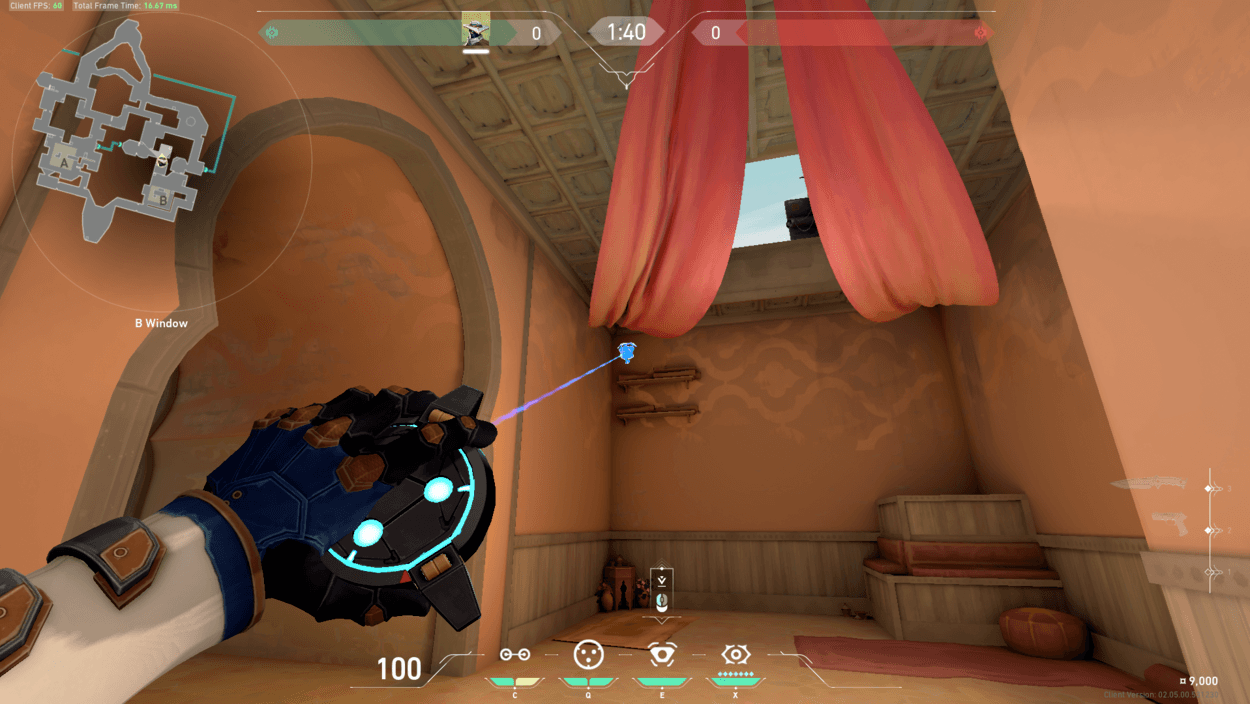
One-ways are great to get easy frags on unsuspecting opponents. They not only keep you covered, but they also make it hard for an opponent to tell where they're getting shot from. Thankfully there is one cheeky one-way that can be done with Cypher's cage on B site.
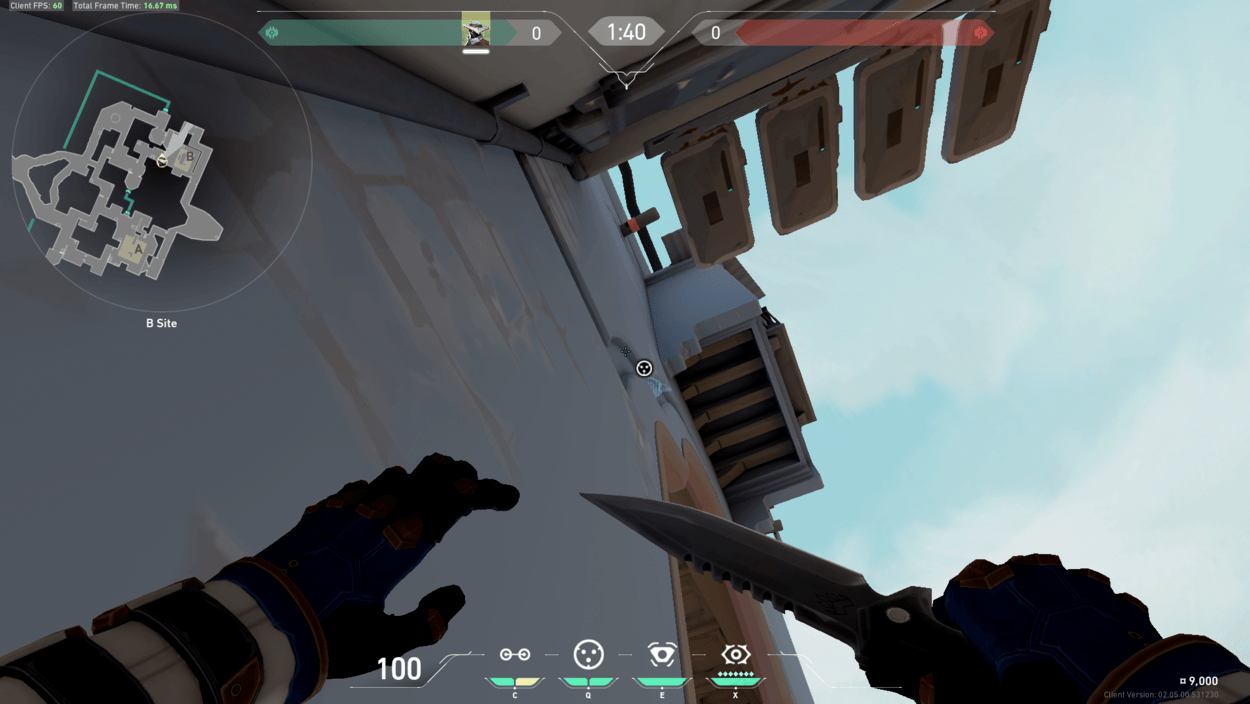
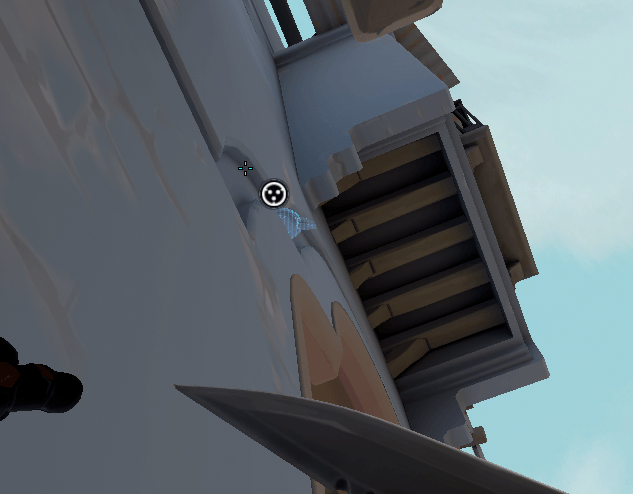
To set this cage up, jump on the box next to Hookah and aim for that edge shown above. When you activate it, you should be able to see into Hookah and the opponents from the waist down.
Now, this looks great and all, but does it really obscure your position? Take a look for yourself:
As I'm pushing Hookah, the cage from my perspective doesn't allow me to see my friend who is spamming through the cage.
The way it also obscures the right side of B site allows you to fall back into Cubby or play Backsite, allowing you to reposition yourself in order to throw off any attackers trying to trade the frag.
These setups can be interchanged and used together pretty well. By setting up a one-way, trip for under Hookah, and a second Cyber Cage to cover Cubby, you can pick off one attacker coming Hookah, and get any aggressive opponents dropping from Hookah. Also, don't forget that you can set these up on the attacking half. Something that I've noticed that some Cyphers, myself included, is that we forget to use utilities sometimes after taking control of B site. So feel free to catch the defenders off guard when they try to retake B site.
Now another point of interest when playing Cypher and utilizing these setups is the question of using either a Vandal or a Phantom. Spamming through smokes is never too wise with Vandals as the tracers are easy to notice and you may find yourself being killed with your own setup. Typically when running these setups, you should instead use suppressed weapons as there are no visual indicators of where you are shooting from. So this includes, the Phantom, Spectre, and Ghost. Now, this doesn't necessarily mean you can't use these setups with other weapons, but it is better to avoid being dinked through your own Cyber Cage.
There is a moment in your life as a Cypher where you will face a team that just explodes out of Hookah and knows where your setups are. Keep in mind the principles of each utility that we discussed earlier. Cages obscure you while trips do the revealing. In addition, use cages to make it hard for opponents to see where the trip is set up. This will force cautious opponents to slow down and cause reckless opponents to get caught in the tripwire.
These setups are quite useful but keep in mind that most people won't fall for the same thing twice. For example, the trip for under Hookah completely depends on the attackers dropping the left. This leaves the right side completely exposed so be mindful that a few may bypass the trip and make it onto the site. The trip outside of Garden is highly dependent on a few factors too. A Sage privy to your setups may simply wall you off, thus cutting off any opportunities to pick off attackers from Elbow. Be aware that your setups need to be switched up here and there to keep them fresh and a surprise to any unwanted visitors to B site.
Finally, it doesn't hurt to practice learning these setups in a Custom match. Some cages and wires (like the one in front of Garden) are tricky and take a little to get right. You don't want to be caught in the middle of a push with a wire or cage in your hand! Time yourself and see if you can improve on your pathing to get set up as quickly as possible.
A special thanks to my friend Sora for helping me demonstrate these setups.


