How to Defend Mirage’s B Bombsite
Learn how to improve your CT side prowess while defending the B site on the popular Mirage
Learn how to improve your CT side prowess while defending the B site on the popular Mirage
“Rush B, no stop” - said the Terrorist on the other side. Or so you think because you now have a bombsite that is being swarmed by players running through your Incendiaries and Smoke, just headshotting your teammates and you have no idea what to do. In the end, you lose the round. How can you avoid stuff like this?
Welcome to this article where I will try to give you a few tips on how to defend the B Bombsite on one of the most loved and hated maps at the same time - Mirage. After all, it’s a very common map for puggers and teams alike, being played in very different ways when confronted with different styles of opponents.
There are countless ways to attack the B bombsite and you have to make sure you’re ready to defend the site from all of them. The first thing you should focus on is getting to know your opponents. You can make a lot of conclusions on the way they play the early rounds, even if they’re not straight rushing the bombsite. You can understand how much chemistry they have together by connecting some of the information your team is relaying to you, like the way they approach Middle - are they attacking it with a sole player without any backup and trade kills? They’re probably playing without any teamwork, which makes rushing B rarer… or, actually, more common, since it seems that’s all some players know how to do.
Above all, make sure you understand how they like to approach B. Do they have a player covering that side of the map at all times? Does that player like to be aggressive? Or it’s one of those guys that just plays very defensively until their team makes a decision? By understanding how they like to play, you can then prepare your plan of defense. I’m not the type of player that likes to play the same way every round, and neither should you - stay active, surprise the opposing team. While in some rounds you might want to play passively on-site and delay their attack with utility, in others you want to be aggressive and take the fight to them. You’ll be surprised at how many times you can actually surprise them and get out of there with a one-man advantage.
Although Mirage is a very puggy map where there won’t be a lot of coordination while attacking B (A is a totally different story, because, for some reason, everyone and their mothers seem to know all the smoke lineups on that bombsite). Still, if you play on higher ranks and levels, you will find some decent teams that know how to use utility to their full potential.
Let’s say you see an execute being started with two smokes covering both Archways to Short - you should shift your entire focus to Apartments because the probability of someone coming from Short is almost zero. And even if someone comes from there, at least one teammate of yours from A should be already rotating and ready to cover that position to start a possible retake. Make sure to use the utility you have as soon as possible and cover yourself from possible Flashbangs.
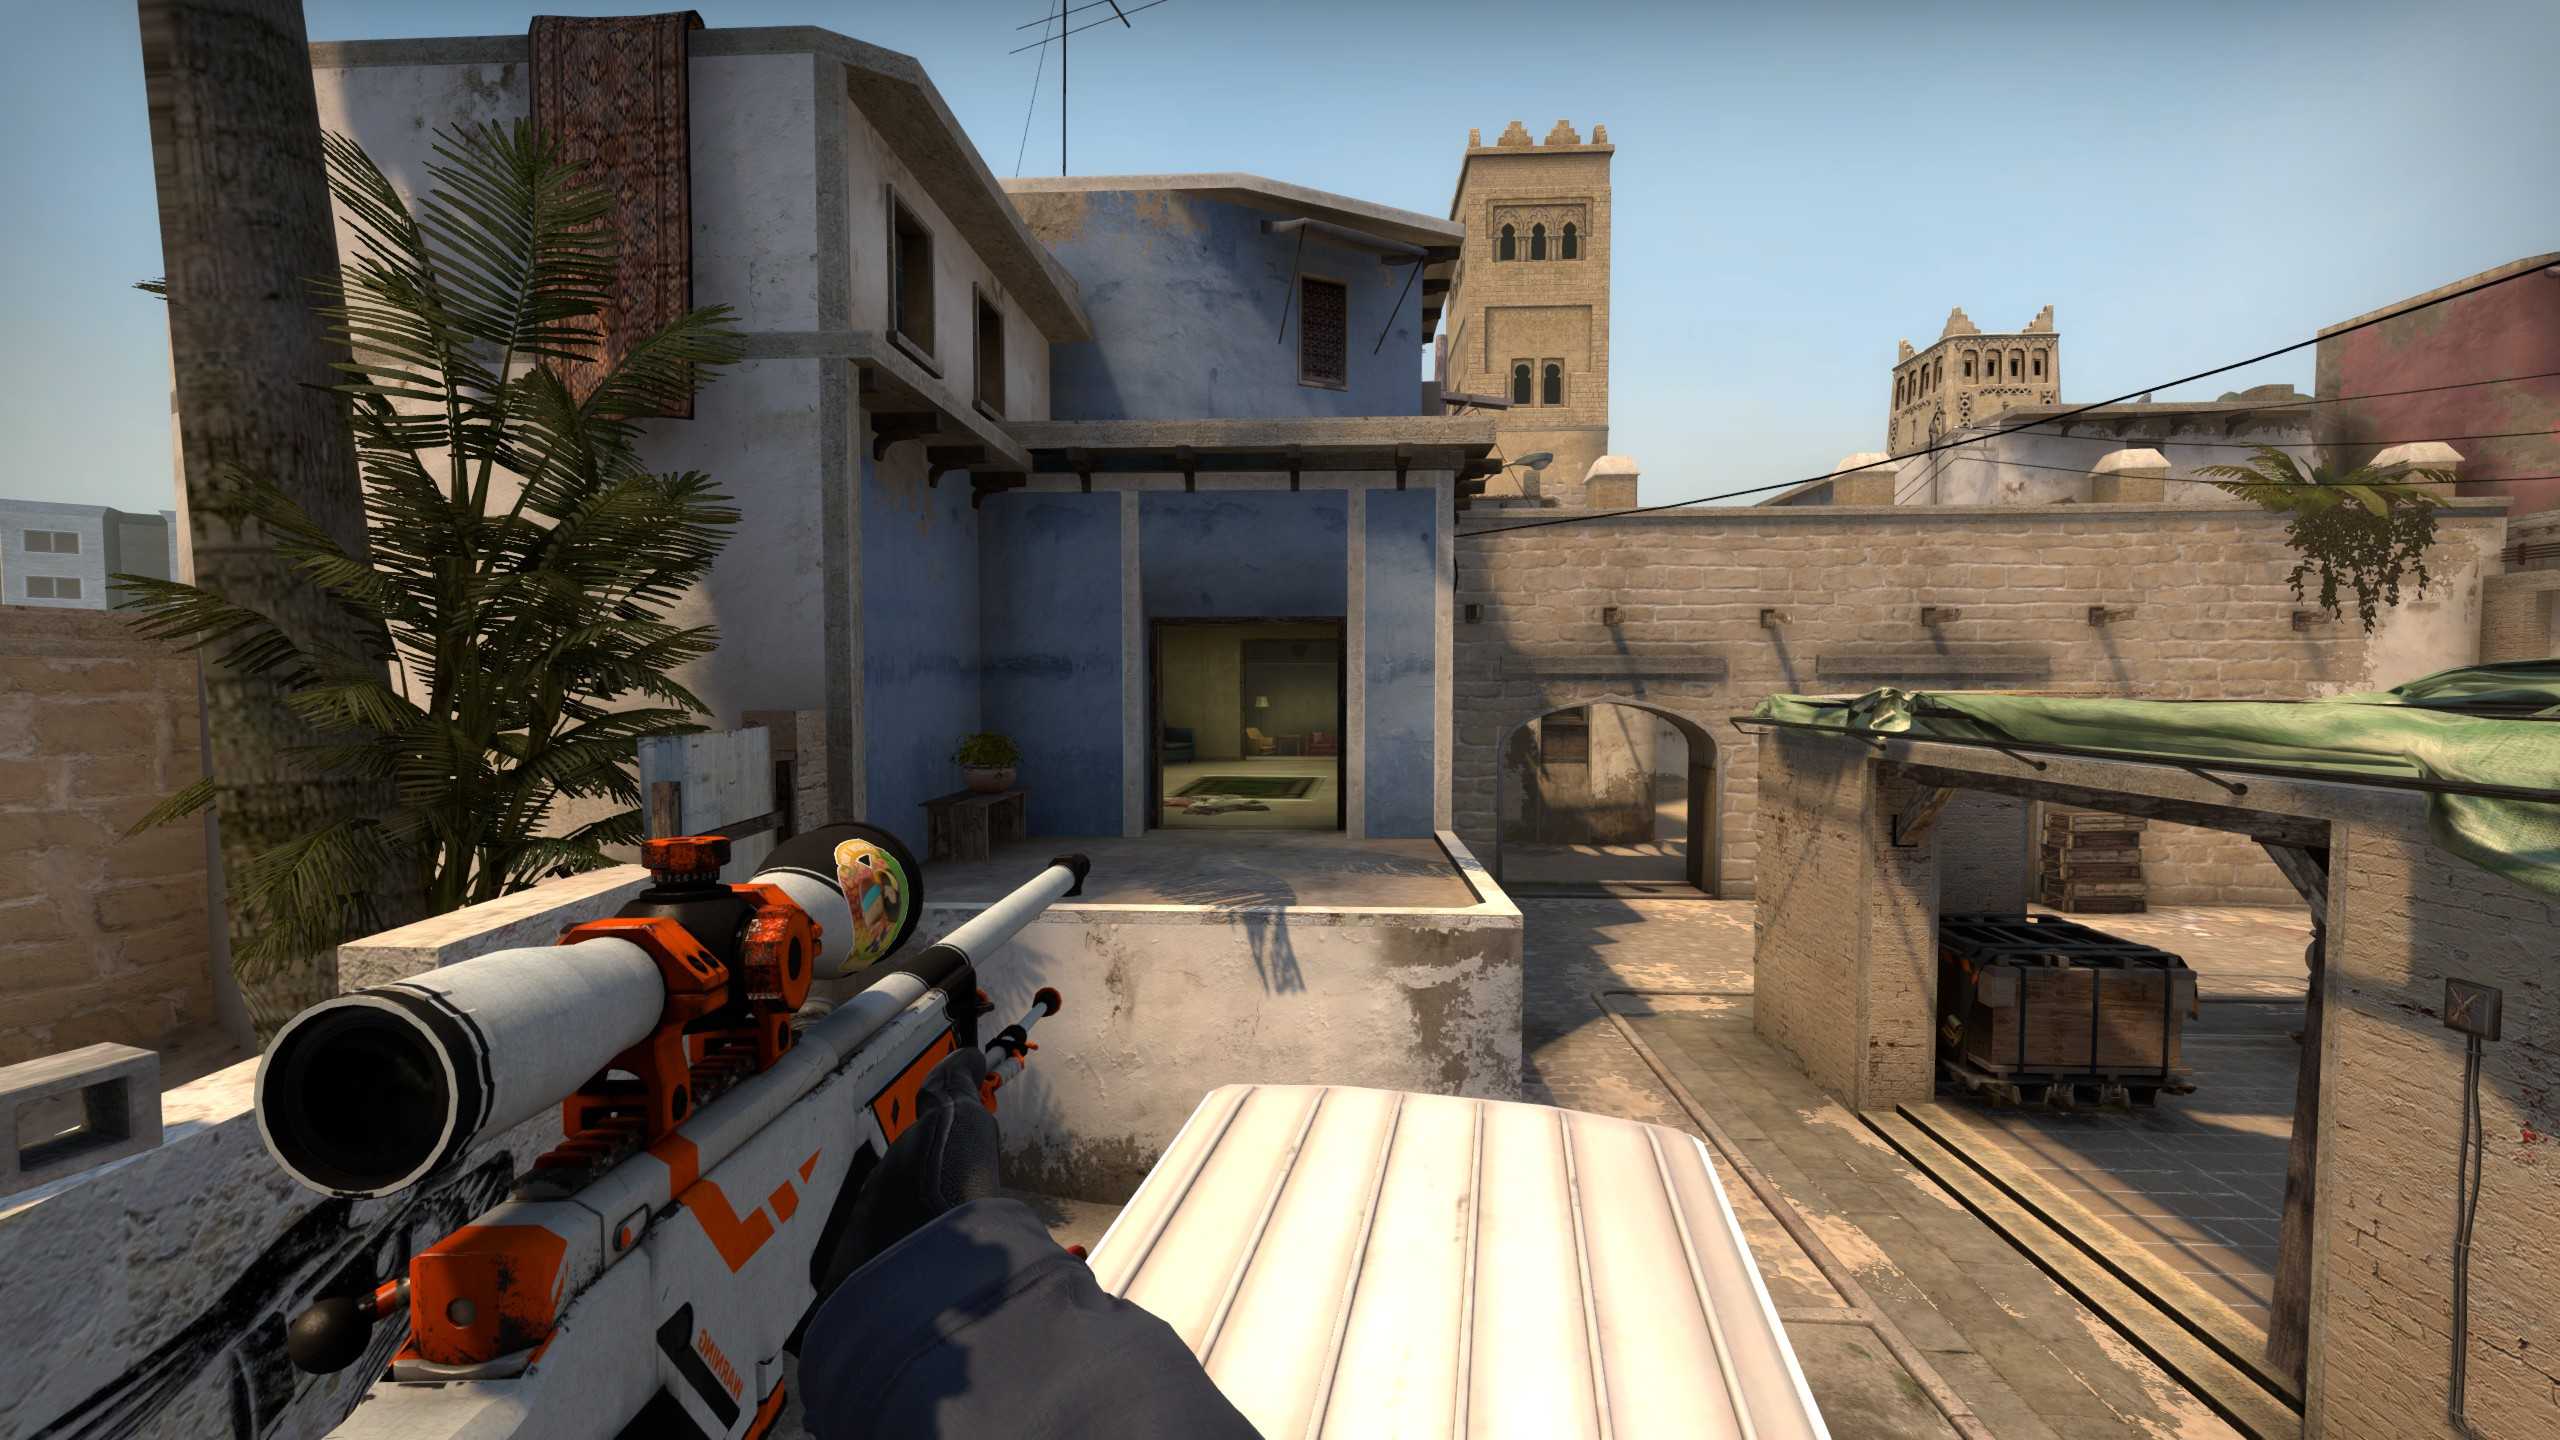
One good set of utility you can use is throwing a Smoke under the window and a Molotov to Car. Players rushing will burn a little bit of their health away when falling to Car and it will force them out of that position. The smoke will get somewhat protected from a player trying to trade kill, as you’ll see them first 100% of the time due to them coming out of a Smoke.

If a Smoke on Short is not used, you should probably be aware that might be someone coming from there. You can then play on the timings based on the information you have from your teammates - that player can only cross to Short if your team allows it. If they get smoked out of position, they need to tell you that immediately so you can react appropriately.
BIG TIP: Make sure to ALWAYS use your utility; it’s no good if you’re dead. When they’re coming out, make sure to cover a position with a Smoke, try to blind them with flashbangs, and if you have the maneuverability necessary, even toss a HE Grenade to common spots they might be. In the end, just try not to die in vain.
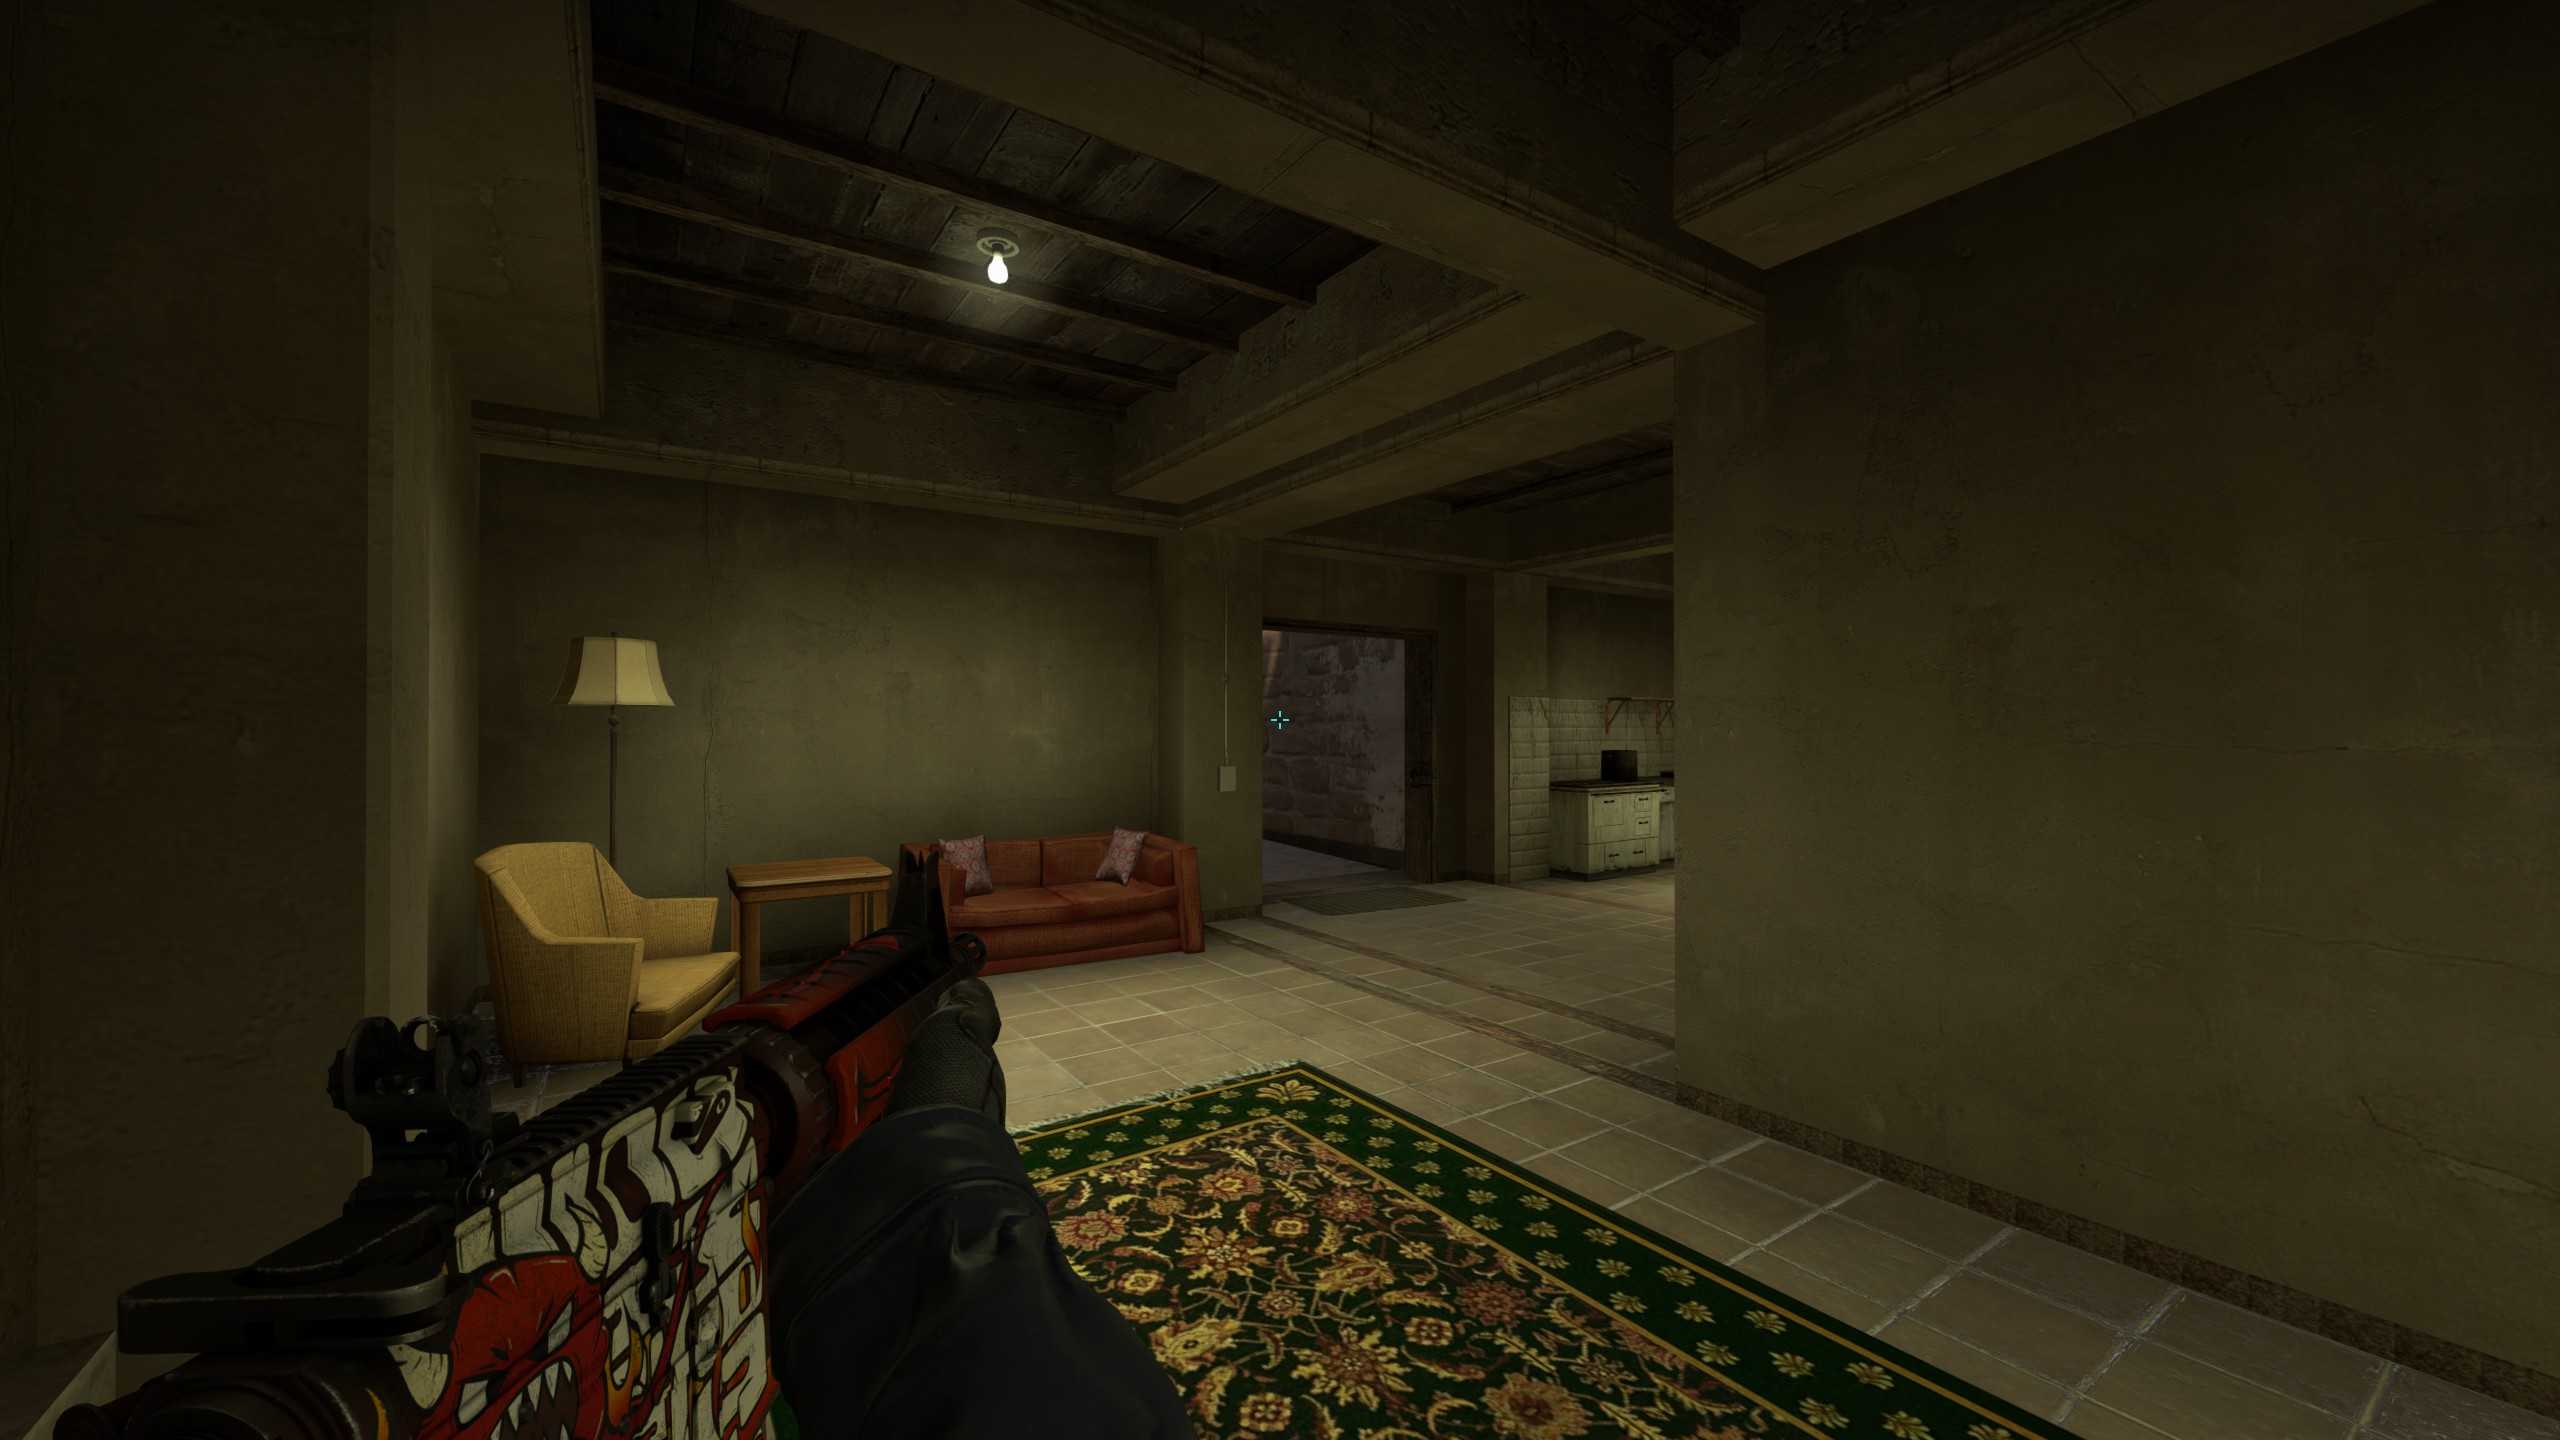
I’ve talked about this in the beginning of the article, but the B bombsite is laid out in a way that allows for good maneuvering for CT. Let’s say your team has no info at all after 45 seconds of the round and you’ve been jumping on B without any information spotted. If you have two players on B, maybe it’s time to push a little bit. The B apartments allow for a semi-safe and slow push - but what exactly do you gain from this? Everything.
Let’s say there are 50 seconds left in the round and you start to push. There are two things that might happen - you find a group of players, indicating they’re preparing to start an execute and, even if you die, you just gave some precious seconds for your team to start immediately rotation or you find no one at all. And that’s where this push can shine the most.

If you find no one after pushing, they’re almost certain to be on the other side of the map, preparing to go to A. Your B teammate should immediately start rotating and help to defend A, sometimes being the necessary extra player to hold a push. And what about you? Well, you just keep on pushing, with care, to flank them as soon as possible after they push. If the timing is good, your teammates can even hold their position and retake while waiting for you to make the first contact.
Naturally, this is something that happens really fast in a CSGO round, and there are no two alike. You need to be able to adapt to what is happening.
There are some behaviors that are very common on the B site of Mirage - one of them is jumping to spot T players coming out on Apartments. Remember that if your opponents spot this tendency, you’ll most likely eventually die to a well-timed headshot or even an AWP, especially if you jump exactly the same way every time.

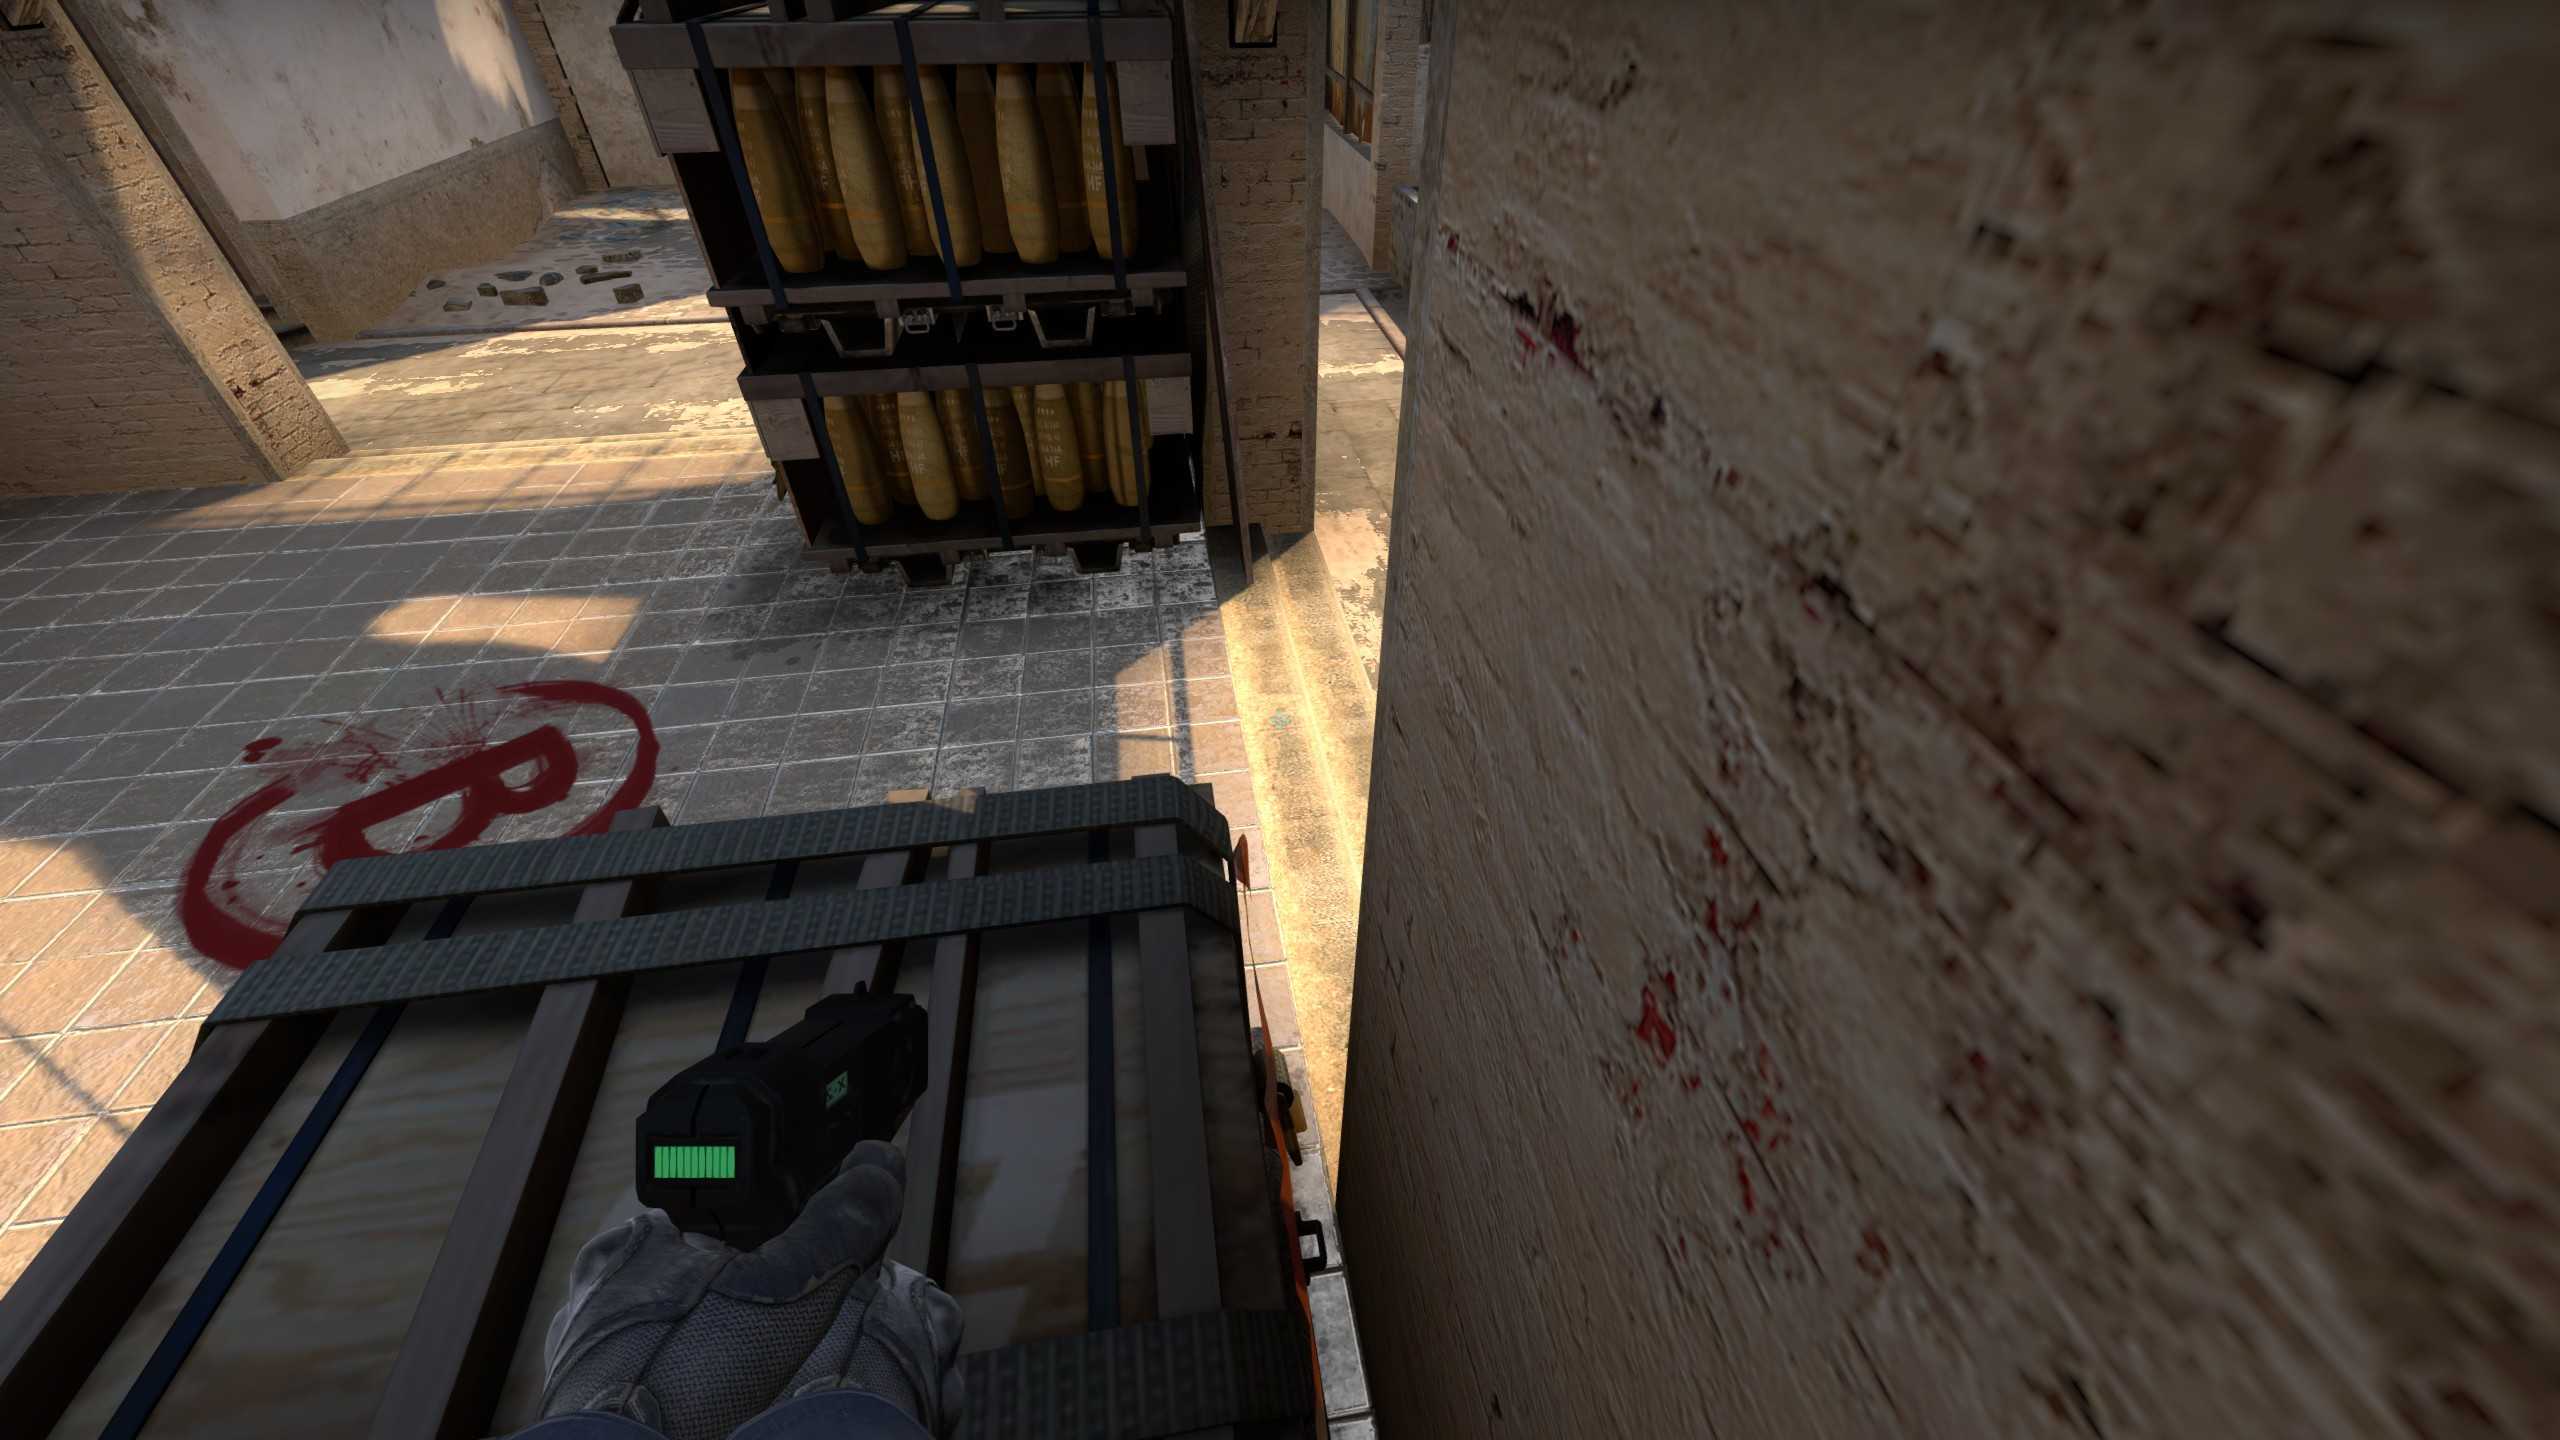
This bombsite is also perfect for baiting opponents (in a good way). Hide right outside the apartment's exit and let your teammate pull the attention from you. If everything goes right, you can kill more than one player with their back turned on you. You can also hide on the box on the bombsite, you just need a player to help you up with a boost. That’s actually a good place to play on an eco round with a Zeus. If you’re lucky, their player will start planting on default immediately after getting the bombsite control and you get yourself an easy kill. You probably won’t do much after that, but hey, at least you got bragging rights for that Zeus kill.
Thank you for reading this article! Hopefully, it will help you get better on that B bombsite defense!
You can reach out to me for feedback or suggestions via Twitter.