While the past couple articles I’ve written here encompassed more theory based ideas like learning new maps, or practicing proper peeking and crosshair placement; I figured with this article I would get more focused on specific in-game positions, like the article I first wrote about my favorite spot in the game: the Mirage B-Site anchor.
So with this article, we will move past theory and move straight into practice as we go over my second favorite spot in Counter-Strike: Global Offensive, that being Ramp on de_nuke.
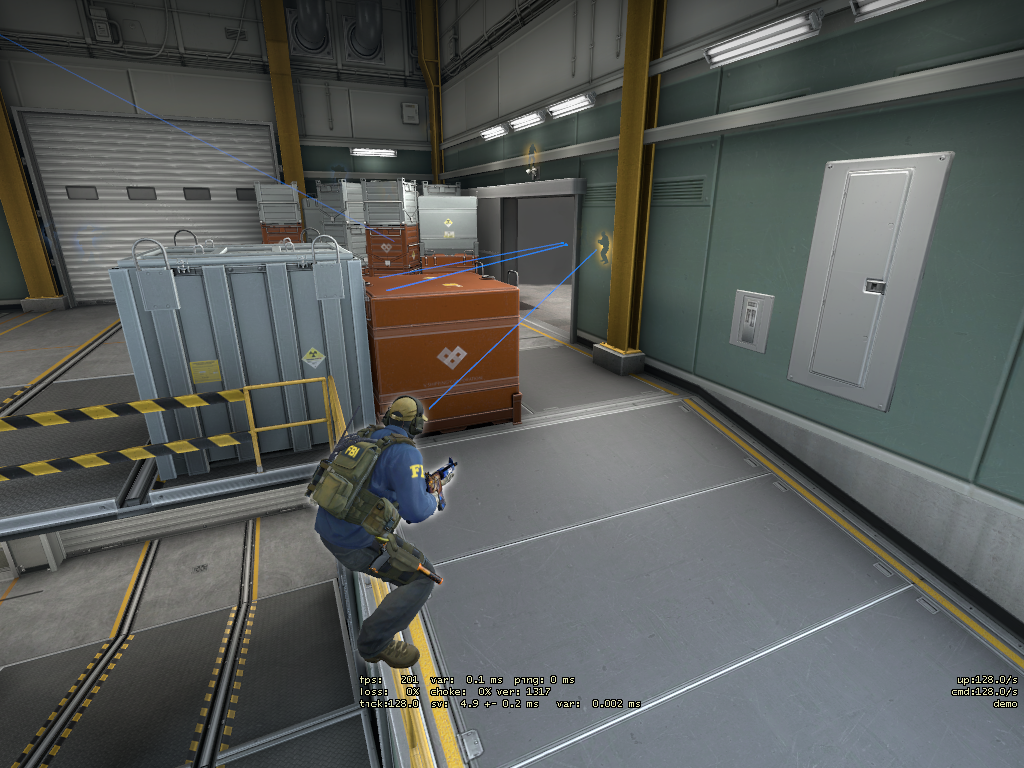
Why Is Ramp So Important?
On the Nuke CT Side, every position is vital because the rotations around the map can make it easy for T-Side players to navigate around the map and ruin your day. Because of this, Ramp tends to be one of the most vital parts of the map as it is the most direct way to the lower B-Bombsite. Generally, you only need to play one player in the Ramp position, and because of this, every decision is not only crucial for your success, but for the entire team’s success. If you are constantly making the wrong decisions, it could easily cost your team the entire game.
Since Ramp is the most direct way into the B-Site, it is important to understand when you should leave this part of the map, and when you should stay put. For example, if you rotate down to the B-Site every single time someone drops to Vent or crosses to Secret, then all the enemy has to do is wait for the sound cue of you running to catch the lower player, and suddenly they have access to half of the map. The same goes for when your teammates take gunfights on the A-Site or Outside.
In the beginning, it might feel that the best way to help your teammates is to rotate off of the Ramp and go help, but just like rotating down to the B-Site early, all this does is open up a vital portion of the map and does more harm than good in the long run. You should look at Ramp in the same way that one looks at anchoring a Bombsite: never leave until you see the bomb or until your teammate calls for you.
Keeping It Fresh
Ramp is quite a large part of Nuke, but not literally, as the portion of the map is physically quite small. Because of this, you might find that keeping your positioning fresh can be incredibly hard. But just like anything in CS:GO, it is a skill that you’ll eventually master over time.
To me, the first step is to have the proper mindset. It is incredibly easy to pick the spot that makes you the most comfortable, or a spot that you have gotten several kills in the past from. However, once you start using these positions over and over again, opponents start to get smarter and smarter and eventually if you keep playing from the same spots, great players are going to pre-fire or pre-aim you before you even get a chance to click Mouse1.
Just like a great AWPer, you want to be as unpredictable as possible from round to round. One round you can play on top of the boxes, then maybe the next you play on the same spot, but slightly lower on the rails? Or perhaps you got a few multi-kill rounds from the bottom of Ramp with an AWP, then in the next round you play close to the boost box with a rifle, so the enemy won’t be looking anywhere near you. When playing these single person spots or sites, it is important that you stay one step ahead of your opponent at every moment, because the moment you let them catch up, you’ll get destroyed.
One and Done Is Done
On the topic of being unpredictable, I would like to talk briefly about what I will refer to as “one and done” spots. These are the spots where you are playing so close or so committed to a part of the map that it is almost impossible for you to get one or more kills without getting immediately traded. These spots have their use, but ultimately are seen as a way to guarantee you a kill every round, rather than something that is helpful to your team and will win you the round.
Like the B-Site on Mirage or Vertigo, dying immediately might just be more harmful to your team than just staying alive, regardless of how many kills you get. Like we talked about earlier, having any kind of Ramp presence is crucial on Nuke, so you should always value your life over the amount of kills you can get. Now, this is not a PSA to play ultra passive and never try to get a kill ever again, but solo positions like Ramp should always value staying alive rather than getting multi-kill rounds, as the kills should be a reward for patience and smart playing, rather than the other way around.
Utility at the Start
In order to properly talk about how to play Ramp properly, I thought it would be affected to walk through each point of the round: the beginning, mid-round and end, in order to break down some of the ways you can use utility to make holding this spot as simple as possible.
At the beginning of the round, there are a couple of options you can begin with:
Anti-Rush Utility
Anti-Rush Utility is fairly straightforward, and is used just as the title says: to stop the rush. There are two ways to use this, either directly off spawn once you reach the Ramp, dumping either your molotov or smoke to stop enemies from barging into your part of the map; or waiting for sound cues and throwing your utility on contact. The second option is a lot more risky, but tends to be the most economic way of using your utility, as it guarantees that it will be useful rather than wasting it every round just in case.
Set Plays
These are rounds that are designed from the start and slightly more advanced, these can arrange from anything like flashing for teammates to peek the Ramp connector or throwing an early one-way smoke in order to get a free kill. These are a little more stylistic and might require practice.
Utility at the Mid-Round
The mid round is often the most complicated to define, as a large chunk of time in the game could be considered the “mid-round.” Generally I like to break down actions in the mid-round as “Proactive” and “Reactionary.” Both I will define below:
Proactive
Proactive utility in the mid-round are things that put you on the offensive rather than the defensive, where you take it upon yourself to gain map controls and make plays depending on your own personal opinion or overall game sense.
Reactionary
This is the pure defensive option, and requires the most patience. If you hadn’t pieced together already, reactionary utility is used entirely in response to anything your opponent throws at you. This is where you would unload any utility that you haven’t already used in order to slow or stun your enemy, stopping them from taking Ramp and either guaranteeing you a massive multi-kill round, or basically locking the round in for your teammates as they clean up any damage you might have dealt.
Utility at the End
Utility used at the end of the round is usually the rarest to encounter, especially in PUGs or Matchmaking games where teams won’t be waiting till the end of the round to attack a place like Ramp on the map. But in the case that you have utility this late into the round, whether that be from a combination of patience or luck, or sheer skill, there is really only one play here:
The Long Game
The only cases in which utility this late in the game is useful is if you play the ultra-long game. This is a very challenging mission to accomplish, as it requires near perfect utility usage and patience in order to make sure you still have utility to use in the very late seconds of each round. This is the most perfect circumstance that every Ramp player could hope for, and shouldn’t always be expected to occur. Ideally, you want a smoke or a nade, as either will slow the opponent and force them into you and punish the team for challenging such a small choke point so late.
Conclusion
And there it is, a streamlined and comprehensive guide on what I think might just be the most misunderstood CT position. Ramp is vital, arguably as vital as any Bombsite on any map in the game. It’s not meant to be left, or rotated off of. Rather, it should be used as an important anchor position that controls half of the map. Leave the B-Site rotates to one of your A-Site players, as they are a little more expendable. Rotations are the name of the game on de_nuke, just make sure the name of that rotation is never to leave Ramp.
Visit our partner VIE for the safest market and best customer care in esports betting.
Must be age 18+ and reside in a country where online gambling is legal. Gamble responsibly.