Mastering Brimstone featuring Dignitas’ Ryann — VALORANT Agent Guide
Brimstone is one of VALORANT's strongest controllers. In this guide, Dignitas' Ryann will go over what makes him a staple in the meta.
Brimstone is one of VALORANT's strongest controllers. In this guide, Dignitas' Ryann will go over what makes him a staple in the meta.
As one of the strongest Controllers in VALORANT, Brimstone brings an immense amount of map presence to any game. With several global abilities in addition to his unmatched utility, Brimstone has been a staple on nearly every map in the game since its inception. In this guide, we'll go over everything it takes to master Brimstone. With a little help from Ryann, Dignitas' controller and smoker main on our professional VALORANT roster, we'll cover the ins and outs of Brimstone, what makes him strong compared to other controllers in VALORANT, as well as why and when you should be pick the agent during your ranked climb.
What makes Brimstone stand out among other smokers in VALORANT is the fact that he only has three charges of his smokes at his disposal during any given round. Brimstone’s Sky Smokes (E) have an immense amount of utility, but their limited usability is what might throw inexperienced Brimstone players off at first glance.
Ryann: “Brimstone players only have three smokes. That’s something people who play smokes, but don’t play Brimstone can often forget. If you’re used to playing Omen, whose smokes regenerate, you can easily forget that you only have three smokes to work with every round.”
Because of the fact that Brimstone only has three smokes to play with each round, the ability is balanced thanks to how long the Sky Smokes actually hang around. The duration of each of Brimstone’s smokes is 19.25 seconds, making them the longest-lasting smokes in all of VALORANT. This insanely long duration should give your team enough utility or cover on any push or rotation.
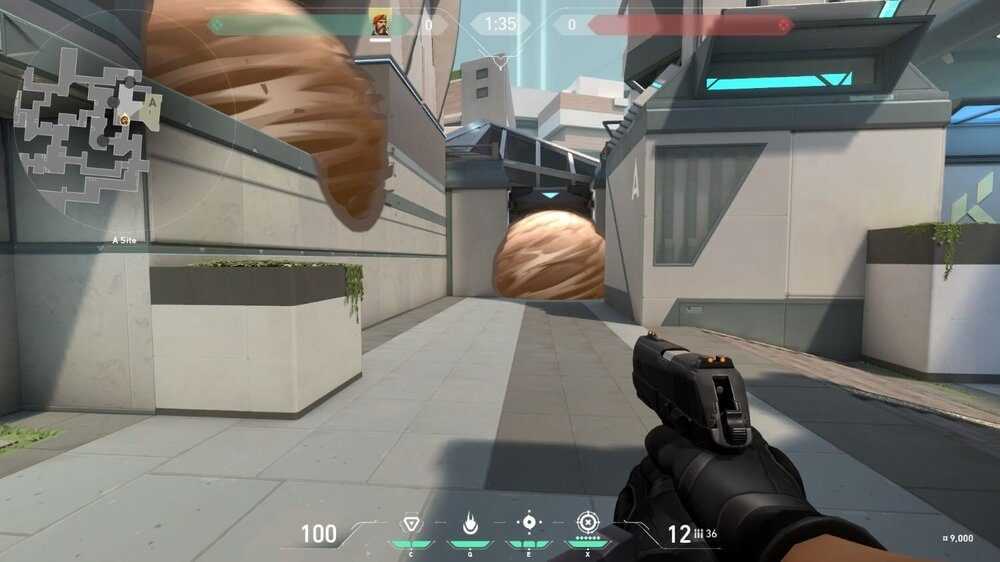
Ryann: “You want to use the duration of them to your advantage. They last a really long time. Always keep in mind how many smokes you have and what you’re using them for.”
However, you’ll need to be keeping track of how many smokes you’re using for each given situation. Using all three of your smokes at the start of a round is often unnecessary, especially considering there’s not many opportunities for you to smoke off three sightlines at once for 18 seconds.
Ryann: “You need to have the smokes to use them. You don’t want to throw all your smokes in one place just to not have them later on in the round in case you need them. Let’s say you’re defaulting mid, putting all your smokes there, and then all of a sudden you need to rotate to a site. That rotation is just not going to work out without your smokes.”
Brimstone is usable and versatile on almost every map and every site in the game. There’s locations on every single map that Brimstone players can take advantage of, but some spots are far stronger than others.
Ryann: “Bind B is great because no matter where you’re going, whether it’s Hookah or Long, you’re going to want to smoke off Elbow and Spawn. On A, you want a tight smoke on Heaven.”
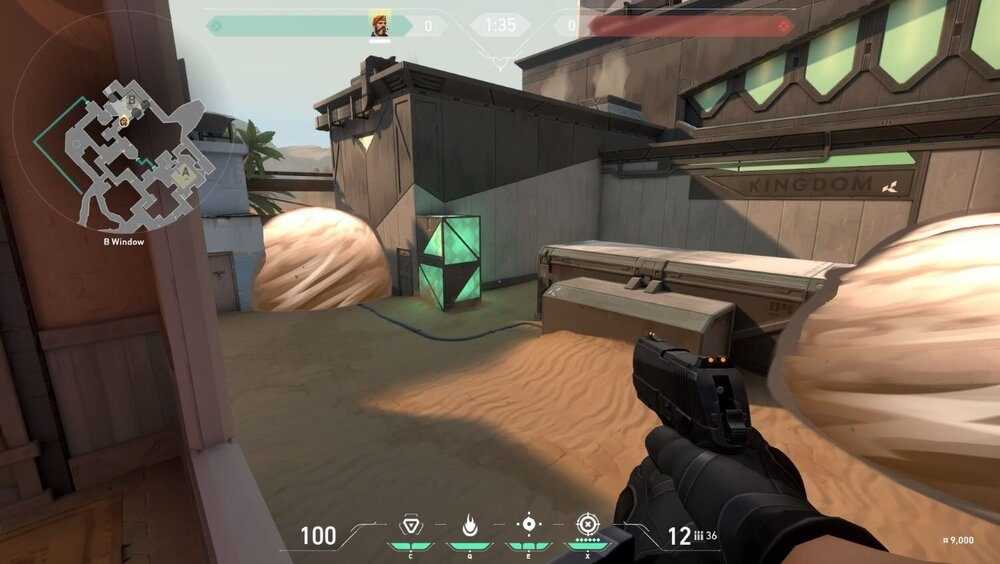
But Bind isn’t the only map where both spike sites are heavily influenced by Brimstone. Ascent also allows Brimstone players to drop some big-time smokes, as well.
Ryann: “Ascent-A is super impactful. People tend to smoke off Heaven when pushing this site, but smoking off the door leading into Tree is actually a lot more important. Heaven is one of those fights where you can angle out and maybe get a cheese kill, but if the other team has people watching the choke, there’s a good chance you’re just dead. I wouldn’t push through it, but if you do, make sure to smoke off the tree room just in case. Ascent-B is also an important site that comes to mind. When pushing through B-Main, make sure to smoke off Spawn and Market to get to the site easier.”
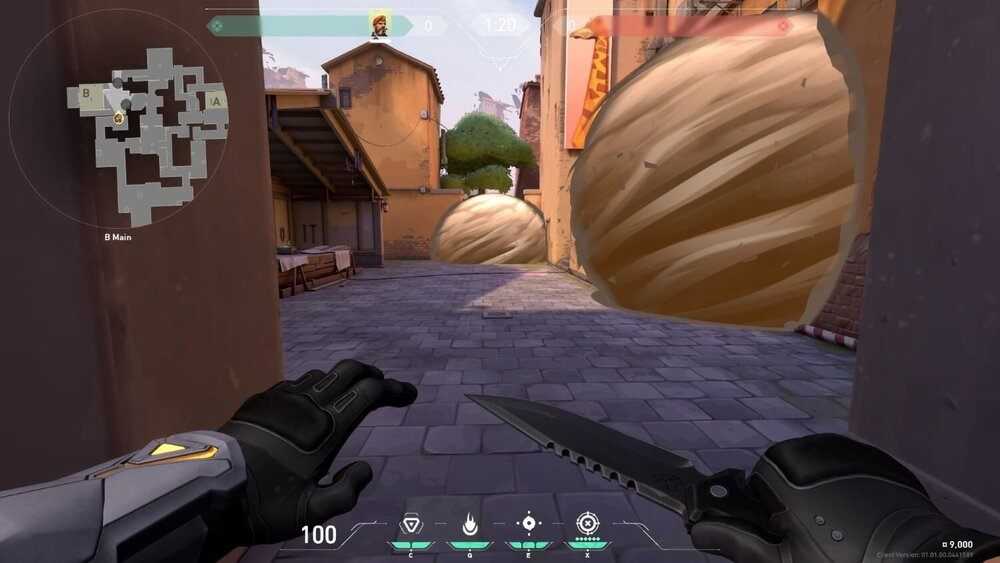
Split, while far less intricate than Ascent, is also a map on which Brimstone is a prevalent pick. His most ideal smokes should be placed near A-site.
Ryann: “On Split-A, you want to smoke off Heaven and Screens. These are smokes that everyone knows, but it’s just a matter of timing them and executing them correctly.”
As far as Haven and Icebox go, Brimstone is usually avoided in team compositions and replaced with Omen. Those maps have far too much verticality and unpreventable angles for Brimstone players to truly get an advantage. Instead, other controllers are more favorable on those two maps in particular.
Now that we’ve covered Brimstone’s most iconic ability, the Sky Smokes, let’s dive into the nitty-gritty behind one of Brimstone’s most impactful moves: Orbital Strike (X).
Ryann: “I personally think that Brimstone’s ult is one of the best in the game. The reason I think it’s one of the best is because of the versatility on it. You can use it post-plant for a clutch, or even at the beginning of a round for a fast play. But his ult is also great for mid-round situations where you need to bail your team out of a tough situation.”
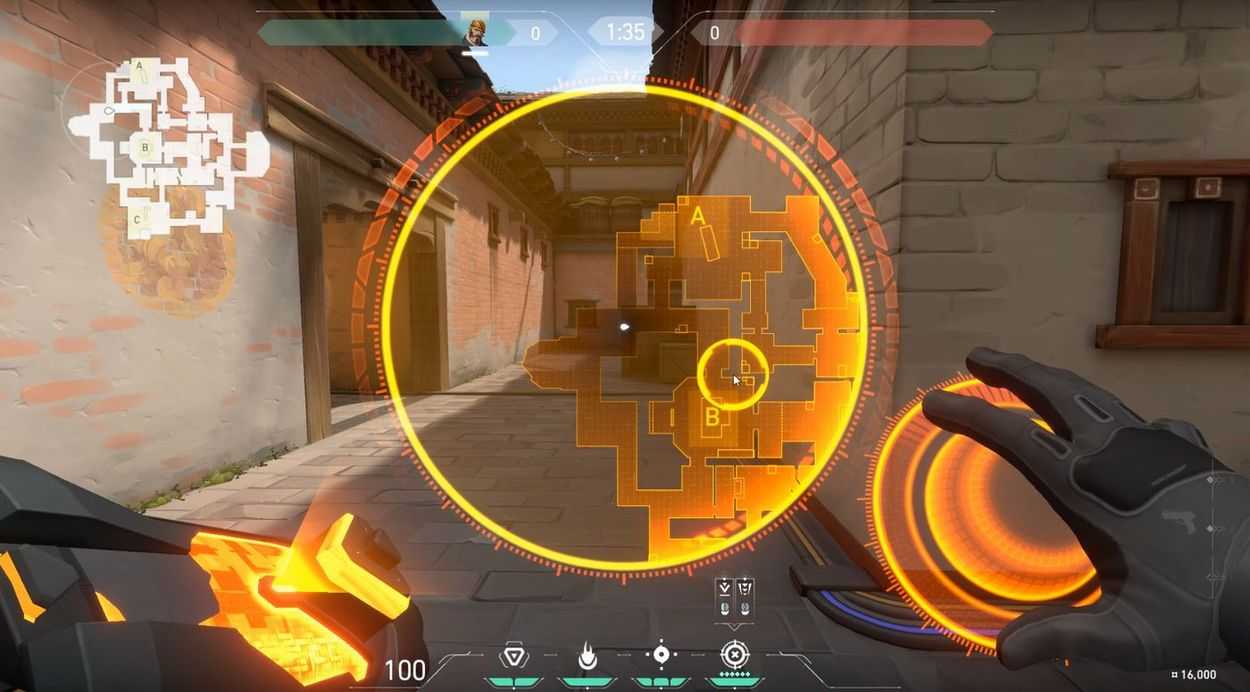
Much like his Sky Smokes, Brimstone’s ultimate can be used in various situations. Whether you’re letting it rip at the beginning of a round to establish your presence, or saving it for a clutch scenario later in a round, the ability can drastically swing the outcome of an encounter quite quickly.
But no matter when you decide to use Brimstone’s ultimate, you want to make sure that you’re wasting as little time as possible. An ability as impactful and game-changing as Orbital Strike shouldn’t be slept on. The “flip it and rip it” strategy — where you simply trust your gut and “open up the skies” on where you believe the enemy team is located — is one that can be applied to players of all skill levels.
Ryann: “His ult is extremely useful in a lot of situations, but make sure you’re communicating with your teammates whenever you use it. Make sure everyone knows what’s happening. You don’t have to call it and do it, just do it and tell everyone what’s happening.
One of the more commonly talked-about abilities in Brimstone’s kit as of late has been the Stim Beacon (Q). This ability received a heavy buff in Patch 2.0, as it now is cast instantly. Since then, it’s been a much more usable and beneficial part of Brimstone players’ approach.
Ryann: “Throw a stim at your feet more often than you think you should, especially on defense, because it lasts longer than you’d think.”
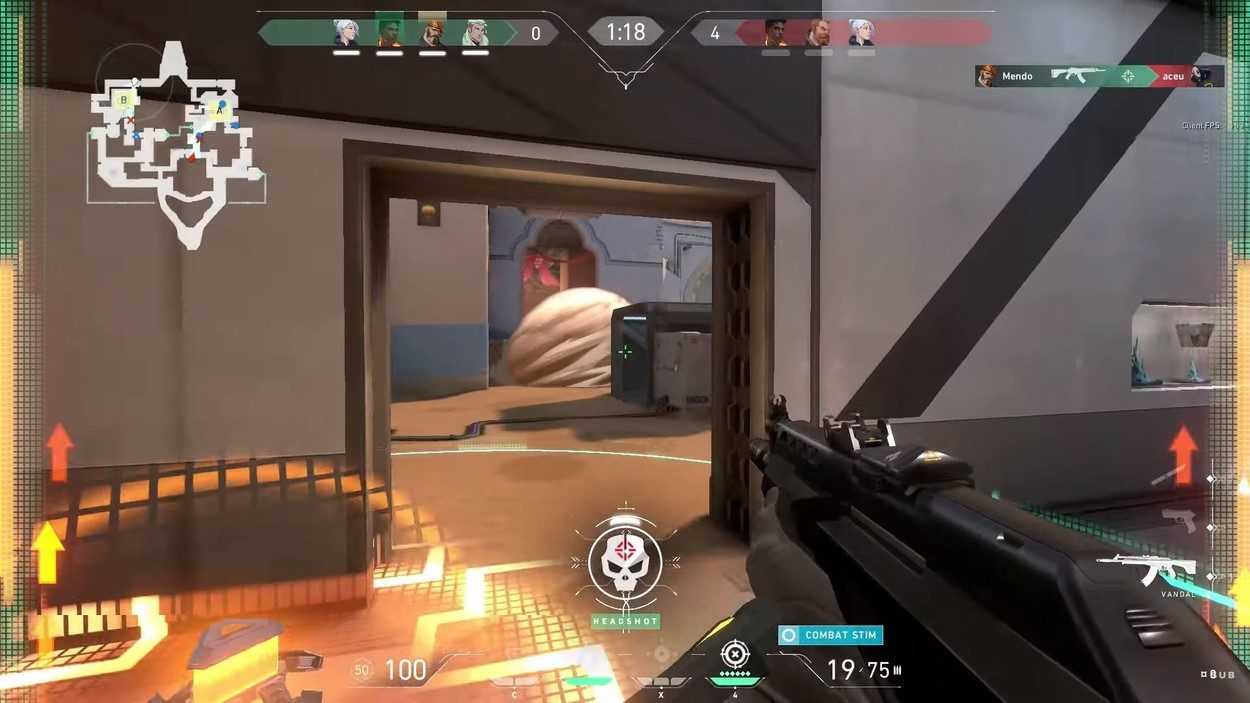
When using the Stim Beacon, don’t be afraid to leave its immediate range. The 15 percent buff that you’ll receive to your rate of fire, reload speed, weapon swap speed, and recoil recovery lasts for eight seconds after leaving the circle around the beacon.
Ryann: “The more time you spend asking your teammates if you should use it is time you’re wasting by second-guessing yourself.”
Perhaps the biggest tip we can give to Brimstone players is to trust your instincts. While it might feel like the agent is packed with tons of strategic input thanks to the pinpoint accuracy of his smokes, as well as the general map presence he has with nearly his entire kit, the fact of the matter is that playing Brimstone simply boils down to your gut feeling.
If you believe that enemy players are hiding in a specific location, don’t be afraid to unleash the Orbital Strike. If you think you’re going to get peeked around a corner, don’t hesitate to throw a Molotov into that corner. If you’re going to push an angle, make sure to drop a Sky Smoke or two. No matter what you do, though, make sure you’re making the most of your time. The more you second-guess yourself, the less effective of a Brimstone player you’ll be.