


Time to Clear Aira’s Oculus - Tier 3 Abyssal Dungeon Guide for Lost Ark
Welcome to the first Tier 3 Abyssal Dungeon of Lost Ark! Let’s go through what you need to watch out for when you venture into Aira’s Oculus.
Welcome to the first Tier 3 Abyssal Dungeon of Lost Ark! Let’s go through what you need to watch out for when you venture into Aira’s Oculus.
The long-awaited action RPG, Lost Ark, has finally launched in the West with a successful first month. With more people arriving in Tier 3, this guide will help people tackle their first Tier 3 Abyssal Dungeon. Players will need to apply all that they’ve learned in Tier 1 and Tier 2 in order to be successful.
Aira’s Oculus will be the first Abyssal Dungeon to welcome players to Tier 3. The Normal Mode unlocks at item level 1325 and the Hard Mode unlocks at item level 1370. When running Hard Mode, bosses will have increased health and damage, alongside a few additional mechanics. Hard Mode will also drop Legendary Accessories, Ability Stones, and Abyss equipment currency. This guide will go through all the important boss mechanics as well as the best ways to deal with them.

The first boss players will fight is the Frenzied Cicerra, a giant demon wielding a large flail. Along with an array of area of effects (AoE) to dodge, this boss has an important Stagger mechanic that players must keep track of.
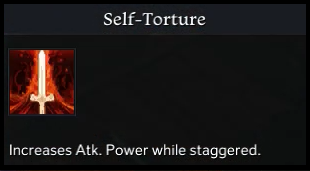
Cicerra will gain a stack of the Self-Torture buff each time his Stagger bar is depleted, increasing his damage done per stack. In Hard Mode, Cicerra starts the encounter at one stack.
Upon reaching three stacks, Cicerra’s skill sets will deal significantly more damage and he will begin using one-shot abilities. It is crucial that players attempt to keep Cicerra’s stacks below three for as long as possible. Reaching three stacks too early could result in a much more difficult fight.
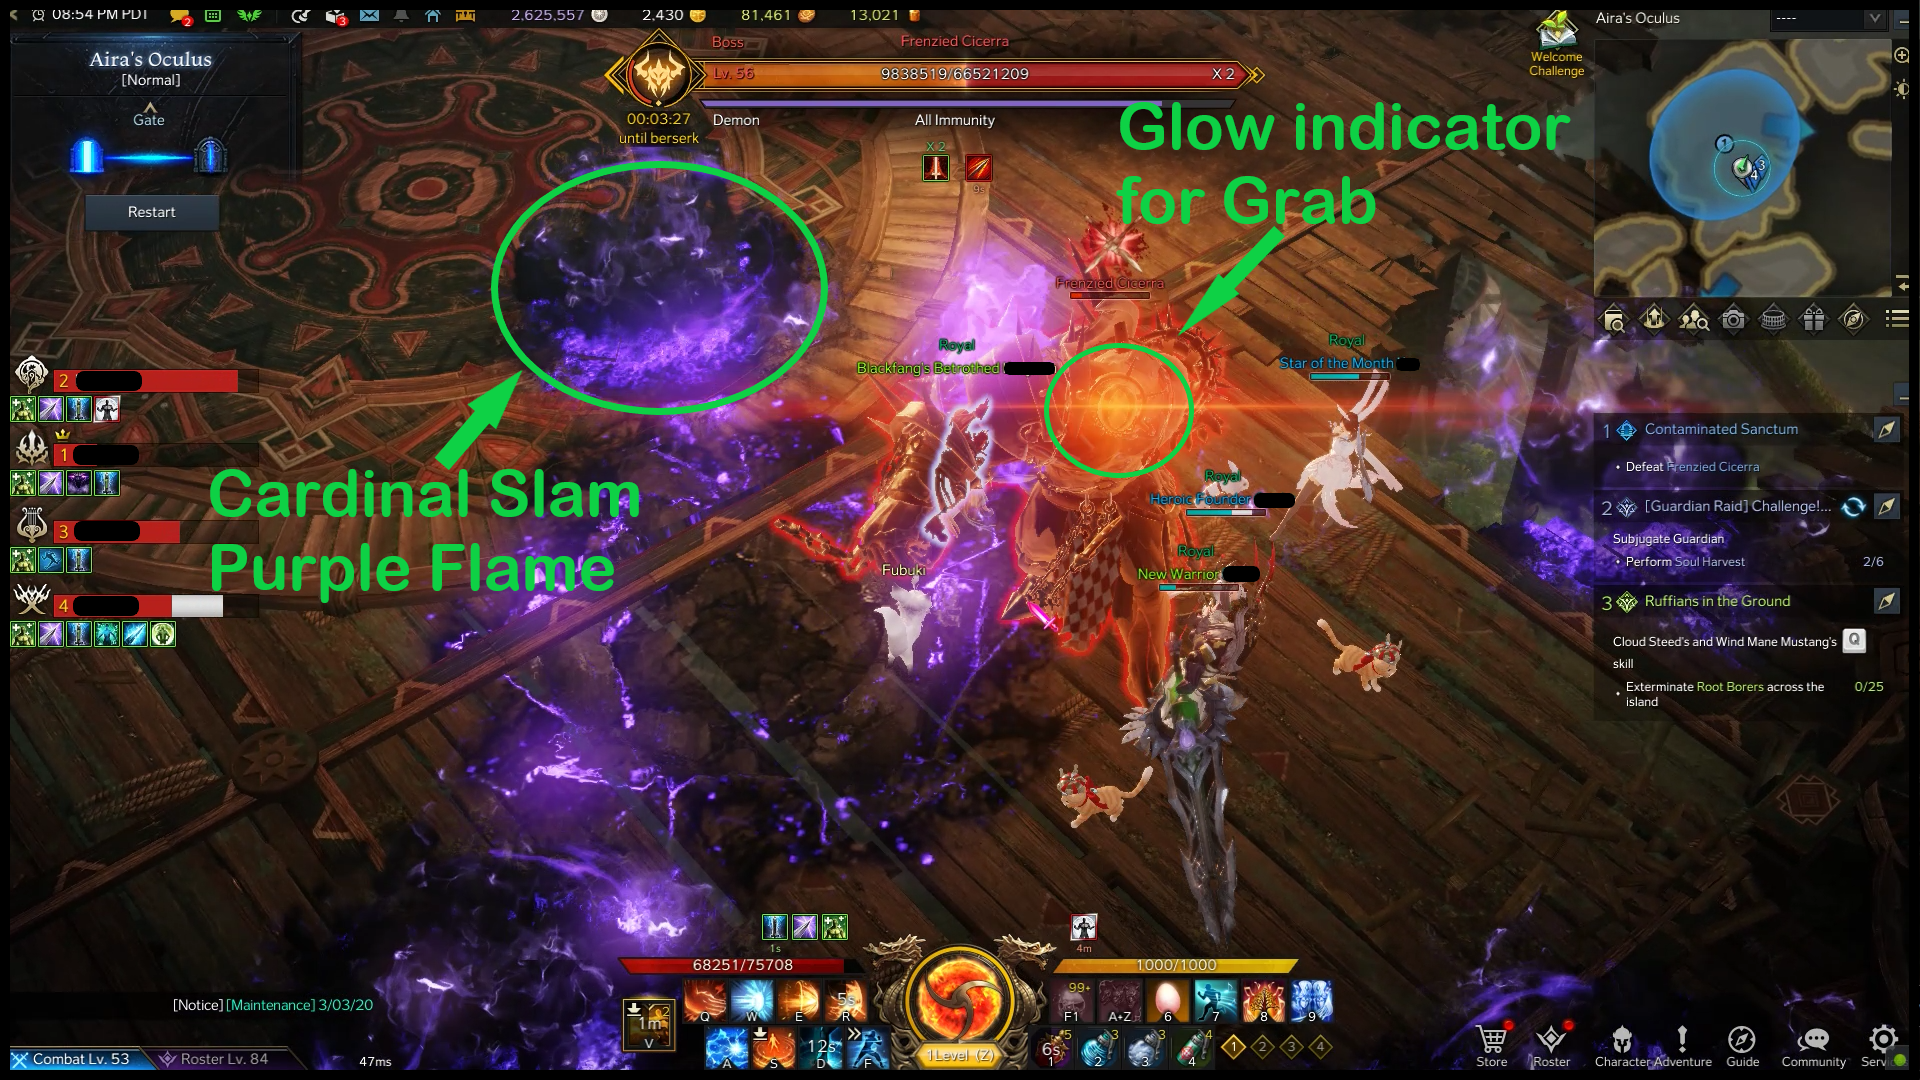
Cicerra will grab a player in front of him and temporarily incapacitate them. The remaining players must break through the yellow stagger bar that appears in order to free the player.
Successfully freeing a player from Grab will cause the boss to lose one stack of Self-Torture. This will be the main way that teams manage the boss’s stacks throughout the fight.
Cicerra slams the ground once in each cardinal direction before performing a giant AoE slam in front of him. Each slam will leave behind an area of purple flame that applies Spectral Curse to any player who steps in it.
This debuff lowers the amount of Stagger damage dealt by the player but increases the amount of damage taken from the boss.
It is important to pay attention to Cardinal Slam because a Grab will be used after every other one, starting with the second one performed in each encounter. Teams can alternate between getting grabbed at two stacks and breaking Stagger bars at one stack until the end of the fight. While these two are the main mechanics to look out for, let’s go over a few other notable skills that he may use.
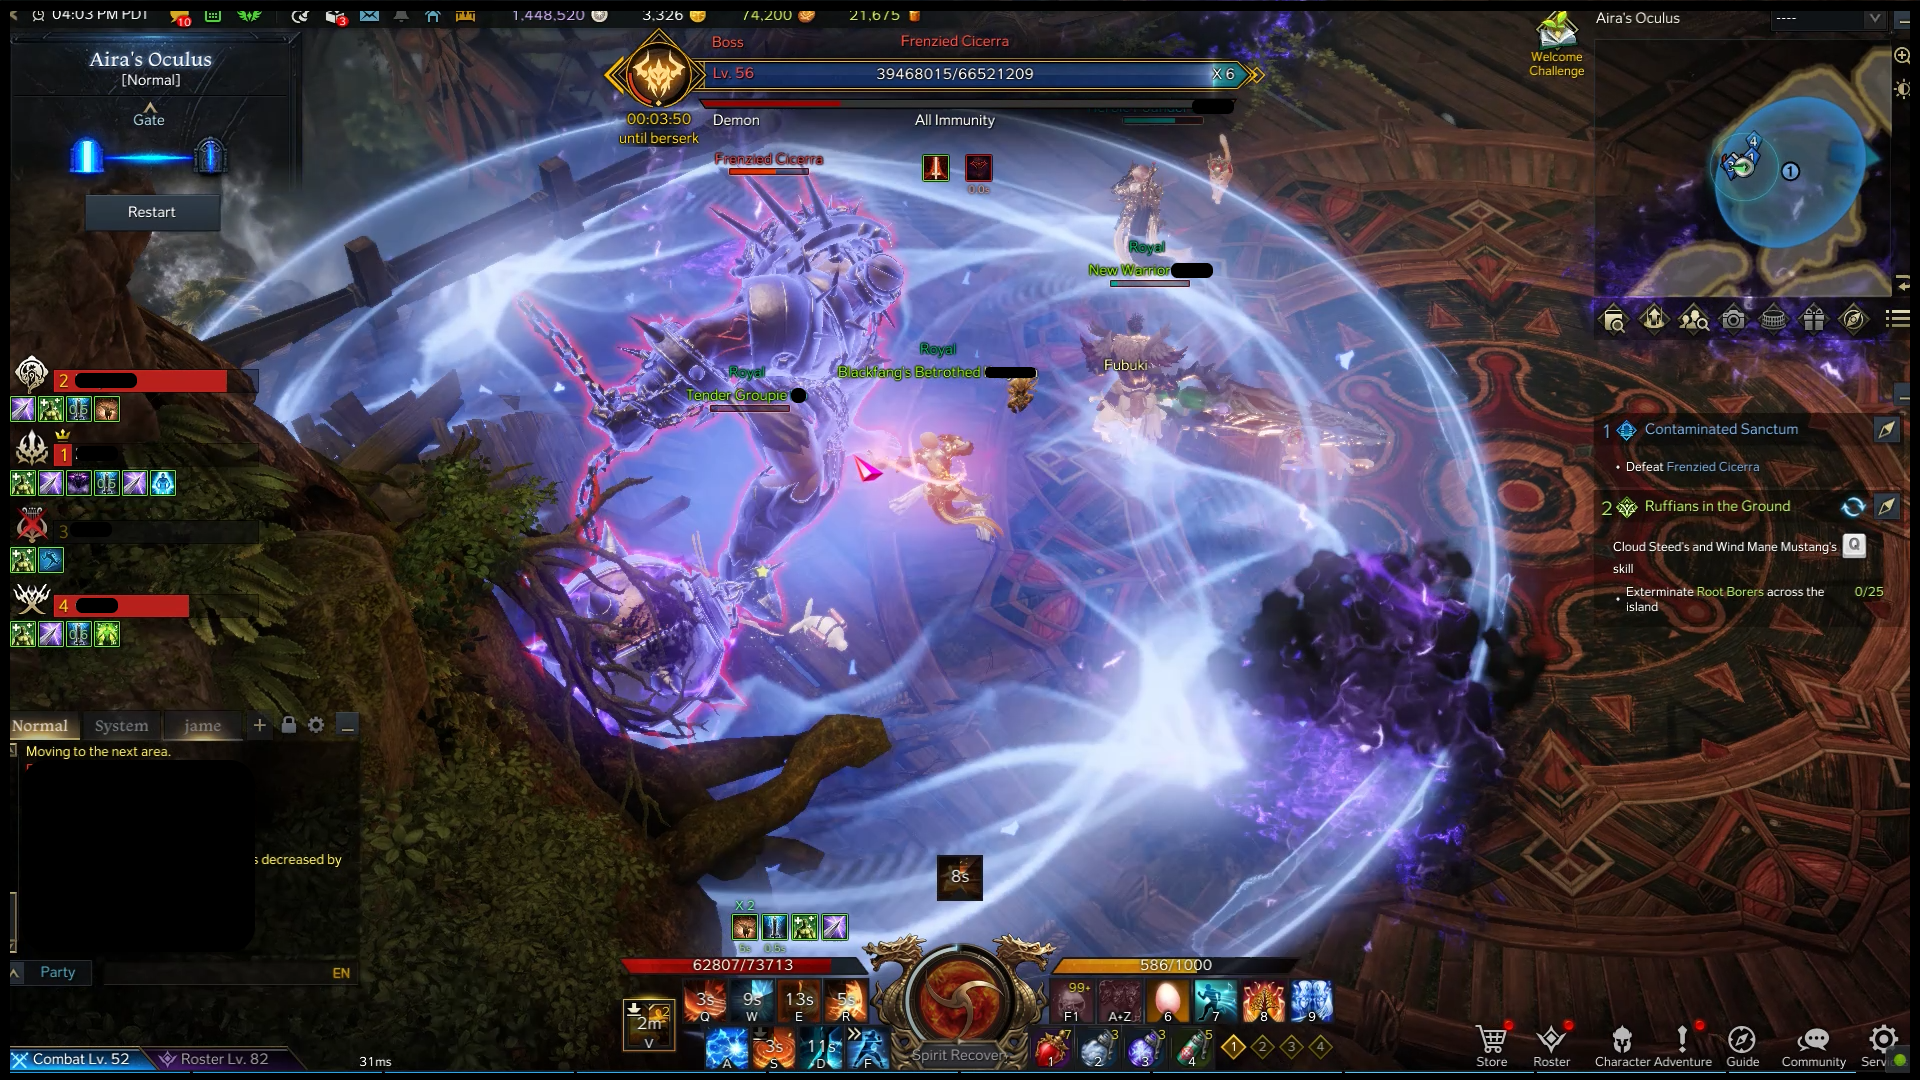
Cicerra will perform a powerful roar and proceed to spin his flail around, dealing massive damage. Run away as soon as you see him charging up with a roar because getting hit by this can prove fatal in Hard Mode.
The boss will glow and radiate out a blue wave before charging towards a certain direction.
A purple orb spawns in the boss's hand and will slowly follow a player for a period of time. After a few seconds, or upon arriving close to the player, the purple orb will charge up an AoE explosion.
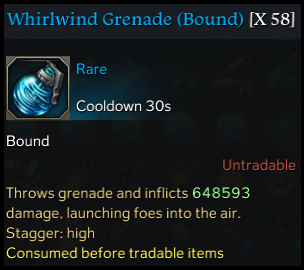
Overall, Frenzied Cicerra is a relatively simple boss to learn. His important abilities are noticeably telegraphed, and the rest can be avoided through the red indicators. For this fight, battle items may be unnecessary, however players may bring Whirlwind Grenade to assist with the Stagger check during Grab. This may prove useful if one or two teammates are dead during this ability. In Normal Mode, reaching three stacks early is fine, but do try to practice in preparation for Hard Mode!
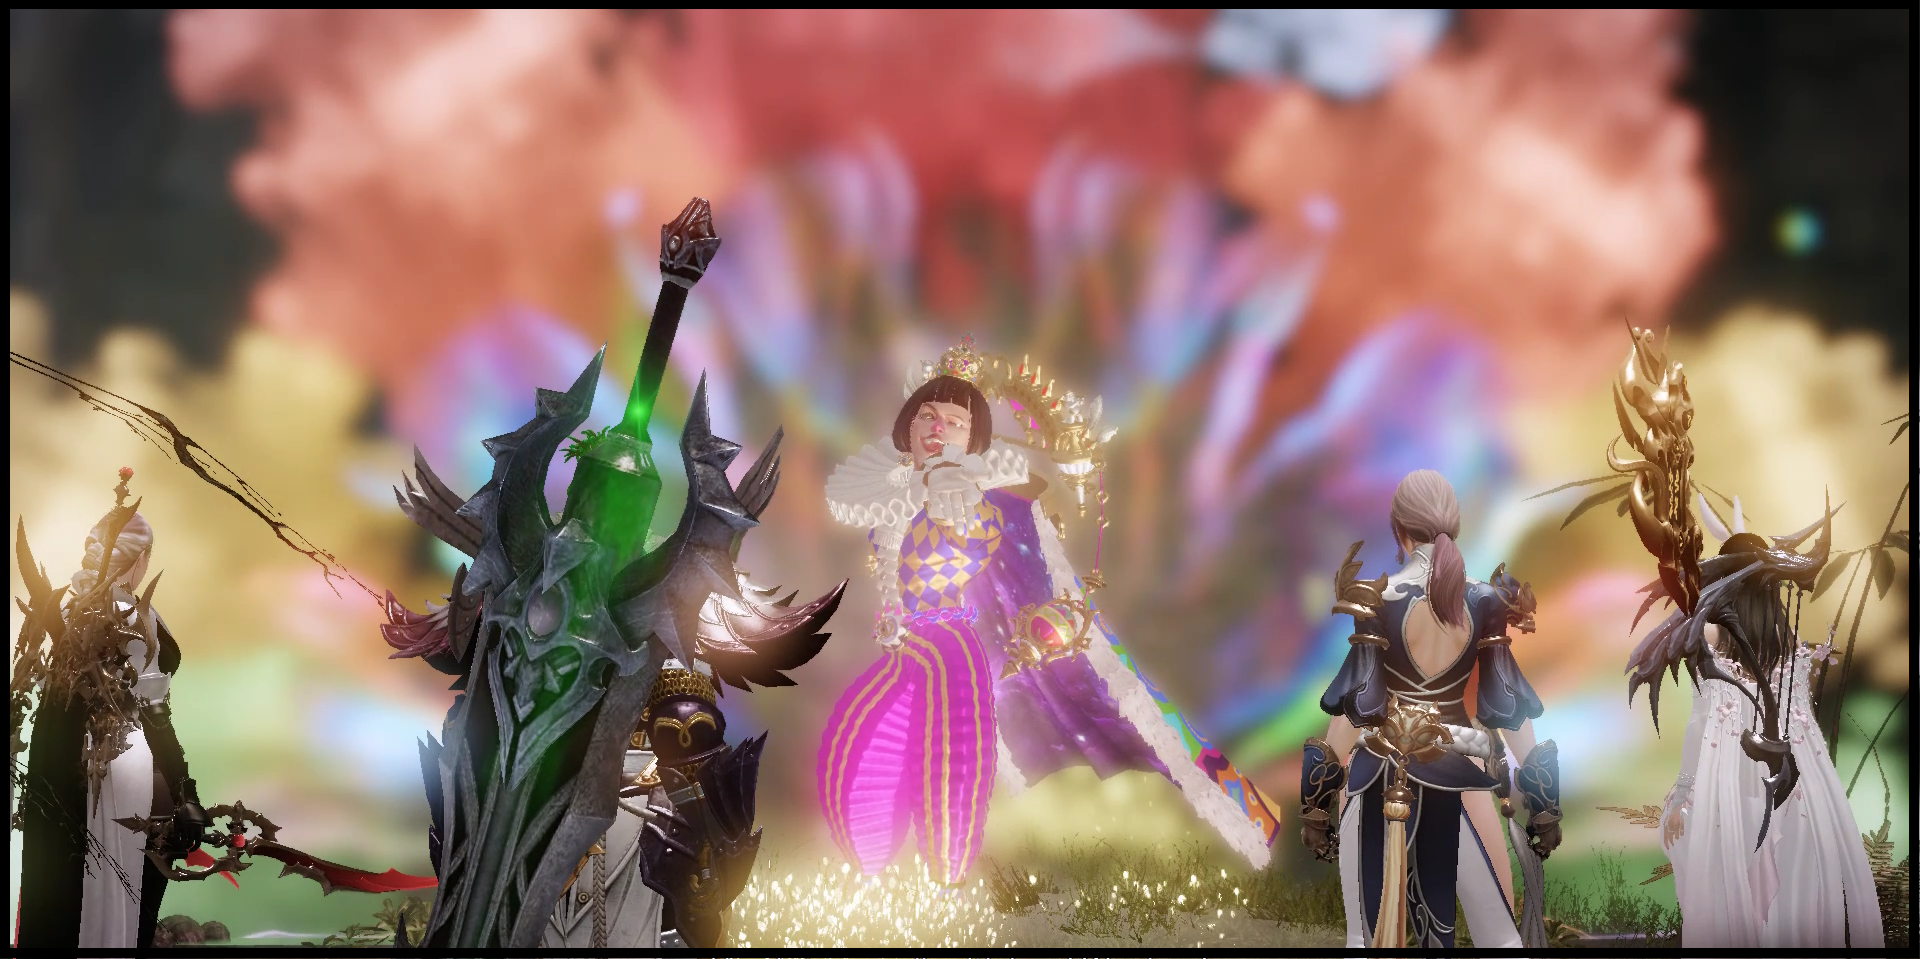
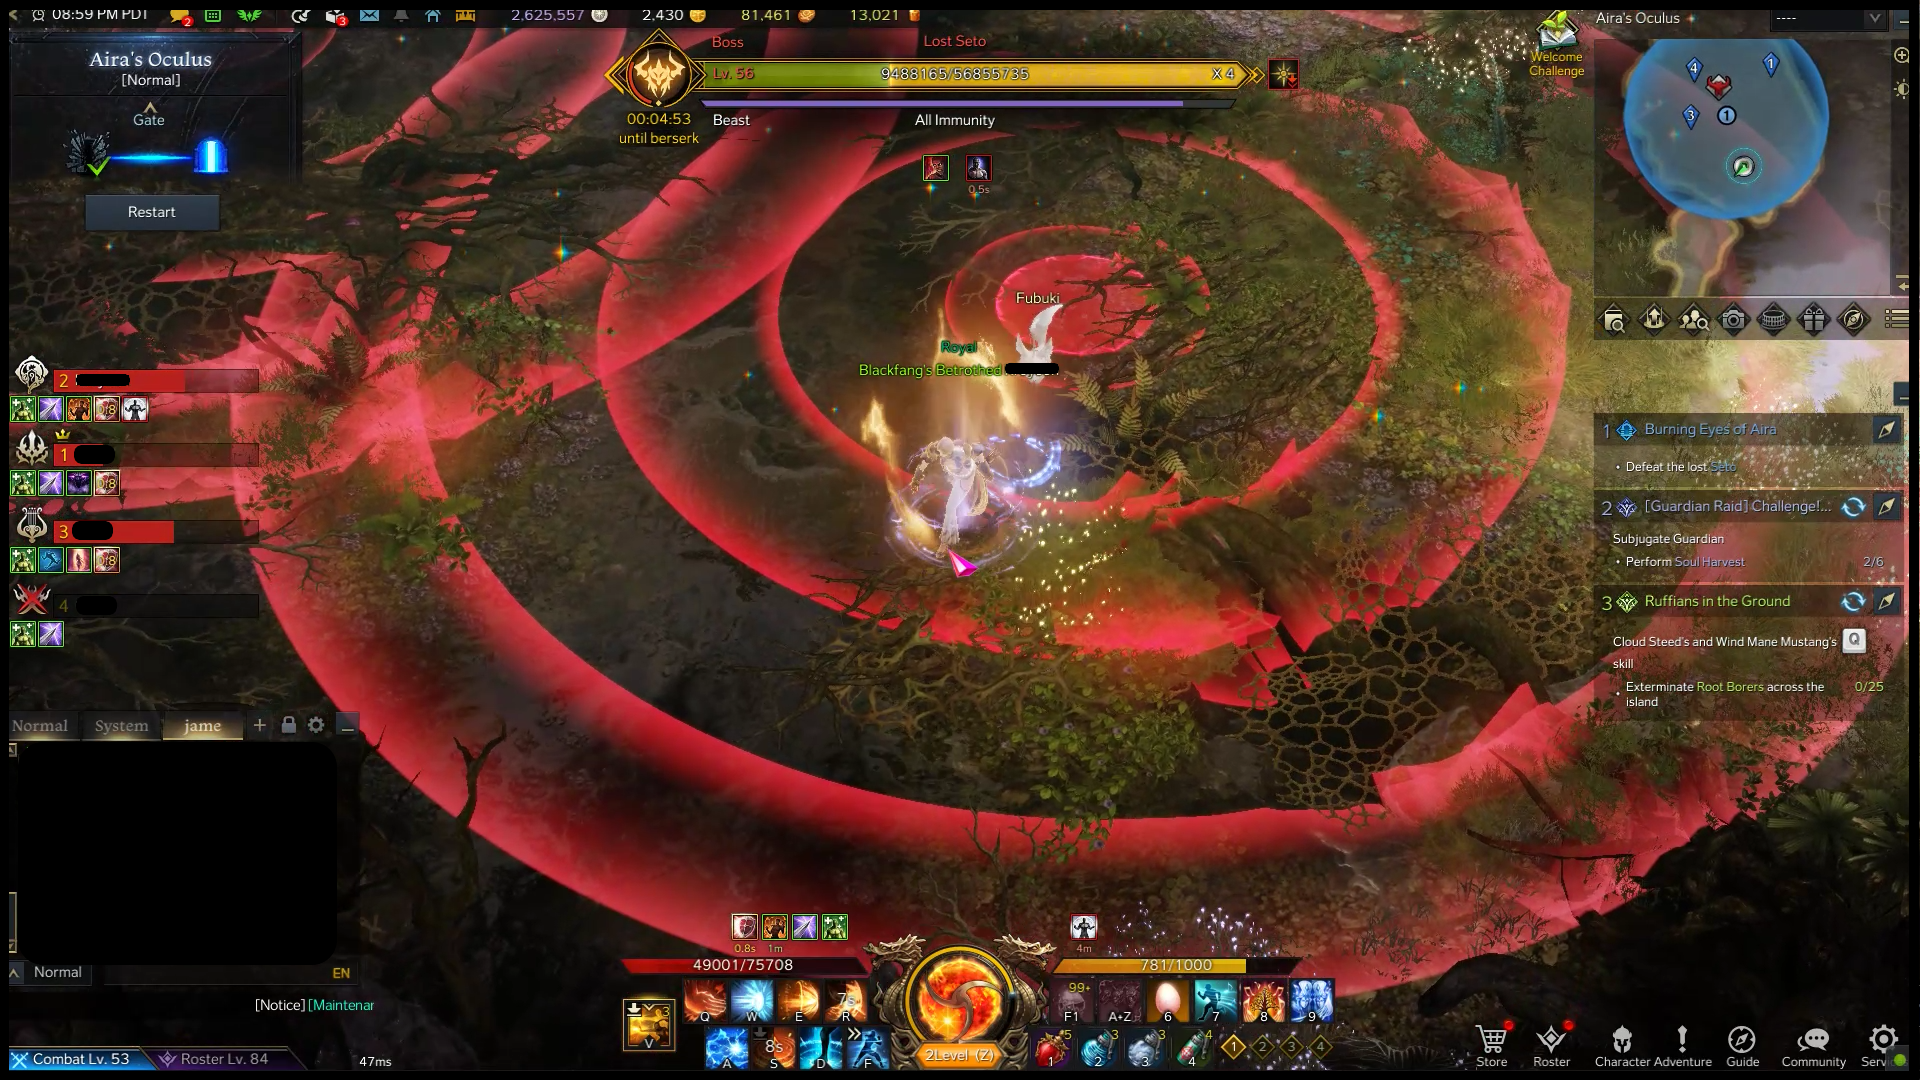
Moving on to the second and final boss, Lost Seto is an encounter that can get quite chaotic, especially on Hard Mode. This boss will have three phases, transitioning at the 16th and 6th health bar. The first and third phase will take place in the starting forest area, while the second phase will bring players to a brightly lit clown room. This second phase can be particularly frustrating, visually, for many players due to the multi-colored boss floor. It is highly recommended that you turn off spell effects (except buffs) of your party members in settings for better visual clarity on boss mechanics.
[In Settings: Gameplay > Controls and Display > Show Combat/Pet > Battle Effects Display > Include buff effects of party members]
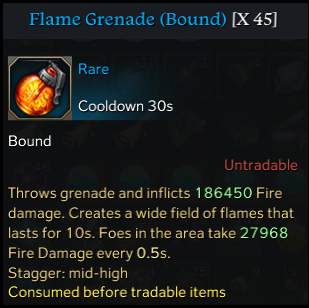
On Hard Mode, Lost Seto has a passive that heals him throughout the entire fight unless he is afflicted with a damage over time (DoT) effect, such as burn or poison. The Bleed rune is a great option to bring for this fight and will help tremendously with maintaining DoT uptime. Lost Seto has a wide variety of abilities, so let’s go through the most important ones. Remember to re-equip your Stagger runes and tripods if you took them off for Cicerra!
Lost Seto will occasionally jump on his ball before initiating an ability against the players. Multiple skills will include this occurrence, but there are three that the players must keep note of and react to.
One of these Rolling Globe variations is the Chase. The boss will jump on top of his ball and chase after a single player. After a while, or upon reaching the player, the ball will create an AoE that knocks down players hit.
For the Bombardment variation, the boss will juggle balls for a second before tossing them high into the sky three times. Every time he tosses the balls, a bomb in the shape of concentric rings will drop on top of each player’s location. Players must spread out immediately to avoid overlapping each other’s rings and making it problematic to dodge.
While juggling, Lost Seto will spawn several Mirror Balls across the boss floor. Players must spread out and try to clear as many Mirror Balls as they can, otherwise the boss will wipe the party if too many remain. During this, bombs will occasionally be dropped across the room, but they should be easy to see and dodge.
After every Rolling Globe variation, Lost Seto will fall off his ball and be impaired for a few seconds. Due note that Rolling Globes will not be the only time Lost Seto gets on top of his ball. Abilities such as Letter Input will also have the boss get on top of his ball and subsequently fall off. Players should take advantage of this whenever they can for free DPS uptime!
The boss will choose three players to imprison and after a short period will place an AoE explosion beneath all the players. The remaining player must free them quickly by breaking the purple bar that appears on them. Shortly after freeing them, the player that was not imprisoned will in turn be trapped.
The boss will stun the entire party and a sequence of letters will appear on each player’s screen. Players must input the correct letters, from left to right, to escape from the stun before a one-shot AoE happens. Making an input mistake will reset the sequence with a new set of letters.

The boss will glow blue and perform a quick flex of his biceps before producing a flurry of punches in front of him.
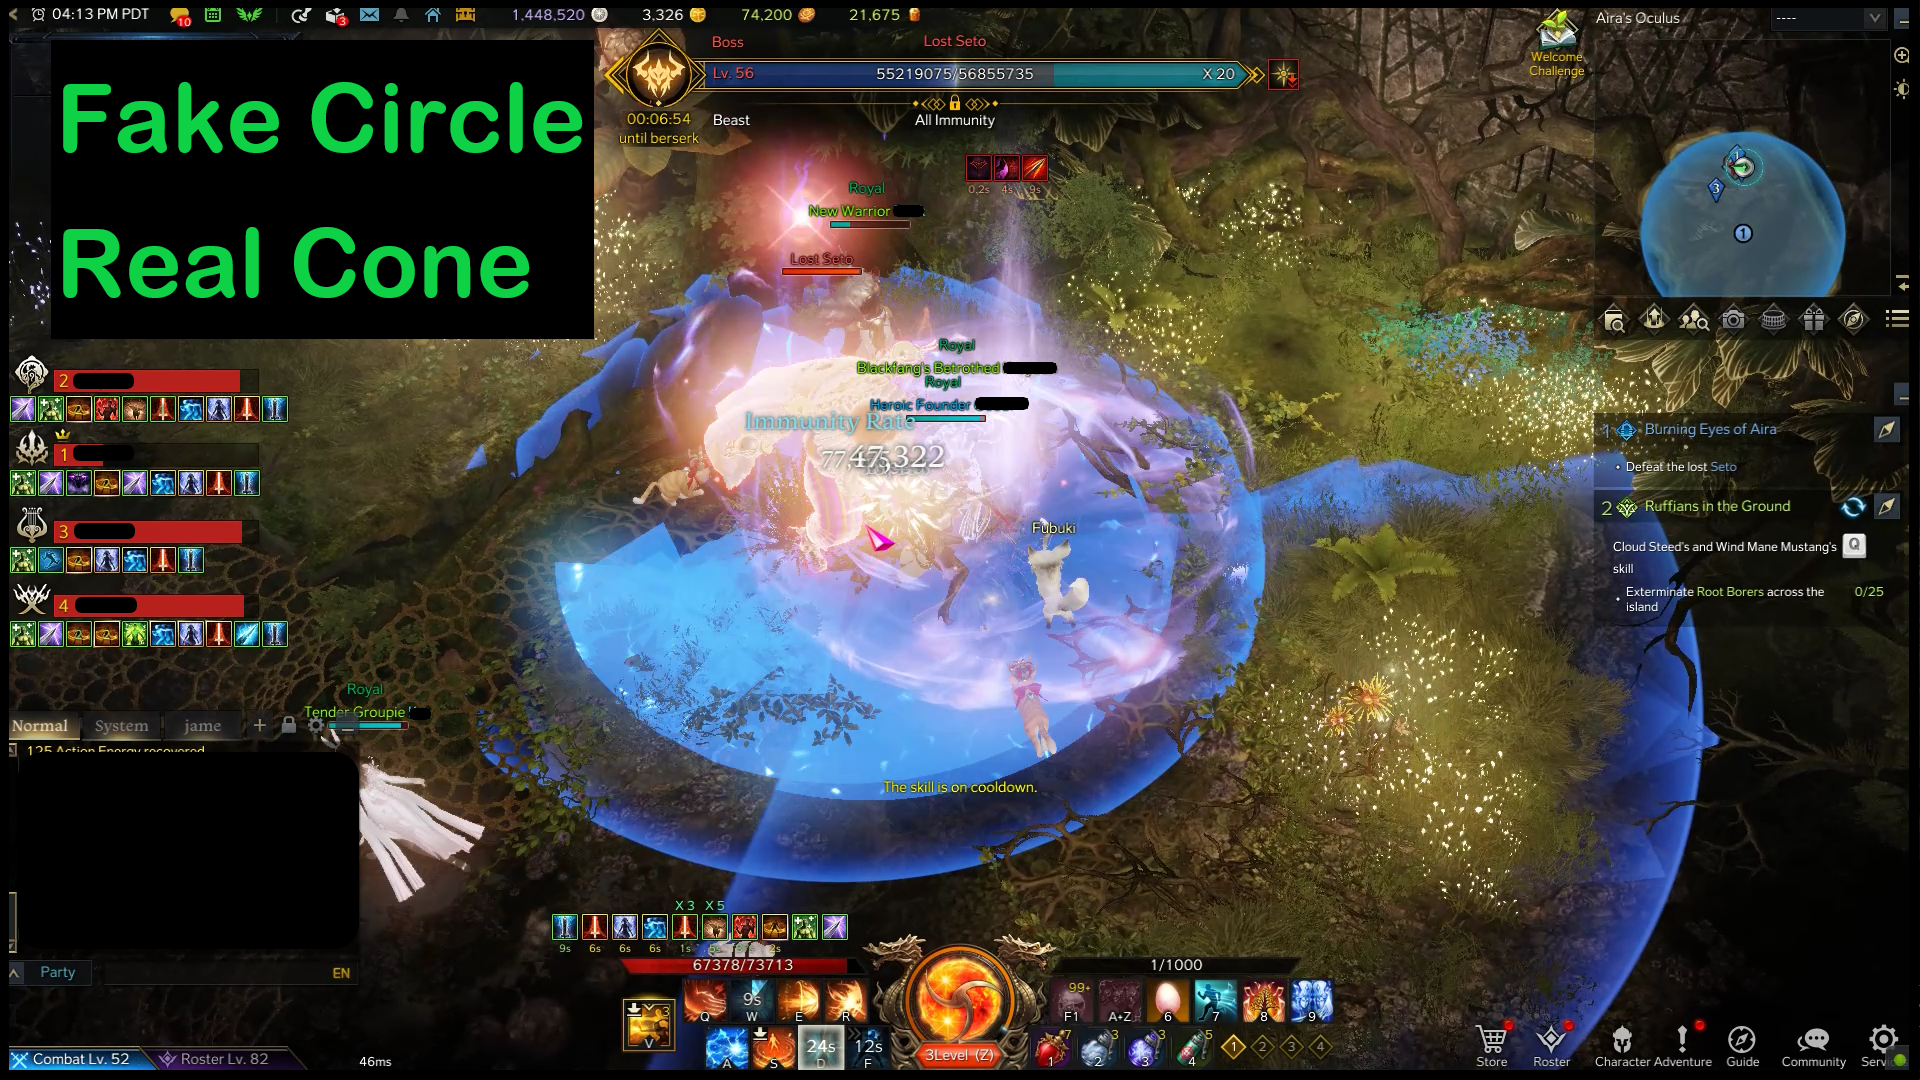
Lost Seto will simultaneously cast a blue circle around him and a blue frontal cone. One of these spells will be a fake, dealing no damage to players. The spell that finishes executing first is the fake, while the other will stun players that are hit.
The boss will target one player and kick a total of three balls towards them. These balls ricochet and bounce a few times, making them rather troublesome to avoid. If you are the targeted player, point these balls away from your team and towards the wall to reduce the number of bounces. Getting hit by multiple balls in Hard Mode can chunk quite a large portion of your health.
A giant heart will appear on each player’s screen, stunning the entire party. AoE circles will appear under each player and explode a split second after the stun ends. It is highly recommended to spam your dodge skill (spacebar) to get out of it as soon as the stun ends.
The boss will kneel down on all fours and perform a giant AoE to damage and stun players. This ability will always happen at least once, right after he transitions to phase three, so be sure to run far away.
Lost Seto will extend his arms from front to back and summon three fists that fly towards a specified center. The fists will continue flying past the center point unless it collides with a player or a wall. This ability can easily one shot a squishy class if more than one connects, so be wary of it.
Every so often, the boss will spawn disco balls that chase after players. Upon getting close to a player, they will transform into a red or black totem. The black totem explodes after a few seconds while the red totem increases mana/energy cost of skills for players near it.
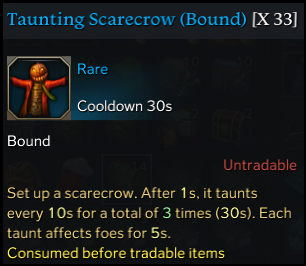
Lost Seto may not possess a major mechanic like Cicerra, but his wide range of abilities, when chained together, make him a much deadlier opponent. On Hard Mode, each of his abilities has the potential to swiftly kill off a player. To gain an advantage in this fight, it is highly suggested that players bring the battle item Taunting Scarecrow. Immediately after each phase transition, players should run to the closest wall and place down a Taunting Scarecrow. When the boss arrives, there will be a chance that he targets the Scarecrow instead of the party. This will allow the party some free time to damage him while he unleashes his abilities towards the wall. Keep in mind that this may not always work since the Scarecrow will only taunt every ten seconds.
That brings us to the end of this guide and, hopefully, it can help players conquer Aira’s Oculus. The assortment of abilities these bosses hold may seem overwhelming, but rest assured they will become clearer with firsthand experience. Normal Mode is rather forgiving, so do not be afraid to jump right in and test things out for yourself! Making mistakes is part of the fun, so enjoy your time in Lost Ark!


