


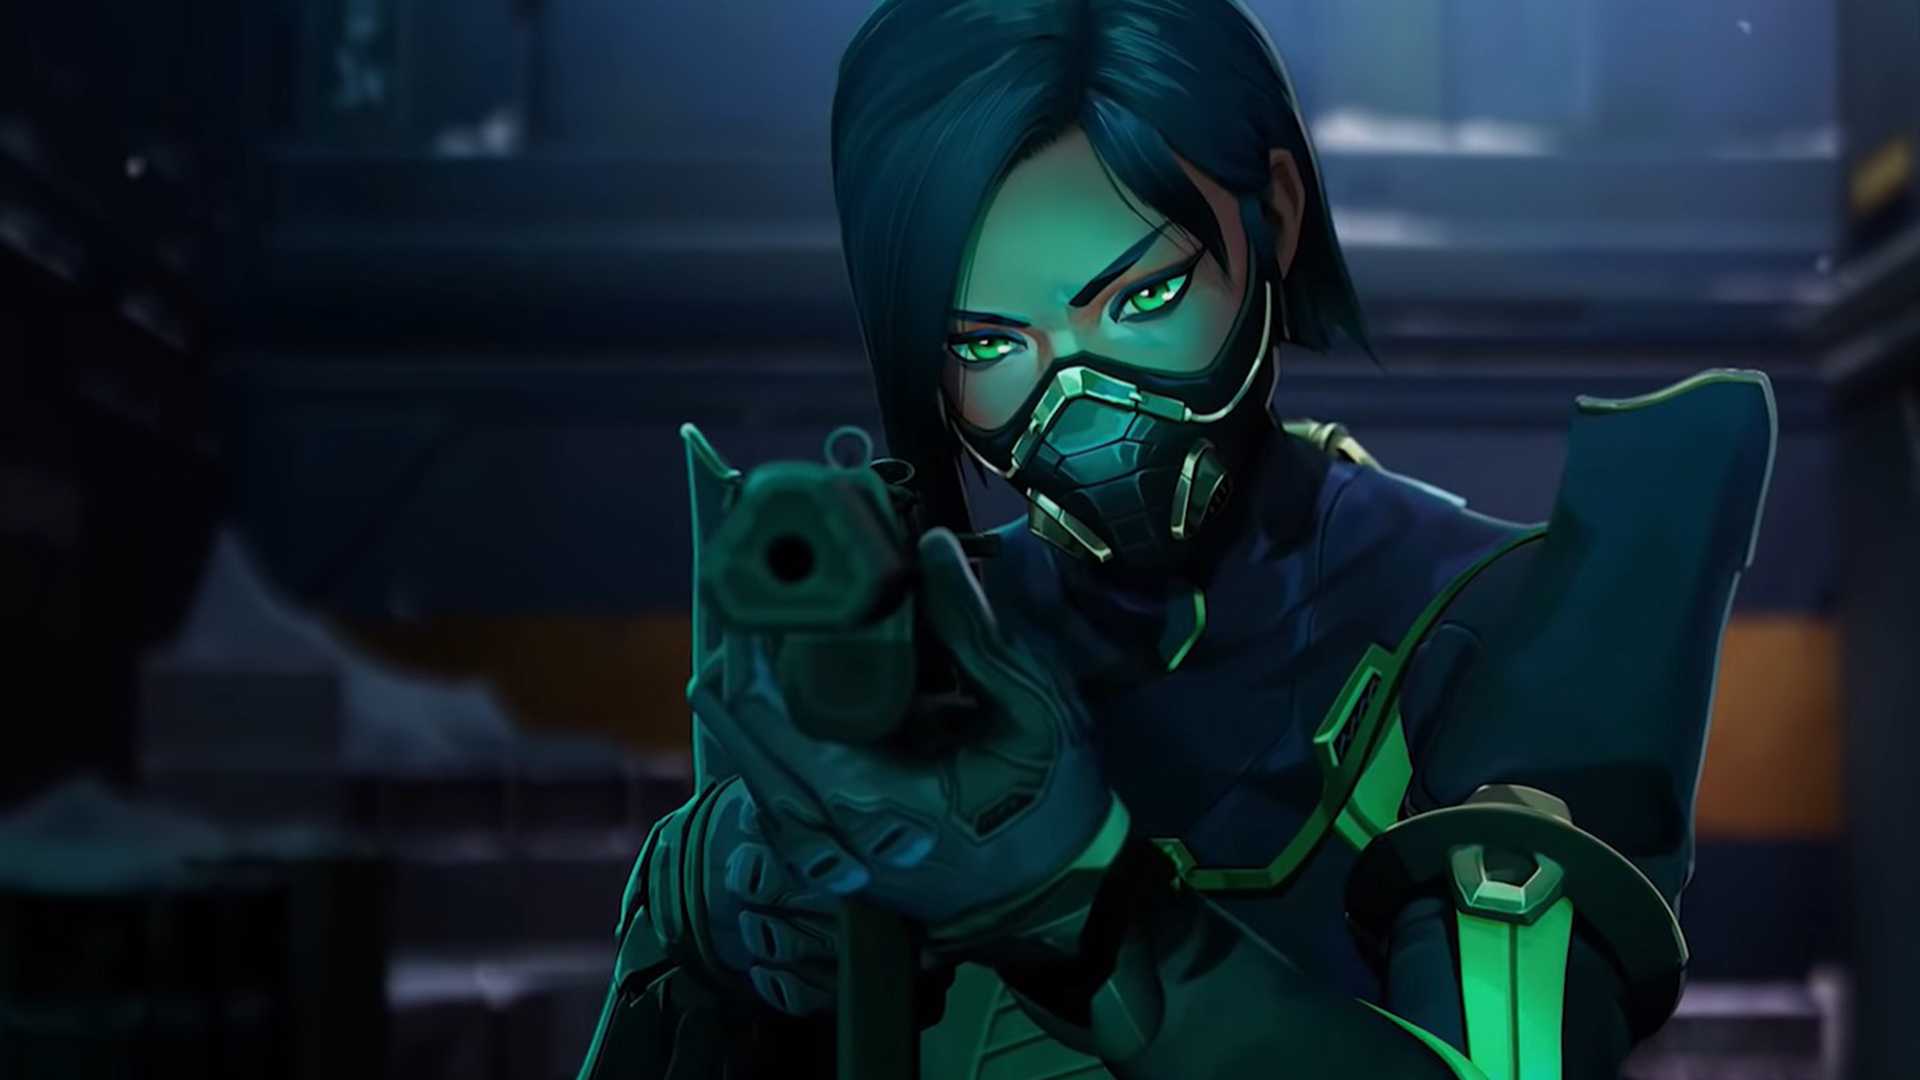
Victory in Venom: Taking a Look At Viper
In this article, we will be taking a look at the Venomous Controller that is Viper, and what she can bring to the table with what she and her kit have to offer for your team!
In this article, we will be taking a look at the Venomous Controller that is Viper, and what she can bring to the table with what she and her kit have to offer for your team!
Back when Valorant launched, the go-to Controllers to pick for your team were always Omen or Brimstone. The two of them dominated the meta for quite some time, leaving poor Viper in the dust. For a while, people thought Viper would need a complete overhaul to ever see play. Fast forward to today’s meta, after a few changes and buffs Viper is arguably the most solid Controller Agent in the game, always able to provide great vision denial and crowd control for her team. In this article, we will be taking a look at Viper’s specialized kit, as well as how to utilize her utility well so you can start climbing up the ranked ladder!
Now while Viper is a Controller due to her vision denial and crowd control abilities, she is very unique in how she approaches this responsibility. Viper’s kit is almost like a Sentinel’s in the way that it can completely shut down pushes and cut off areas. She is almost like a hybrid agent, providing the vision denial and area control that Controllers are responsible for, but doing so in a way that is more threatening to enemies pushing or defending sites. This is because her abilities have a very high commitment cost. Whereas Omen, Brimstone, and Astra all have smokes that are low commitment, Viper’s Poison Cloud and Toxic Screen abilities require careful use, as the Toxic Screen cannot be picked up, and the Orb must be within a close distance to retrieve.
This kit makes Viper very useful on defense since she can commit utility to a certain site or area but is somewhat tricky on offense when trying to pick where and how to use her utility in certain situations. Viper’s overall role is to cut off and shut down areas for her team like any other Controller. However, she does so in a unique way with how her kit works. Viper is a very useful agent to have on your team, and she works well as a solo Controller, or with another Controller as well, due to the heavy commitment that her kit has.
As mentioned earlier, Viper’s Kit is very high commitment. However, since it is like this, that means that it excels at blocking and controlling the area where it is placed. Understanding this trade-off of versatility for reliability is important because it will allow players to utilize Viper’s abilities to their maximum potential.
Viper’s Signature ability is Toxic Screen. When used, Viper fires a line of toxin emitters in a straight line in front of her. This ability’s range is very long, and it also goes through walls and the pre-round barrier. Once the wall has been placed, Viper can activate the wall, cutting off vision. This ability drains Viper’s Fuel meter, and when it reads zero, the wall comes down until Viper replenishes her Fuel after a short duration. This ability also has a small window before it can be reactivated if it is manually taken down. This ability cannot be picked up and reused once it has been placed.
As mentioned earlier, this ability is a very high commitment, and it is important to use it carefully. On defense, this ability is great for locking down certain areas of the map to stall and prevent enemy pushes such as Mid on Breeze, Drop or Arcade on Fracture, and Mid or B-Site on Icebox. When paired with her other utility, Viper can lock down entire approaches with her Toxic Screen. Using your wall reactively on defense is also very good, waiting to see where an enemy commits, then place your wall down for retaking site or to stall their push and force a rotation. Conditioning an enemy to your setups on one area and then switching it up can be another way to use Toxic Screen.
On attack, Toxic Screen can be tricky to use at times, since you only get to use it once, so here are some things to keep in mind. If an enemy sees your wall placed on a site, it can be really easy for them to call this out and have someone rotate over, so her wall can be great for faking a site, just make sure your team has other means of vision denial when doing this. Though it has a very high commitment, her wall provides great vision denial on attack, so use it to its fullest extent. It can quite literally divide an entire site in half, so make sure you are creating space for your team, and your team is committing to the push that you place your wall at. Toxic Screen is very good when a team has good communication amongst themselves, and they can push along with the wall when it comes up.
It is important to remember that Viper’s Toxic Screen applies her Passive Toxin on enemies that walk through it. The Toxin applies Decay that temporarily lowers the enemy’s health by 30 immediately, and then by 10 every second longer that they remain in contact with the ability. This gives Viper and her team the advantage when fighting enemies that swing through her wall. In addition, swinging an enemy through the wall is also a good idea at times, since most times they will be hesitant to push the wall themselves, allowing easy picks on players who are too timid.
Viper’s Poison Cloud is a very interesting ability, costing 200 Credits, Viper equips a small device to throw any direction in front of her, or toss if right clicked. When activated, the device emits a large orb of poisonous gas that blocks vision and applies the same passive Toxin as her wall. This also taps into the same Fuel gauge as Toxic Screen, and if both abilities are active at the same time, her Fuel drains faster. This ability can also be picked up by Viper and recast in the same round it is used, but will have to be purchased the round after if it is picked up after its initial use.
On defense, Poison Cloud is great for site setups and covering chokepoints and entry spots. A Site on Icebox, B Site on Breeze, and Hookah or Showers on Bind are all great spots to block with this smoke. This ability is very large too, it covers a huge radius, so understanding its range can be useful for making great setups. Another thing to remember is when playing retake, if you have used your Poison Cloud, to pick it up if you are in a position where you can do so. Throwing down your orb in an area to block vision when defusing the bomb or on top of it in some cases can make rounds go your way when they otherwise wouldn’t.
On attack, this ability is best used in a similar way to Toxic Screen, and the ability is especially good when they are used together. Throwing Poison Cloud in areas where Toxic Screen doesn’t Cover can be very helpful for applying full coverage to the site, allowing for easy plants. Also throwing the orb on top of the bomb can be very useful to get enemies off it. Where any other smoke may aid the enemy, Poison Orb applies Viper’s Toxin, decaying the enemy, allowing for teammates and Viper to spray the bomb or apply other utility on the bomb like Viper’s Snake Bite, Sova’s Shock Dart or Raze’s Paint Shells.
Poison Orb is a very unique smoke since it is one of only a handful of smokes in the game that are thrown (the other being Cypher’s Cyber Cages). This makes lineups for one-way smoke setups extremely interesting. Some one-way smoke setups include A Main on Fracture, B Main on Ascent, and Garage on Haven. Learning these Defensive one-ways can prove to be extremely useful for shutting off areas, so it’s a wise idea to consider learning some of them!
Viper’s final main ability is her Snake Bite, coming in costing 200 credits each, with a maximum of two charges. This ability is Viper’s most notorious one in the Valorant Scene. Viper equips a vial of acid that shatters when it contacts the ground, covering the surrounding area, dealing damage, slowing, and applying Vulnerable to all players that are in the puddle of caustic goo. This ability is very useful in a variety of different ways, both on attack and defense.
When defending, make sure that you are not wasting Snake Bite too early in the round when trying to stop pushes. It’s best to wait and see if enemies are committing to an area before placing it down so that it is used effectively when trying to stop a push. Launching Snake Bite in the same area that your orb is covering can be very useful when trying to pick off careless enemies that are pushing onto site. Along with that, if enemies are on site planting the spike, shooting Snake Bite on common plant spots can help stall plants and buy your team more time for an easier retake situation.
When Attacking, using Snake Bite to clear out common angles is a very useful thing to do when trying to secure an area. Since the Snake Bites make players in them Vulnerable, enemies clearing the angles will be at an immediate disadvantage when trying to fight or escape the pool of poison. Since they bounce off of walls, they can clear several different areas on each map. They can also be used to slow rotations when taking a site or area since they last around five seconds, and Viper gets two of them.
One extremely useful thing to learn with Viper’s Snake Bites, and probably the most popular use they have, are post-plant lineups. After the spike is planted, there are many spots on pretty much every map where Viper can safely launch her Snake Bite to get enemies off of the bomb and secure rounds. Mixed in with her Poison Cloud’s decay, Viper can solo an entire team when playing for her lineups if the situation played out correctly. Just make sure you are not only playing for lineups, or you have multiple different lineups because if the enemy team catches on, they can push you aggressively or try and play around it.
Finally, we have Viper’s Pit, her ultimate ability and it is extremely powerful. This ability requires seven ultimate points to use. When used, Viper equips a chemical sprayer and sprays a massive toxic cloud on the ground in front of Viper, covering a large area all around her. In her Pit, enemy vision is reduced, and Decay is applied rapidly to all enemies who stay in it until they are at only one health. Additionally, enemies in the pit glow red, allowing Viper to pick them off easier, and teammates are not affected by the Decay that the Pit applies.
On Defense, Viper’s Pit can be used to completely shut down an entire area or site making enemies take a gamble on where to go. Having her team stack a particular site, and then using her ultimate on the opposite site can force enemies to either commit to a risky play and push her ult, or rotate and commit to the other site, where her team is stacking. It is also very good for retaking sites, forcing enemies to push Viper and her team into the Pit making fighting for the defuse that much easier.
When attacking, Viper’s Pit can be difficult to use since it is very niche in how it works when attacking, the enemy does not have to push, and you do. With that being said, this is best used once your team is already on site or the spike has already been planted. Enemies trying to retake the site while Viper’s Pit is down can have a very hard time trying to locate Viper since vision is reduced for them and enhanced for Viper. Playing outside of the Ultimate is also something that Viper can do, allowing mind games to factor in on the enemy’s decision-making.
One interesting thing to keep in mind regarding Viper’s Pit is that it is always placed around the spot where you aim the circle when the move is activated. This leaves room for some very creative lineups for the ability since it will be oriented around that exact spot. Elevated areas are a place to consider using the ultimate since you can gain high ground on enemies while their vision is limited inside of the pit.
Overall, Viper is a great pick to lock in for your team if you are needing a Controller, or just want some extra vision and area denial! Her unique kit makes her a great choice for players who want to stray away from the traditional role of smokes. I hope this guide has helped get a better understanding of Viper and her kit!


