Much like my last article on holding Ramp on Nuke, I am constantly interested in playing solo spots that require thought and are less about frags. B-Site on Dust 2 is one of these very spots, and it might not be as straightforward as it seems. In most matchmaking games, you generally play two people A, one person mid and two people B in order to get an appropriate spread on the map.
However, it is a lot more common in professional metas to see three people towards A, one AWP or rifle middle and a solo B player. Of course just like any map, sometimes you might need to cheat one person over to the B-Site if your enemies are favoring the site, but for this article we will be assuming there is just one player on the B-Site.
Why is B Anchor so Important?
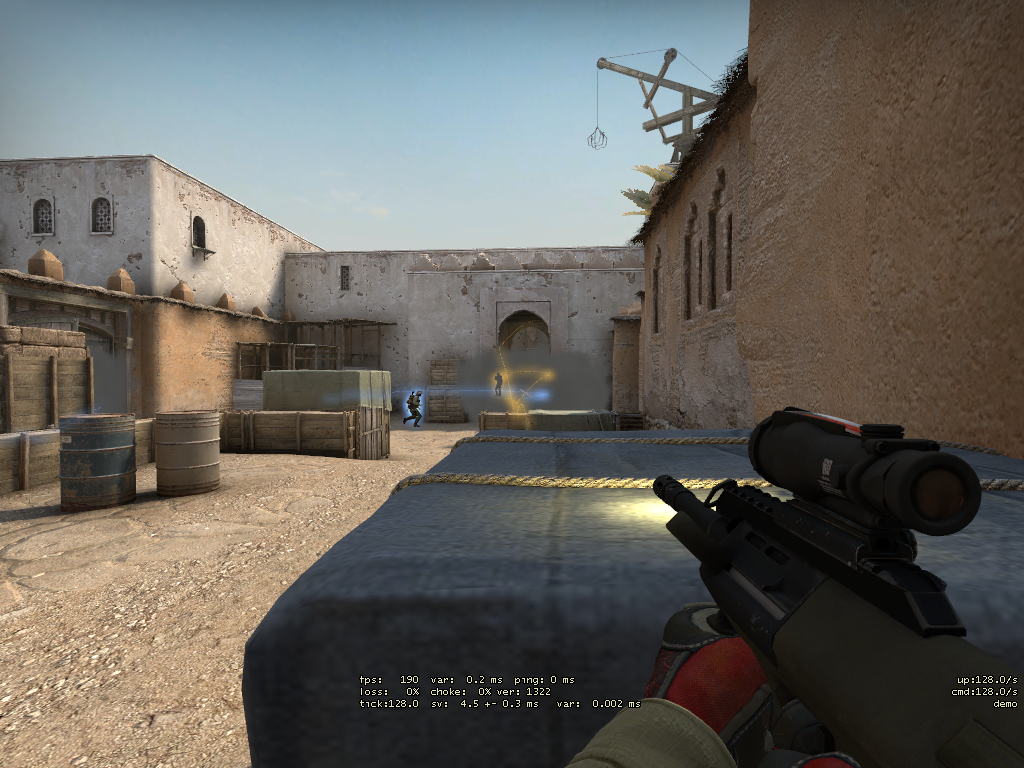
This particular spot is so necessary because of the tremendous pressure put on the player that is playing B. It’s a bit unfair to the player, as immediately dying is pretty much all your fault (unfairly), but if your mid player loses their life pretty quickly, you are essentially in charge of half of the map. Something that is not fun AT ALL, unless you prefer playing the 4v5. Much like Nuke or Mirage, this spot is fairly singular and easy to manage with solid utility, but it’s important to stay on your toes, as quick B plays are probably the easiest thing to call on Dust 2.
Keeping it Fresh
This is a similar point to Ramp on Nuke, and maybe even more important here on Dust 2 than any other map strictly because of the layout of the map. Staying fresh will single handedly win you rounds on B-Site because of how quickly this entire part of the map can fall apart. You have a variety of approaches to bring to the round, with passive play or aggressive play being the most obvious choices, but positioning is key as well. If the T players constantly expect you to hide at the car for free kills, you will soon start to get flashed and pre-fired and you will not have a good time. The same also goes if you have a bad Mid player and are constantly left defending both Mid and B-Site. If your default move is to rush Upper Tunnels, then you will be read easily. These kinds of moments are incredibly hard to manage, but committing to a similar play style every single round will make your life harder.
Angles
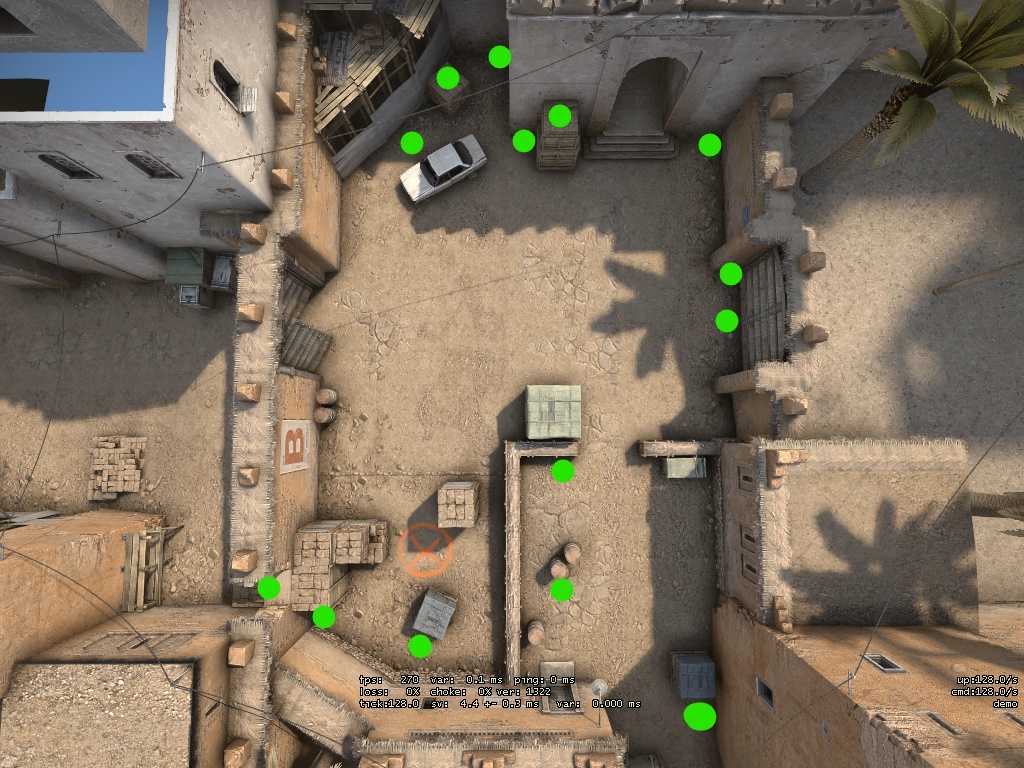
I’d like to get specific about the kinds of places you can hold and the angles you can post up on, because I think it will illustrate just how many options you have on such a small site.
In the picture above I have marked the various spots that you could reasonably play and get a kill or have impact on the B Bombsite. All of these spots have varying degrees of safety as some might be considered “one and done” or too “passive.” Either one of these terms can have their negative effects, as dying too early can ruin your team's chances of re-taking the bombsite. But on the other hand, sometimes playing too passive on Dust 2 might ruin your chances of having any impact at all. Ideally you want to find a playstyle that treads the line of these two ideas, but unfortunately that is a line that is incredibly hard to define, and that is where team play and raw mechanical skills will help you shine.
The best angles to hold on this site are the ones that are the most awkward for your opponents to clear, but aren’t impossible for you to get kills from. Some spots are obviously easier than others, but like I mentioned before, try not to get caught in comfort spots, because they will not always reward easy kills. Sometimes all it takes is one kill and staying alive in order to secure the round for your teammates.
But while kills and positioning are unquestionably important for this bombsite, proper utility is even more vital to help lock down the entire site by yourself, let’s break these nades down from each moment in the round:
Utility at the Start
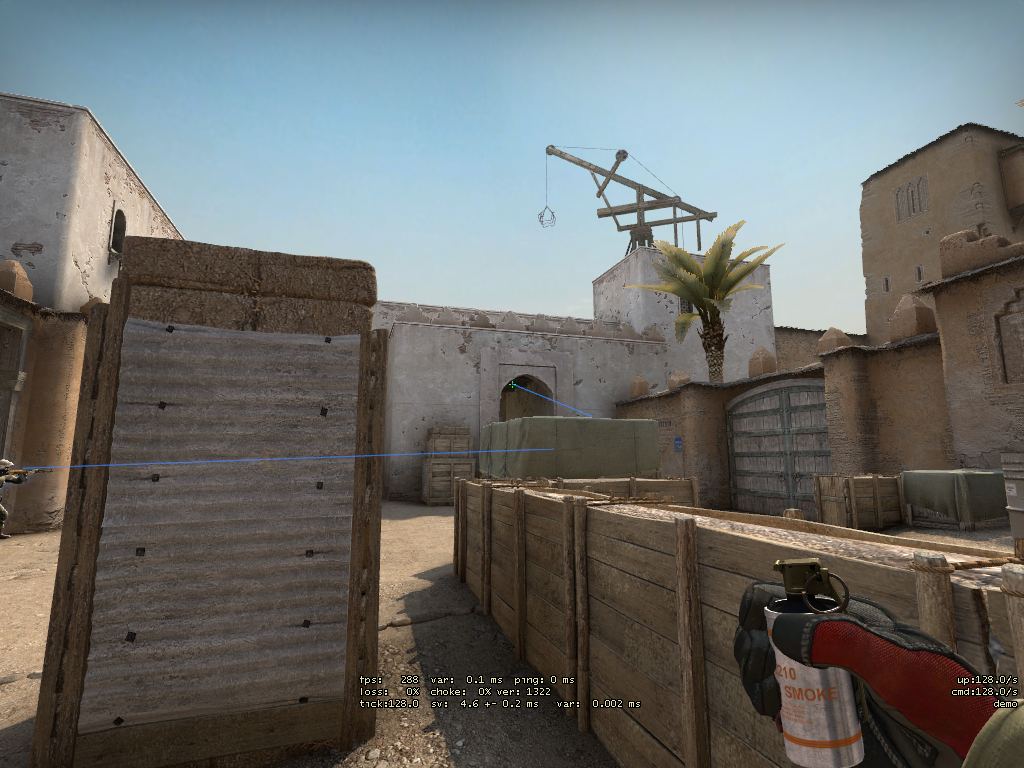
Anti-Rush Utility
Incendiary grenades are vital to early round success, as even the worst T-Side Dust 2 player can rush B pretty easily, and a pool of fire blocking their entrance from Upper Tunnels makes early round pressure easy to manage. You have to try to get this one grenade down EVERY round, as the moment you think you can manage without it, all five opponents will be in your face immediately.
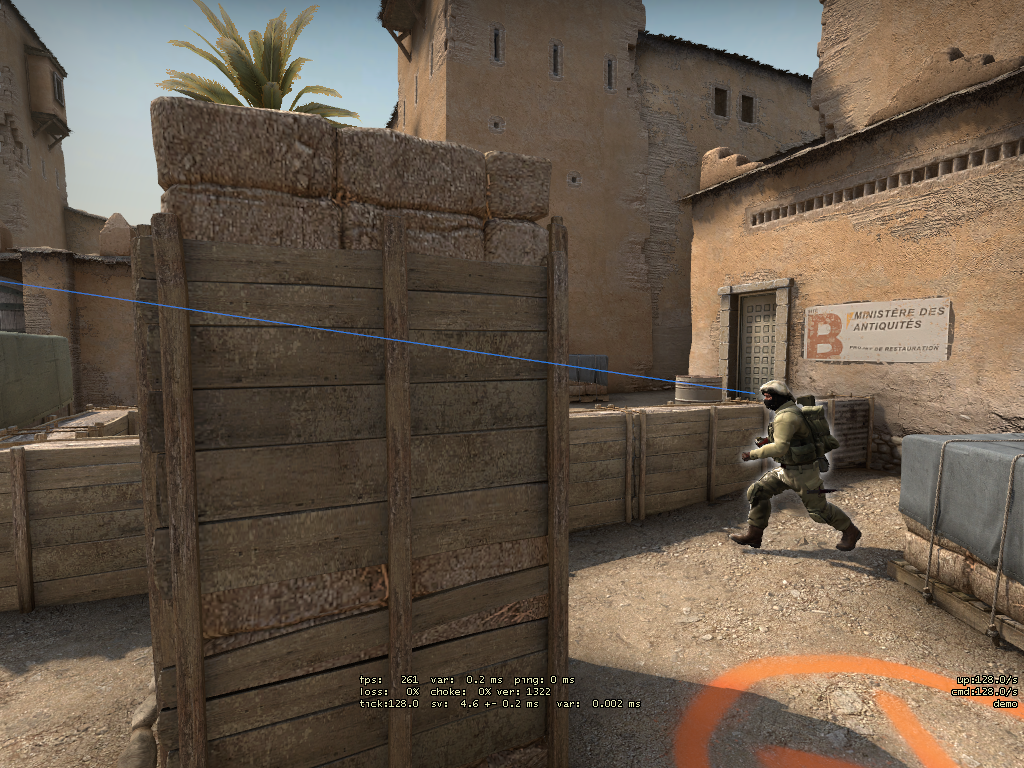
Mid-Cross Smoke
Now while this isn’t a piece of utility that you should be throwing, the importance of this grenade tends to fall on the B player to manage. Find a player that can throw you a mid cross smoke consistently, because if the enemy can see that only one player plays B every single round, they will rush you consistently, and could possibly get a free kill every round. The new wall on Dust helps mitigate the need for this, but a T can still spy through Doors if you’re slow to get to site.
The Rush
Sometimes the enemy players will figure themselves amatuer firefighters and extinguish the molly you throw with a smoke of their own, popping out amidst the chaos. These rounds are tricky and can be really easy to fumble, but generally you have the advantage when players are walking through smokes, so it shouldn’t be horrible. If you have to, you can also dispense extra utility in order to help stop this execute, but be sure that they are executing B as no one wants to waste all of their nades on a fake.
Utility at the Mid-Round
Counter-Pressure Smoke
Generally you want to save your smoke for mid round scenarios, unless you were forced to use it for a mid cross or to make space in the site if the enemies pull a quick execute. If you still have your smoke, this is what you should aim to use it for. Most B lurkers will try to throw single pieces of utility to keep the pressure up in the mid round and most people will counter that with a smoke. This rule is a tricky one, as it is really easy for opponents to pull easy utility just by throwing a couple of nades. Generally you save this smoke for moments where you feel the most pressure on the Site, allowing you to buy your team some time.
Nades, Nades, Nades
Your HE grenade is incredibly vital during this portion of the round, as the Upper Tunnels are an easy place to get free damage since the halls are so narrow. These nades can either be thrown through your smoke, or even in parts of the mid rounds where you feel safe enough to throw a grenade through an exposed tunnel. Whatever you do, be careful as it is easy for the opponent to get a free kill with a good smoke spray or timing.
Utility at the End
B Execute, NAVI Style
Now some teams will value the chaos of the clock as a way to make you burn utility, and it is this situation that the B Anchor anticipates greatly, as there is nothing more satisfying than stopping a last minute B-Site execute with one politely placed smoke grenade, forcing your opponents to either go through or just give up completely. And while I would love it if the enemy team gave up at just the sight of a single smoke grenade, most of the time this is just an easy way for you to clean up some kills.
The Retake
While retaking A can be a very frustrating cycle as a B anchor, making sure that you save your utility expressly for this purpose is quite important on this map and is why I make a point of valuing every piece of utility thrown throughout the round. Simply having one flashbang to retake as a team can make or break an entire end of a round, so don’t waste all of your utility if you don’t have to. Sending all my wishes that you don’t have to do this every round though…
Conclusion
And there it is! Much like the layout of the B-Bombsite, anchoring this position is pretty straightforward. Now, don’t misconstrue “straightforward” for “easy” as I would argue that Dust 2 B anchor may be the most punishing position in all of CS:GO. But just like any map, with a good deal of practice and execution, one day I’ll be using your clips on this very website.
Happy fragging, and may you not be doomed with having to retake A every round.
Visit our partner VIE for the safest market and best customer care in esports betting.
Must be age 18+ and reside in a country where online gambling is legal. Gamble responsibly.