


Marvel Rivals: Best Keybinds
Binds are as important in Marvel Rivals as in any other game. But, finding the right ones can be difficult which is why we made a guide to help you do so easily.
Binds are as important in Marvel Rivals as in any other game. But, finding the right ones can be difficult which is why we made a guide to help you do so easily.
While the default binds in Marvel Rivals aren’t bad, they are not for everyone. If you are comfortable playing on the default binds, then this article is not for you. However, if, like most people, you think there is something better out there in terms of binds, then this article is going to be useful.
At its core, Marvel Rivals is a hardcore hero shooter, which means you will be switching through abilities, fighting for the objective, and trying to stay alive, all while the enemy team is out to get you.
And, if you are playing a very mechanics-dependent hero like Spider-Man, Magik, or Black Panther, it becomes even harder to keep up if you are not on good binds.
So, this article will guide you on how to find the keybinds that work for you. We will also add some of the most used binds by the pros to make things easier.
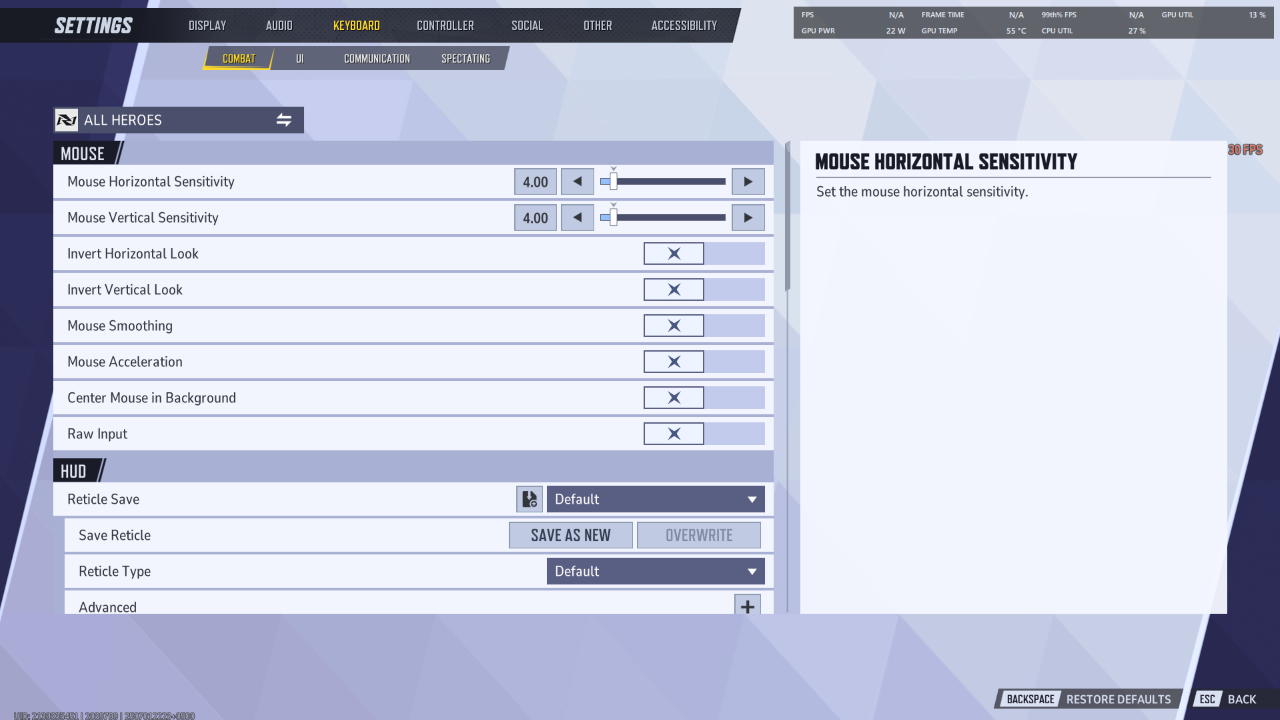
Changing your keyboard and mouse binds in Marvel Rivals is pretty similar to any other game's competitive multiplayer shooter. Just enter the settings, find the keyboard section, and change the binds to your liking.
But Marvel Rivals allows you to set custom binds for different heroes. For instance, a lot of players bind jump to the mouse wheel while playing Spider-Man, as it allows them to bunny hop more easily.
Here are the steps to change your binds in Marvel Rivals
If you only want the binds to affect a specific hero, then go to the top of this page, and you will see a button titled “All Heroes.” Click on it, and it will show you all the heroes. Just select the hero you want to change the settings for.
Related: Marvel Rivals: Best Settings Guide for Performance & Visibility
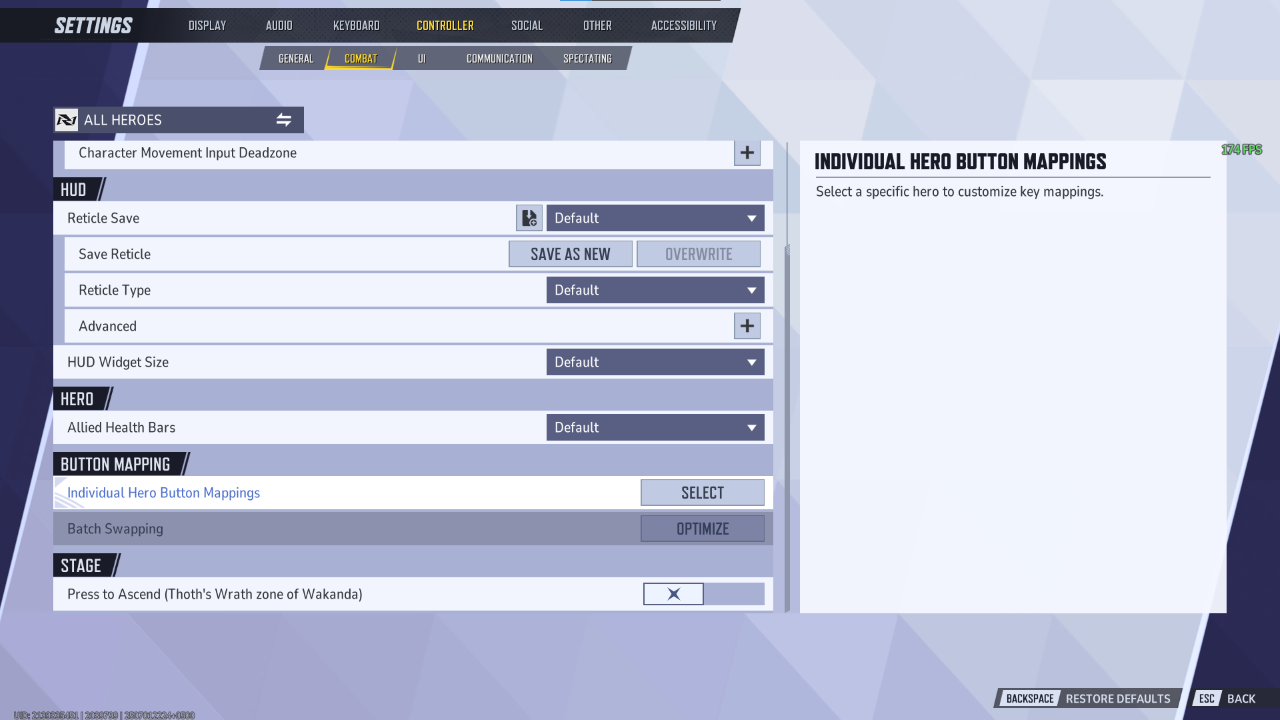
Changing controller binds is a little bit different from keyboard and mouse. The steps in the beginning remain the same.
There are two options here: Individual Hero Button Mapping and Batch Swapping. The first option is self-explanatory, as it allows you to completely change the bind of a specific hero.
But if you want to change a button for more than one hero, then you will have to choose the second option. This option allows you to basically swap two buttons, and you can apply this change to either all heroes or a select number of heroes.
The keybinds for Marvel Rivals can be broken down into two parts: movement and abilities.
Movement means your WASD and jump binds, as well as other hero-specific movement abilities such as wall running. As for the binds themselves, you don’t really need to change much here unless there is a specific reason. With that said, here are the binds for movement.
The next section is called the Weapons section, and it’s mostly for heroes who have two weapons or two modes of attack. Like Punisher with his rifle and shotgun, or Cloak and Dagger with… you know, Cloak and Dagger. You can swap between these two modes with either 1 or 2 buttons or the scroll wheel. To put it simply, you don’t need to change much here unless there is a reason for it.
The last section is the abilities and is by far the most important section when it comes to keybinds. What you want to do is to bind two of your abilities to the side mouse buttons. Just make sure to bind the abilities that are used often and have small cooldowns, or there is no point in binding them to the side mouse buttons. You also have the option to configure the team-up ability binds—leaving them at default is fine, but if you want to change them, you can.
With that said, here are the best keybinds for the keyboard.
The rest of the binds are completely up to your preference. Just make sure to test out your binds in the Practice range before hopping into a real match.
In contrast to KBM, the default binds on controllers are quite solid and don’t require change unless you need them to.
On controller, you should spend most of your time configuring the sensitivity section as there is a lot to customize there.
For binds, if you have a controller with paddle shifters at the back then binding your abilities to that is a good idea. But if you are using a standard controller, then you can run with default binds if you are comfortable.
However, you are given the option to change binds, like swapping out the ability binds or changing all the binds to suit a specific playstyle like using claw grip.
In short, the default controller binds are solid but if you need to change them you have the option available.
Binds play an important role in every game and Marvel Rivals is no exception. Much like sensitivity, binds are mostly personal preference, and you will need to do some trial-and-error runs until you find something that works for you.


